11 Essential Tips for Backpacking in the Rain Like a Pro
Nothing puts a damper on an excellent backpacking trip quite like a rainy forecast. However, a little rain doesn’t have to stop you from getting outside. In fact, backpacking in the rain can (sometimes!) even be fun, especially if you go into it prepared for anything. Even the best formulated adventure plans can go awry, so be prepared for how to backpack in rainy weather with these 11 pro tips.
1. Evaluate the Weather Conditions for the Area You’re Backpacking In
One of the first things I teach the students in my backpacking program, Become an Outdoor Backpacking Badass, is to never set out on a backpacking trip without checking the weather. If you’re traveling in the United States, use a reliable source such as Weather.gov or Mountain Forecast, where you can get pinpoint weather for virtually any area in the US.
Simply search for a notable landmark and check the map to make sure you have the correct area. Make sure you take elevation into account – forecasts might be different in a nearby town than out on the trail. You can get all kinds of great info, such as an hourly chart with all the weather details, forecast overview, and more for the exact location you’re traveling in.
The next important step after checking the forecast is to decide if it’s still worth it to go on your backpacking trip. Sometimes it’s simply better to say “no” and opt for a Netflix and chill kind of weekend, especially if the rainy weather or thunderstorms will make your backpacking trip unsafe.
Here are some things to think about when considering whether to stay or go:
Flood Potential – Is it raining so much there is a chance for flooding? This is extremely important for water crossings, desert canyon travel (or any desert trail that goes down a dirt road), and the high alpine.
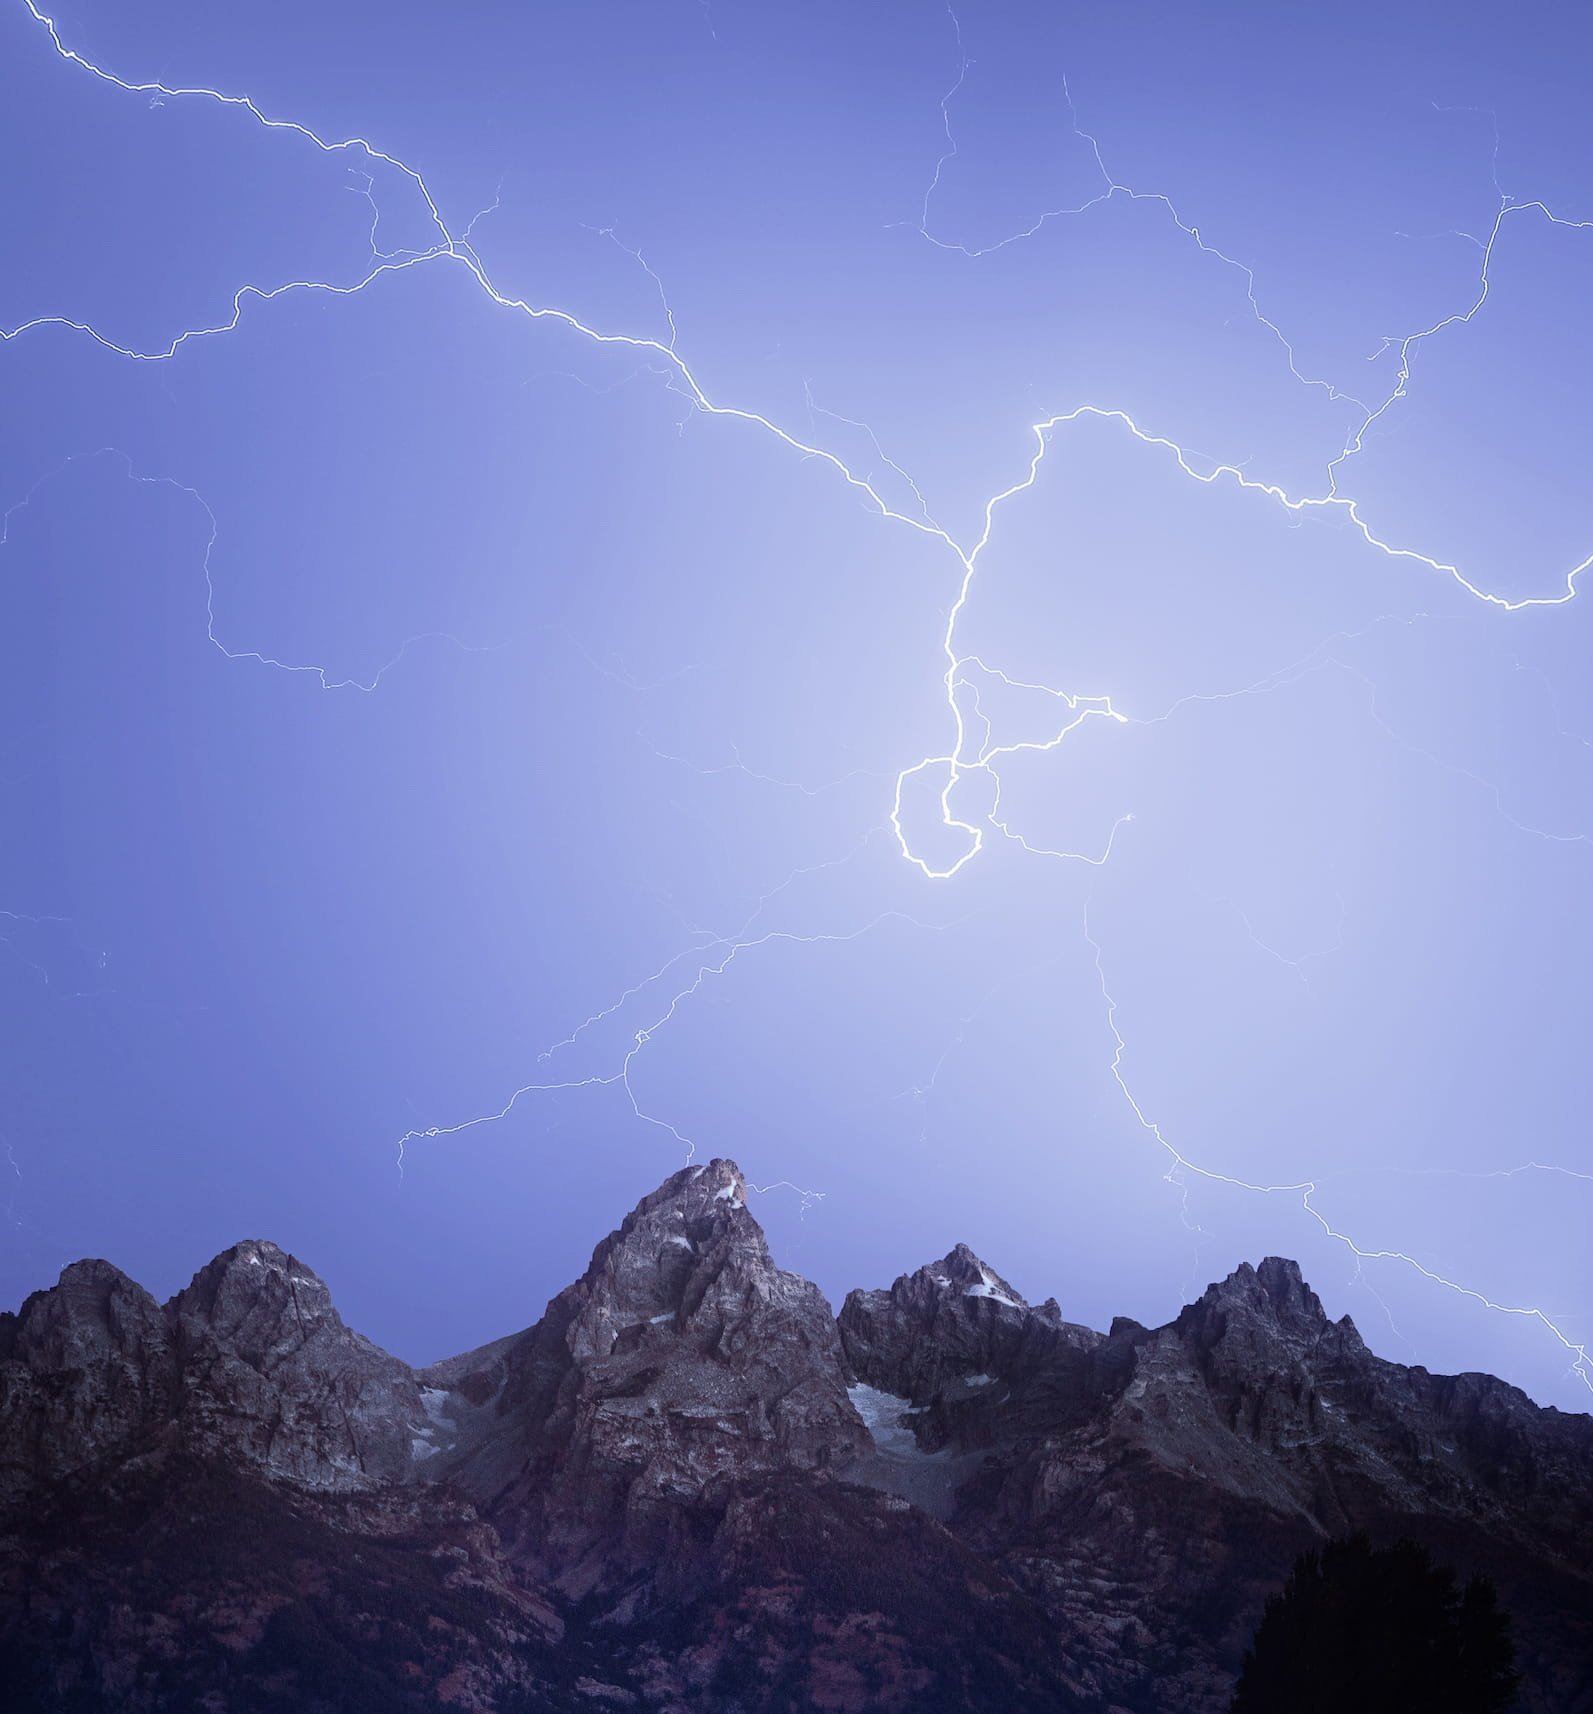
Lightning Potential – Violent storms can sweep mountainous regions with seemingly little warning, and the last thing you want is to get caught above treeline during a thunderstorm. This is incredibly dangerous! So be sure to fully understand climate trends in mountain regions. Some areas (like Colorado) are notorious for consistent afternoon thunderstorms in the summer. Also, make sure you know how to properly react if you do get caught in a thunderstorm.
Misery Factor – In reality, it’s not the most fun to be constantly be dripping wet on a backpacking trip, particularly if it’s a longer trip. If a huge storm system is moving through and dumping tons of precipitation, you might want to just stay home. Don’t be stubborn and compromise your safety.
For more essential backpacking tips, be sure to check out these 15 Rookie Mistakes To Avoid Your First Time Backpacking.
STOKED ON BACKPACKING, BUT LOOKING FOR SOME EXTRA SUPPORT TO GET STARTED?
Join me (and your peers) on a transformational adventure, where you will learn how to confidently go on your first ever (or perhaps your first solo) outdoor backpacking trip without the constant fear of getting lost, the debilitating worry of being unprepared, and the lurking feeling that you lack the "know-how" and skills required to stay safe on the trails. Click below to be the first to know when my one-of-a-kind backpacking program re-opens again for enrollment!
2. Waterproof Your Backpacking Gear
If there’s rain in the forecast or you’re traveling in a wet climate, but sure to have the right rain gear for backpacking.
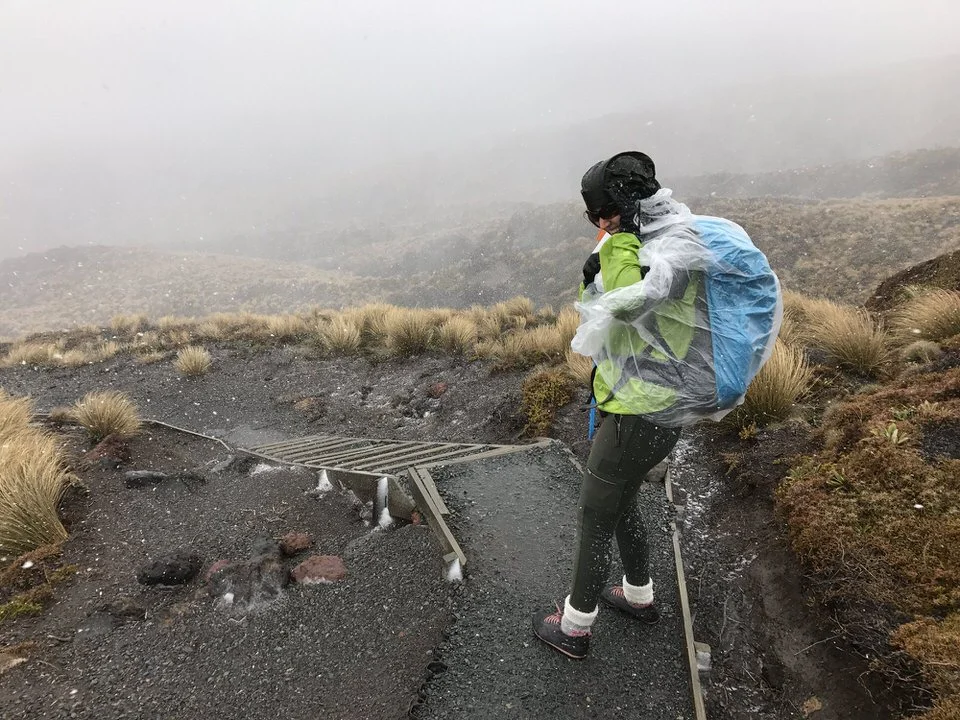
First, you’ll want a way to keep the contents of your pack dry. You can use a pack rain cover – some packs even come with these. If yours doesn’t you can buy one for around $10-$40, depending on the size and brand. Pack covers are awesome because you can remove the cover and still have a dry backpack.
However, if that’s not in your budget or you don’t have a chance to get you before your backpacking trip, you can line your pack with a trash bag, and place all items you want to stay dry in the main compartment. This is a super cheap option, but your bag and the contents in exterior pockets will get soaked.
I personally like to do a combo for my backpacking rain gear. If I know it’s going to rain I will put my sleeping bag inside of a trash bag, and my clothes inside of a another trash bag. Then I’ll also cover my backpacking with a rain cover.
Also be sure to pack electronics or any important papers and maps inside of waterproof ziplock bags. I typically like to do this regardless, just so I’m always covered if I get caught in some rain.
3. Take Cover From Hiking in the Rain
Sometimes rain can strike when the forecast calls for sunshine and rainbows. If you find yourself in a hiking in the rain during a downpour, try to seek some shelter for a minute and take a break if possible. Look for an overhanging boulder, sheltered tree, or simply take out your tent fly and make a fort. (But, as we’ll discuss in the next section, these are not places you want to be if there’s lightning.)
You can wait out the worst of the rain, and hit the trail again after the storm has calmed down a bit. At the very minimum, stop for a second to put your rain cover on your pack and put your rain jacket or poncho on so that you’ll stay dry when hiking through the rain.
4. Get Educated on What to do in ThunderSTORMS with Lightning
Lightning is no joke my friend, and being caught outdoors in a storm can be one of the worst places to be. There is truly no safe place to be outside during lightning, so it’s vital that you treat these storms with respect.
Here are a few crucial things to know about lightning safety:
Take shelter inside a building or vehicle, if at all possible (obviously, this isn’t usually an option when you’re backpacking)
If you are caught out in the open (like in a meadow), find the lowest spot you can and crouch down with your feet together
Avoid tall lone objects (like trees that are by themselves), instead look for groups of trees or a forest
Do not shelter in shallow caves which can conduct lightning (sheltering in a deeper cave might be okay)
Get off peaks or ridgelines as quickly and safely as possible
Avoid being in or near water
If you’re in a group, spread out at least 15 feet apart
Abandon anything metal (this may mean temporarily ditching the poles and your backpacking gear until a thunderstorm passes)
It’s likely safer outside your tent than inside
Learn how to read the clouds for forming thunderstorms
If you feel tingling or hear a buzz… get out of the area immediately!
Stay sheltered for least 30 minutes after you last hear thunder
We go over weather danger and how to handle it extensively in the Become an Outdoor Backpacking Badass program, but these are some quick tips to get you started!
5. Setting up Camp in the Rain
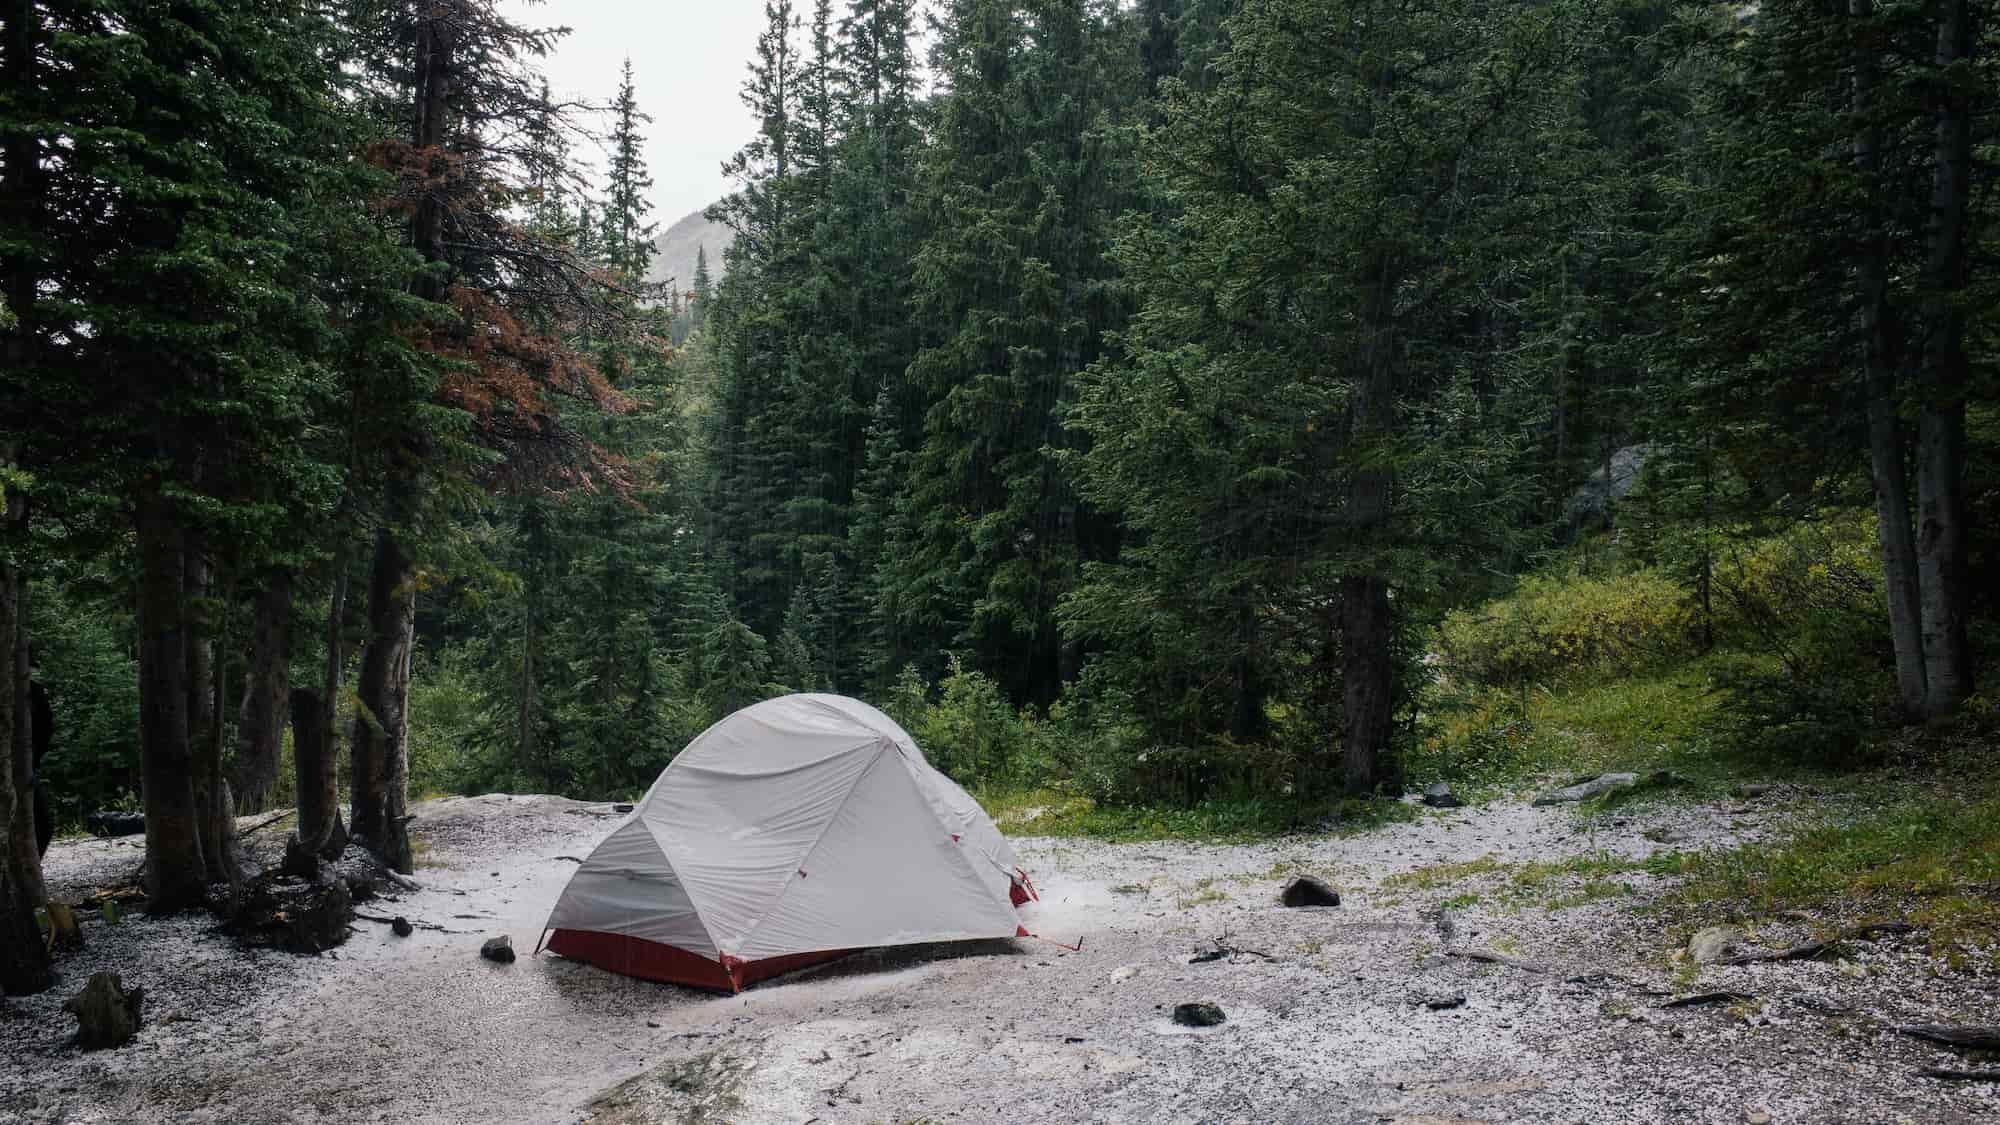
How do you set up a tent while it’s raining without getting wet? Well, it’s a bit of a rushed process, but before you pitch your tent, you’ll want to try and set up camp in the best place possible.
Here are a few camping in the rain tips for where to set up your tent:
Avoid low-lying areas, especially in the desert. Sandy washes may be inviting, but these drainages turn into violent rivers quickly in the desert, even with light rain.
Keep camp at least 200 feet (70 adult steps) from water sources. This isn’t just for LNT, but for flooding too.
If you are above tree line, try and find a lower, sheltered area. Stay off of summits, ridgelines, and away from small clusters of trees. This makes you a target for lightning strikes.
Keep low, but not too low. You don’t want to be in a ditch, but you don’t want to be up high either. If you’re in a forest, look for mid-sized, healthy trees to camp under. Never camp under taller trees or dead trees.
Keep the tent vents open (unless there is a gnarly wind blowing rain into the tent). This helps reduce condensation build up to avoid a damp, icky tent!
When it comes to setting up your tent, work as quickly as possible. If you can, it sometimes helps to place your tent rain fly over your tent body as you work. This means you’ll likely be diving under your tent fly to hammer in stakes and fit together poles, but it helps to prevent your mesh tent from getting rained on. The key is to be quick and efficient to avoid getting water in your tent.
You’ll also likely be dealing with packing up a wet tent after your rainy camping adventure, and my best advice here is to pack extra trash bags to stuff your tent into so it doesn’t get everything else in your bag wet while backpacking. If you’ll be backpacking for a longer duration (4+ days), it’s worth stopping when you get some sunshine in order to dry out your tent and other wet gear and clothing.
GRAB MY [FREE] OUTDOOR BACKPACKER STARTER KIT
I created the Ultimate Outdoor Backpacker Starter Kit for you (and it's FREE)! This starter kit is filled with 14 pages of my best hiking and backpacking tips to help you learn what it takes to become a safe, confident, and self-sufficient outdoor backpacker!
6. Drying Your Backpacking Gear on the TRAIL
Unfortunately, if you’re in for a wet, cloudy weekend backpacking trip, drying your stuff isn’t much of an option. But if there are any sunny moments, be sure to take advantage of them by laying your quick-drying stuff out in the sun (look for large rocks you can lay your stuff on instead of the wet ground, if possible). Avoid hanging things in trees, since the trees will continue to shed water well after a storm has passed.
You can also attach clothing to the outside of your bag to dry as you walk (a tactic I always like to use with my socks to switch them out when hiking in order to prevent blisters). Try not to put soaking wet clothes near your dry clothes or down sleeping bag.
Down is useless when wet, so you really want to protect your sleep system. Consider carrying sleep clothes or socks in a plastic bag or trash bag, so they stay dry and don’t get your sleeping bag wet.
7. Taking Care of Your WET Feet
Wet feet can be the source of a painful backpacking experience in the rain! Your feet need to dry out and breathe to stay healthy and happy. Otherwise, you may develop blisters, trench foot, or other icky infections.
So do your best to let wet feet dry. Take off your socks and allow your feet to breathe for as long as possible. If it’s rainy outside, do this in your tent.
Pack a small microfiber towel to dry your wet tootsies. The key is to have dry feet while at camp and before you go to bed.
Also, it doesn’t hurt to pack a lot more extra socks if you know the forecast will be rainy.
Read more Essential Backpacking Hygiene Tips & Feminine Care in the Outdoors here!
8. How to Deal with Mud
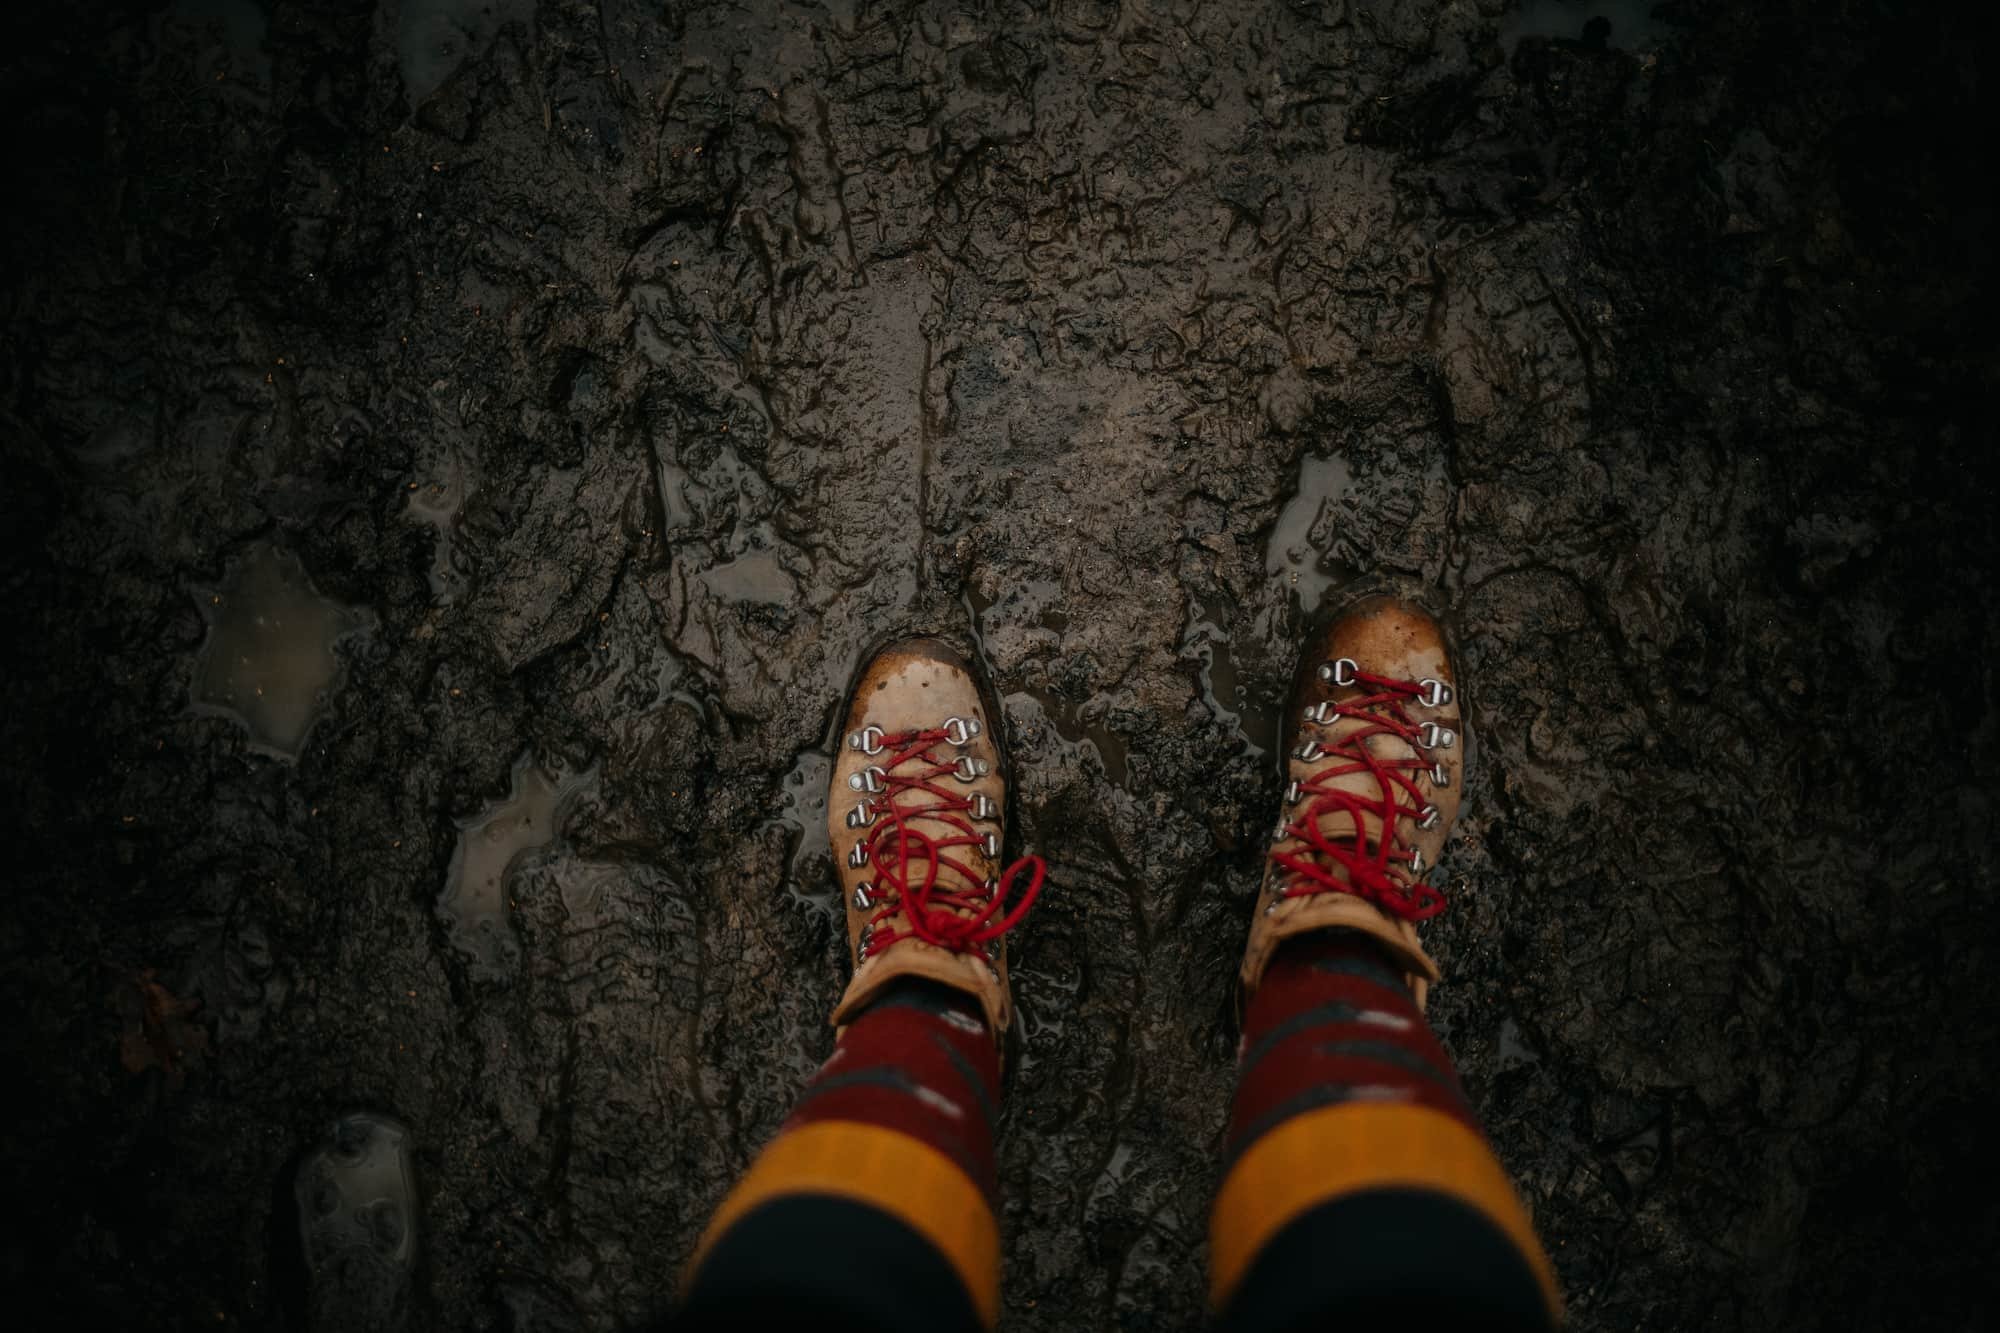
Rain leads to muddy trails, which are really a slog on your backpacking adventure. If you know it’s going to be rainy, be sure to wear waterproof footwear, preferably boots. This not only helps keep your feet dry, but it keeps the mud out too.
Also consider wearing gaiters, a velcro, waterproof protector that goes either above your ankles or up to your knees. These attach to your boots so you can walk in muddy terrain without having to worry about mud or water coming up over your boots or soaking your clothes.
Finally, stick to the trail, even if it’s muddy! When you hike in the mud, you have much more of an impact on the environment. Veering off trail to avoid mud or puddles causes erosion and other problems, so the best Leave No Trace practice is to hike straight the muddy trail.
If you’re prepared for mud with the right gear, sticking to the trail won’t be too annoying in wet conditions.
9. Bring Games or Books
Rainy days don’t mean you can’t have fun! Consider bringing lightweight, play-anywhere games like Banana Grams, UNO, a deck of cards, or other travel games.
Books are also a nice way to pass the time. If you use an e-reader or your phone, be sure to load the books first and bring a battery charger as a backup.
Get creative with possible games and other activities (never have I ever, anyone?). Plan on bringing a few extra snacks or a nice, indulgent meal if it’s rainy to lift your spirits. Sometimes a little treat-yo-self boost goes a long way to bring up morale on a rainy backpacking trip.
10. Cooking in the Rain
I’ll be honest, few things are less fun than cooking in the rain. If the rain is terrible and you aren’t in grizzly country, consider cooking in the vestibule of your tent. (Please note the warning about being in grizzly country though!)
Typically my advice is to avoid cooking or eating in your tent area 100% of the time no matter where you are, but we can possibly make some exceptions if you are aware of the area you are in. Just be sure to open the flaps so noxious carbon monoxide can escape.
NEVER cook in the interior of your tent. It’s extremely dangerous and leaves you susceptible to carbon monoxide poisoning. Only cook in well-ventilated areas, such as a vestibule with the flap wide open, under the shelter of a tree, or in the open.
Alternatively, you can use a pack cover and a few hiking poles to rig a small sheltered area to cook in. Be sure to angle the hiking poles outward, not straight up and down, for the most stable structure. Have a friend watch the structure (so it doesn’t accidentally fall over and burn) while you cook.
Or…potentially go stove-less with your backpacking food. While it’s nice to have a hot meal when you’re cold and wet, a stoveless meal is more convenient and solves the need for any cooking or backpacking cooking gear in the first place. One of my favorite stoveless backpacking foods is the Maya Kaimal Everyday Dals.
11. What to Pack for a Rainy Camping and Backpacking Weekend
Even if you don’t think you’ll encounter rain, it’s always a good idea to bring the essential emergency rain gear, which I discuss fully in my Ultimate 3-5 Day Backpacking Packing List. Hiking rain gear can do double duty to help manage wind and provide an additional layer to keep you warm. Since rain gear is so versatile, you should always take it with you, even with a sunny forecast.
Here is a list of rain gear itemsI recommend, many of which should come with you on every trip, regardless of the forecast:
Note: Some links below may contain affiliate links.
Before you go on any outdoor backpacking trip, I recommend that you download and print off my backpacking checklist for quick reference. Just keep it close to your gear, and then you’ll always have it handy to review when packing for a trip!
My backpacking checklist (which you can dowload below) is a full detailed list of what you should bring with you on any backpacking trip (particularly trips in the 3-5 day range). It also includes a few extras – a tip-sheet on layering outdoors and 25+ backpacking food ideas!
In the end, the point of this post is to encourage you that a little rain doesn’t have to ruin your backpacking trip! It’s just important to be prepared to deal with less-than-ideal rainy conditions when backpacking and know exactly what to do when the weather hits you on the trails.
Hope these tips will help you backpack more efficiently – and happily! – in wet weather.
Looking for more Backpacking & Hiking Tips?
Check out these other useful articles:
9 Must-Know Backpacking Safety Tips - Particularly if You Want to Go Solo
10 Awesome Hiking Groups and Hiking Challenges to Encourage You on Your Hiking Adventures
How to Wash a Down Jacket Properly So That You Don't Ruin It!
Cheers,
Allison - She Dreams of Alpine












37 Best Gifts for Outdoorsy Men | Get the outdoorsman in your life a birthday or Christmas gift that they’ll truly love to use in the backcountry with this specially curated list of outdoorsy gifts for him. From outdoor clothing to outdoor gadgets to outdoor gear that’ll keep him safe in the backcountry, you’re bound to find the perfect gift idea for any outdoorsy guy in this blog post. | shedreamsofalpine.com