The Ultimate Guide to Hiking The Wave Arizona (Plus Getting The Wave Permits)
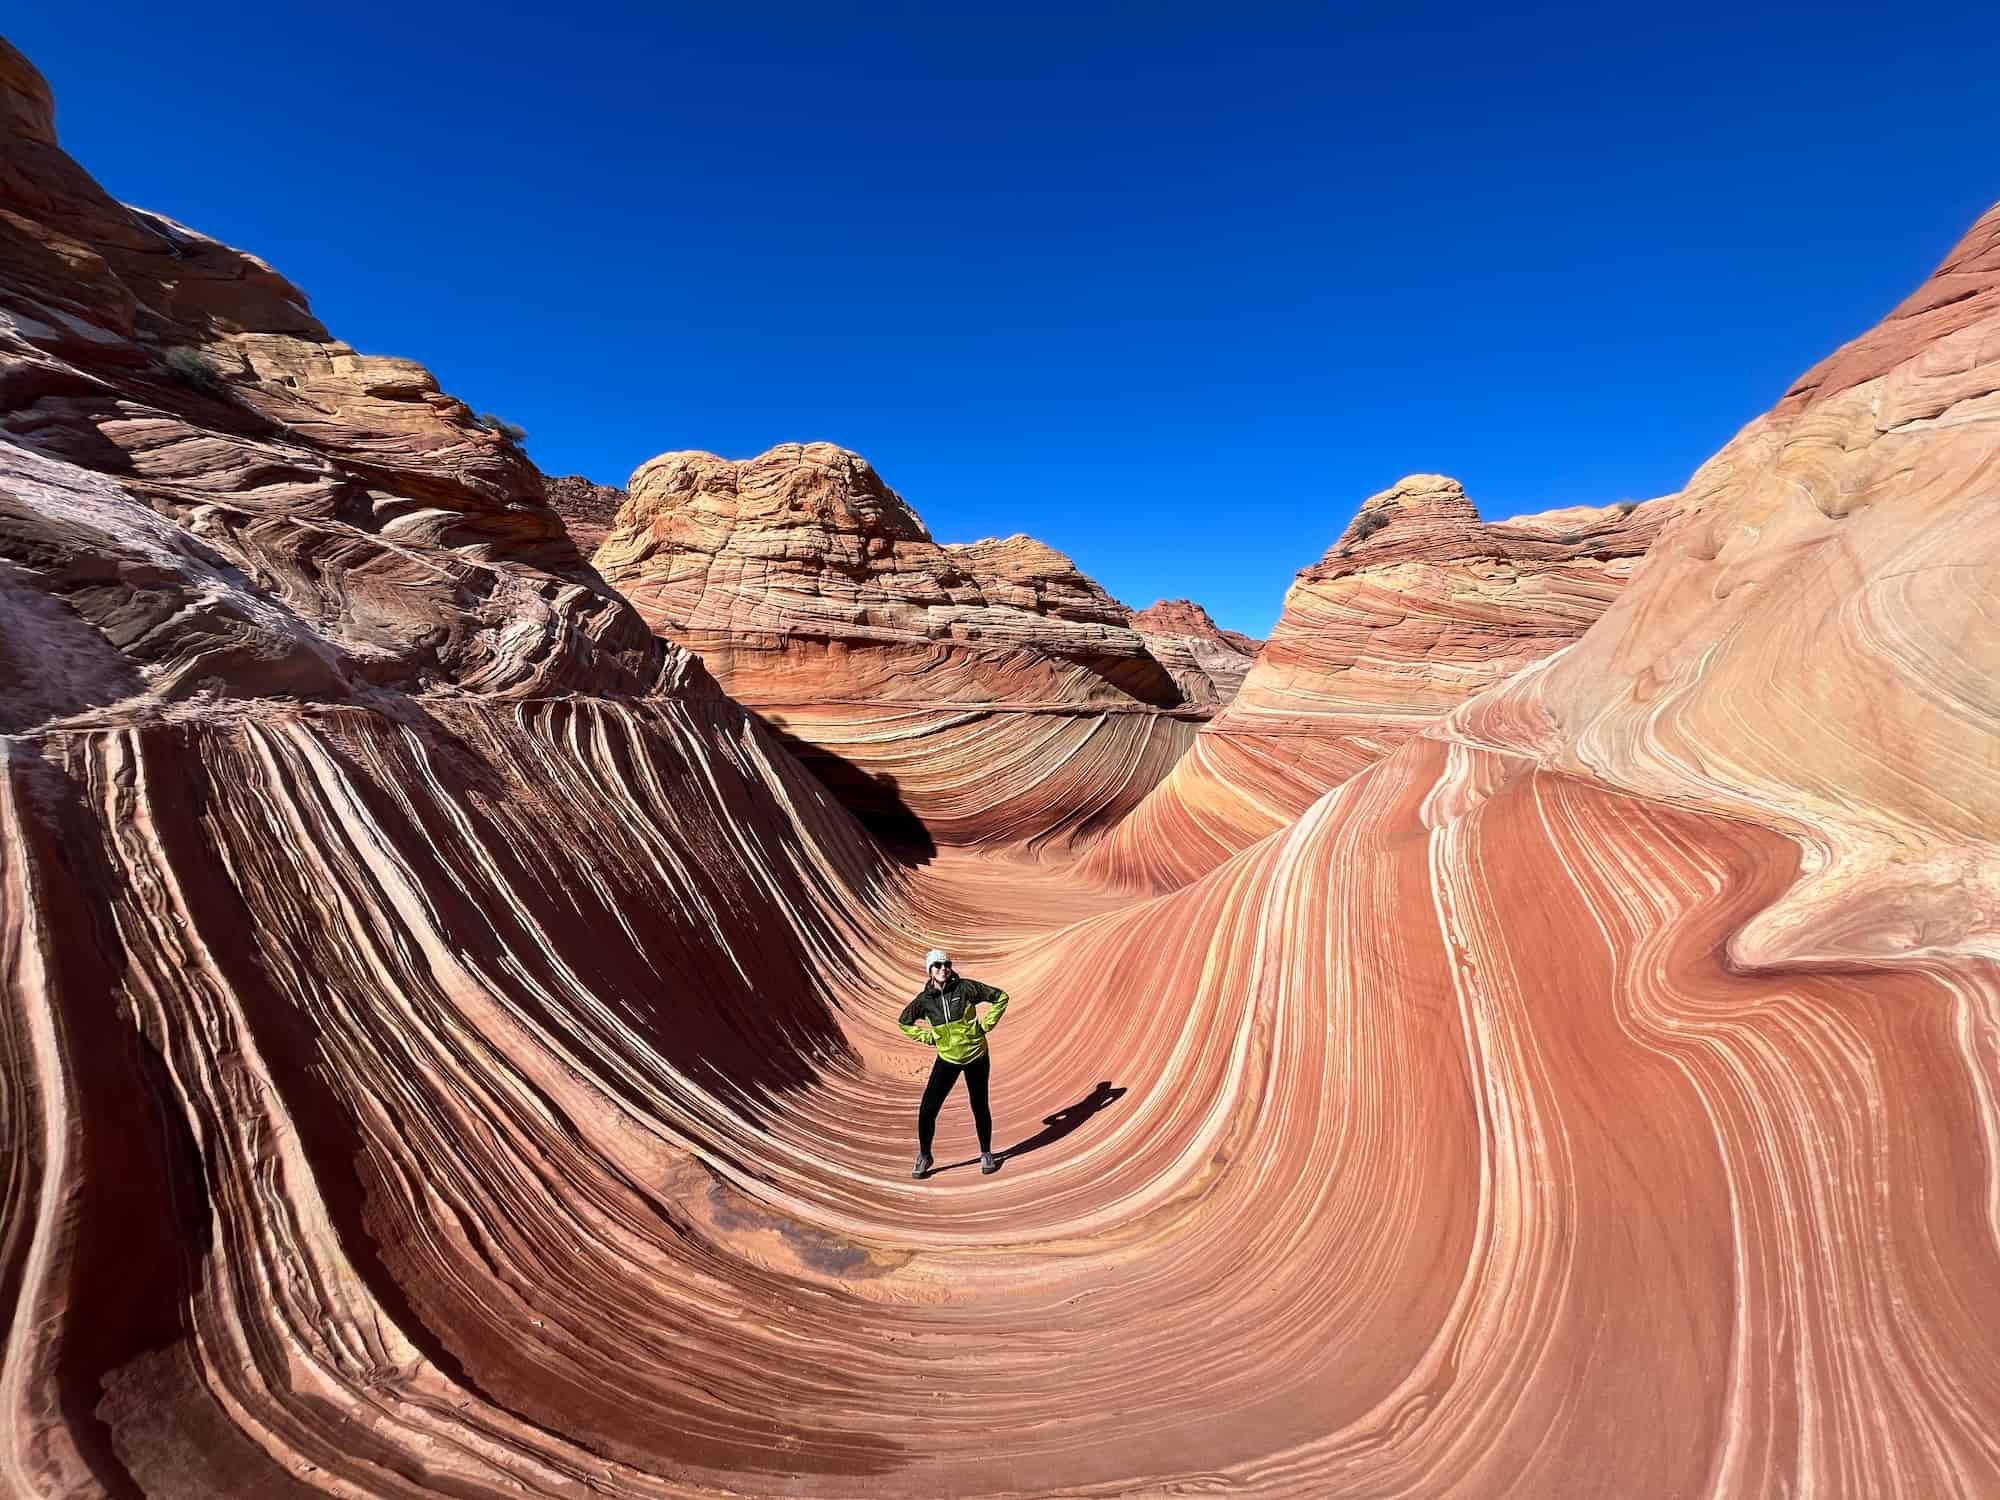
The Wave is a unique and stunning desert sandstone landscape, which you’ve probably seen pictures of! And I’m here to tell you that hiking The Wave Arizona absolutely lives up to expectations!
I’d been trying to get a permit to hike The Wave for years and finally got lucky enough to win the lottery. And you know what? Hiking The Wave was worth all the effort that went into it!
I want to help make hiking The Wave Arizona a reality for you, too, so I created this guide to help you make it happen.
WHAT WE WILL COVER IN THIS GUIDE TO THE WAVE HIKE
In this post, we will cover the following topics to help you plan and prepare for your very own successful hike of The Wave:
The Wave Hike Trail Stats - All the nitty-gritty details for the trail in one spot. How many miles, elevation gain, & more.
How to Get The Wave Hike Permits - Permits are required for this hike, and I will explain how the lottery system works.
Best Time to Hike The Wave – Details about the best time of the year to hike The Wave and typical weather to expect on your trip.
The Wave Hike Map & GPX Files - I've created a map detailing the whole trail that you can explore, including a look at the elevation gain/profile of the hike. You can also download this file as a GPX file to upload into your own personal GPS device.
How to Get to The Wave Hike Arizona – Driving directions and camping & lodging options nearby.
Itinerary for Hiking The Wave - I’ll walk you through my experience and suggested itinerary for hiking The Wave.
Important Safety Tips for Hiking The Wave – Tips about the top hazards to expect and avoid along the trail.
What to Bring When Hiking The Wave – The essential packing list for the hike. Don’t hit the trail without these things!
If you’re looking for something specific, feel free to skip ahead to the section you’re looking for!
Plus, be sure to check out the bottom of this post to find more desert trail guides and other additional hiking, camping, and backpacking resources!
1. THE WAVE HIKE TRAIL STATS
If you’re anything like me, the first thing you want to know about a trail is the high-level stats and information so you can quickly figure out what the hike is all about.
So here ya go! :)
THE WAVE ARIZONA HIKE QUICK FACTS
Type of Trail: Out & Back
Distance of The Wave Hike: 6.7 miles (Check out Section 5 ‘The Wave Hike Map, Itinerary, & GPX File’ for more details.)
Total Wave Hike Elevation Gain: 1,233 ft
The Wave Trailhead: Wire Pass Trailhead
How long does it take to hike The Wave? 3-4 hours
Is The Wave crowded? Only 64 people a day are allowed on the trail, and we saw maybe 20-30 people on the day we hiked it in February. (There were likely fewer people when we went because of the winter weather and road conditions.)
Do you need a permit to hike The Wave? YES. Permits are required and are very competitive.
How difficult is hiking The Wave Arizona? I would rate this trail as moderately difficult, depending on your fitness level. For some, this trail will be easy, but there are many new hikers who get permits to The Wave, and they may find it more difficult due to the terrain, mileage, and elevation gain. However, I think if you allow yourself enough time, anyone can go out and do this hike.
Is The Wave dog-friendly? Dogs are allowed to come on The Wave hike, but they must be included on the permit (for a $7 fee) and be under control at all times.
Is The Wave kid-friendly? Yes, depending on the child’s hiking ability. Kids also need to be included on the permit.
2. HOW TO GET THE WAVE HIKE PERMIT
I’m not going to lie to you, getting a permit for The Wave is extremely competitive, so you should expect to enter the lottery more than once before you actually win. I applied on and off for years before I finally was awarded a Wave permit – but it was totally worth it!
>>> Because this can be such a process, I even created an entire blog post to help you navigate The Wave lottery and snag The Wave permit here!
There are two different lotteries for The Wave permits – the advance lottery and the daily lottery. The advance lottery is the way to go to confirm ahead of time that you will have a permit, while the daily lottery basically gives you another chance if you didn’t win the advance lottery but will still be in the area anyway.
Here is more about how the two different lotteries work.
THE ADVANCE LOTTERY PROCESS
The advance permit lottery for The Wave runs each month for permits four months in advance. For example, if you want a permit for a date in May, you would apply any time during January, and permit winners would be announced Feb. 1st. Here is a chart from Recreation.gov to help explain how the schedule works:
You must apply for the advance permit lottery through Recreation.gov, and there is a $6 fee to apply. You can only submit one application per month, but you can apply for up to three dates on your application.
For more info and to apply, check out The Wave advance permit lottery page on Recreation.gov here.
THE DAILY LOTTERY PROCESS
You apply for The Wave daily lottery two days before the date you want to hike, any time between 6am-6pm. The results are sent out at 7:15pm. If you win a permit, you must accept the permit and pay the required fees by 8 AM Utah time the following morning after you receive notice that you won, then arrive at a permit pickup location by 8:30 AM local time for a safety briefing. If you are late to this briefing, you will lose your permit!
The daily lottery process for The Wave is based on geofencing, which means you must be in a designated area in the region of The Wave in order to apply. You must apply on your mobile phone so that your location can be determined. Here is a BLM map which shows the area you need to be in in order to apply:
For more info, check out The Wave daily permit lottery page on Recreation.gov here.
WHAT TO DO IF YOU DON’T WIN THE WAVE PERMIT DAILY LOTTERY
If you choose to risk trying for a daily permit but don’t get one, there are still plenty of great hikes around the area that make good backup options:
Wire Pass Canyon to Buckskin Gulch – This cool slot canyon requires a permit as well, but the quota is not limited, so you just need to purchase it in advance online.
Toadstool Hoodoos Trail – A short trail that’s full of really neat rock formations that look like mushrooms.
Beehive Loop Trail – A fun slickrock trail with great views that’s worth checking out if you’re hanging out in Page, Arizona.
HOW MUCH DOES A PERMIT COST?
A $6.00 lottery fee (non-refundable) is required to apply for a Wave permit.
If you are awarded a permit for The Wave, you then must pay an additional recreation fee of $7 per person (and per dog).
TIPS FOR INCREASING YOUR CHANCES OF GETTING A PERMIT TO HIKE THE WAVE
If you’re really stoked to hike The Wave, here are a few of my tips for increasing your chances at winning permits in the lottery:
Be patient - Plan to enter the lottery monthly for a while. I liked to consider it my monthly donation to the Parks service that takes care of all these beautiful places I enjoy hiking and recreating in.
Apply for weekdays - Always tend to be less popular than weekends.
Apply for offseason dates - Comes with the risk that the hike won’t be doable due to weather and road conditions.
Apply for FEWER permits - Smaller groups have a slightly better chance.
OTHER USEFUL PERMIT CONSIDERATIONS
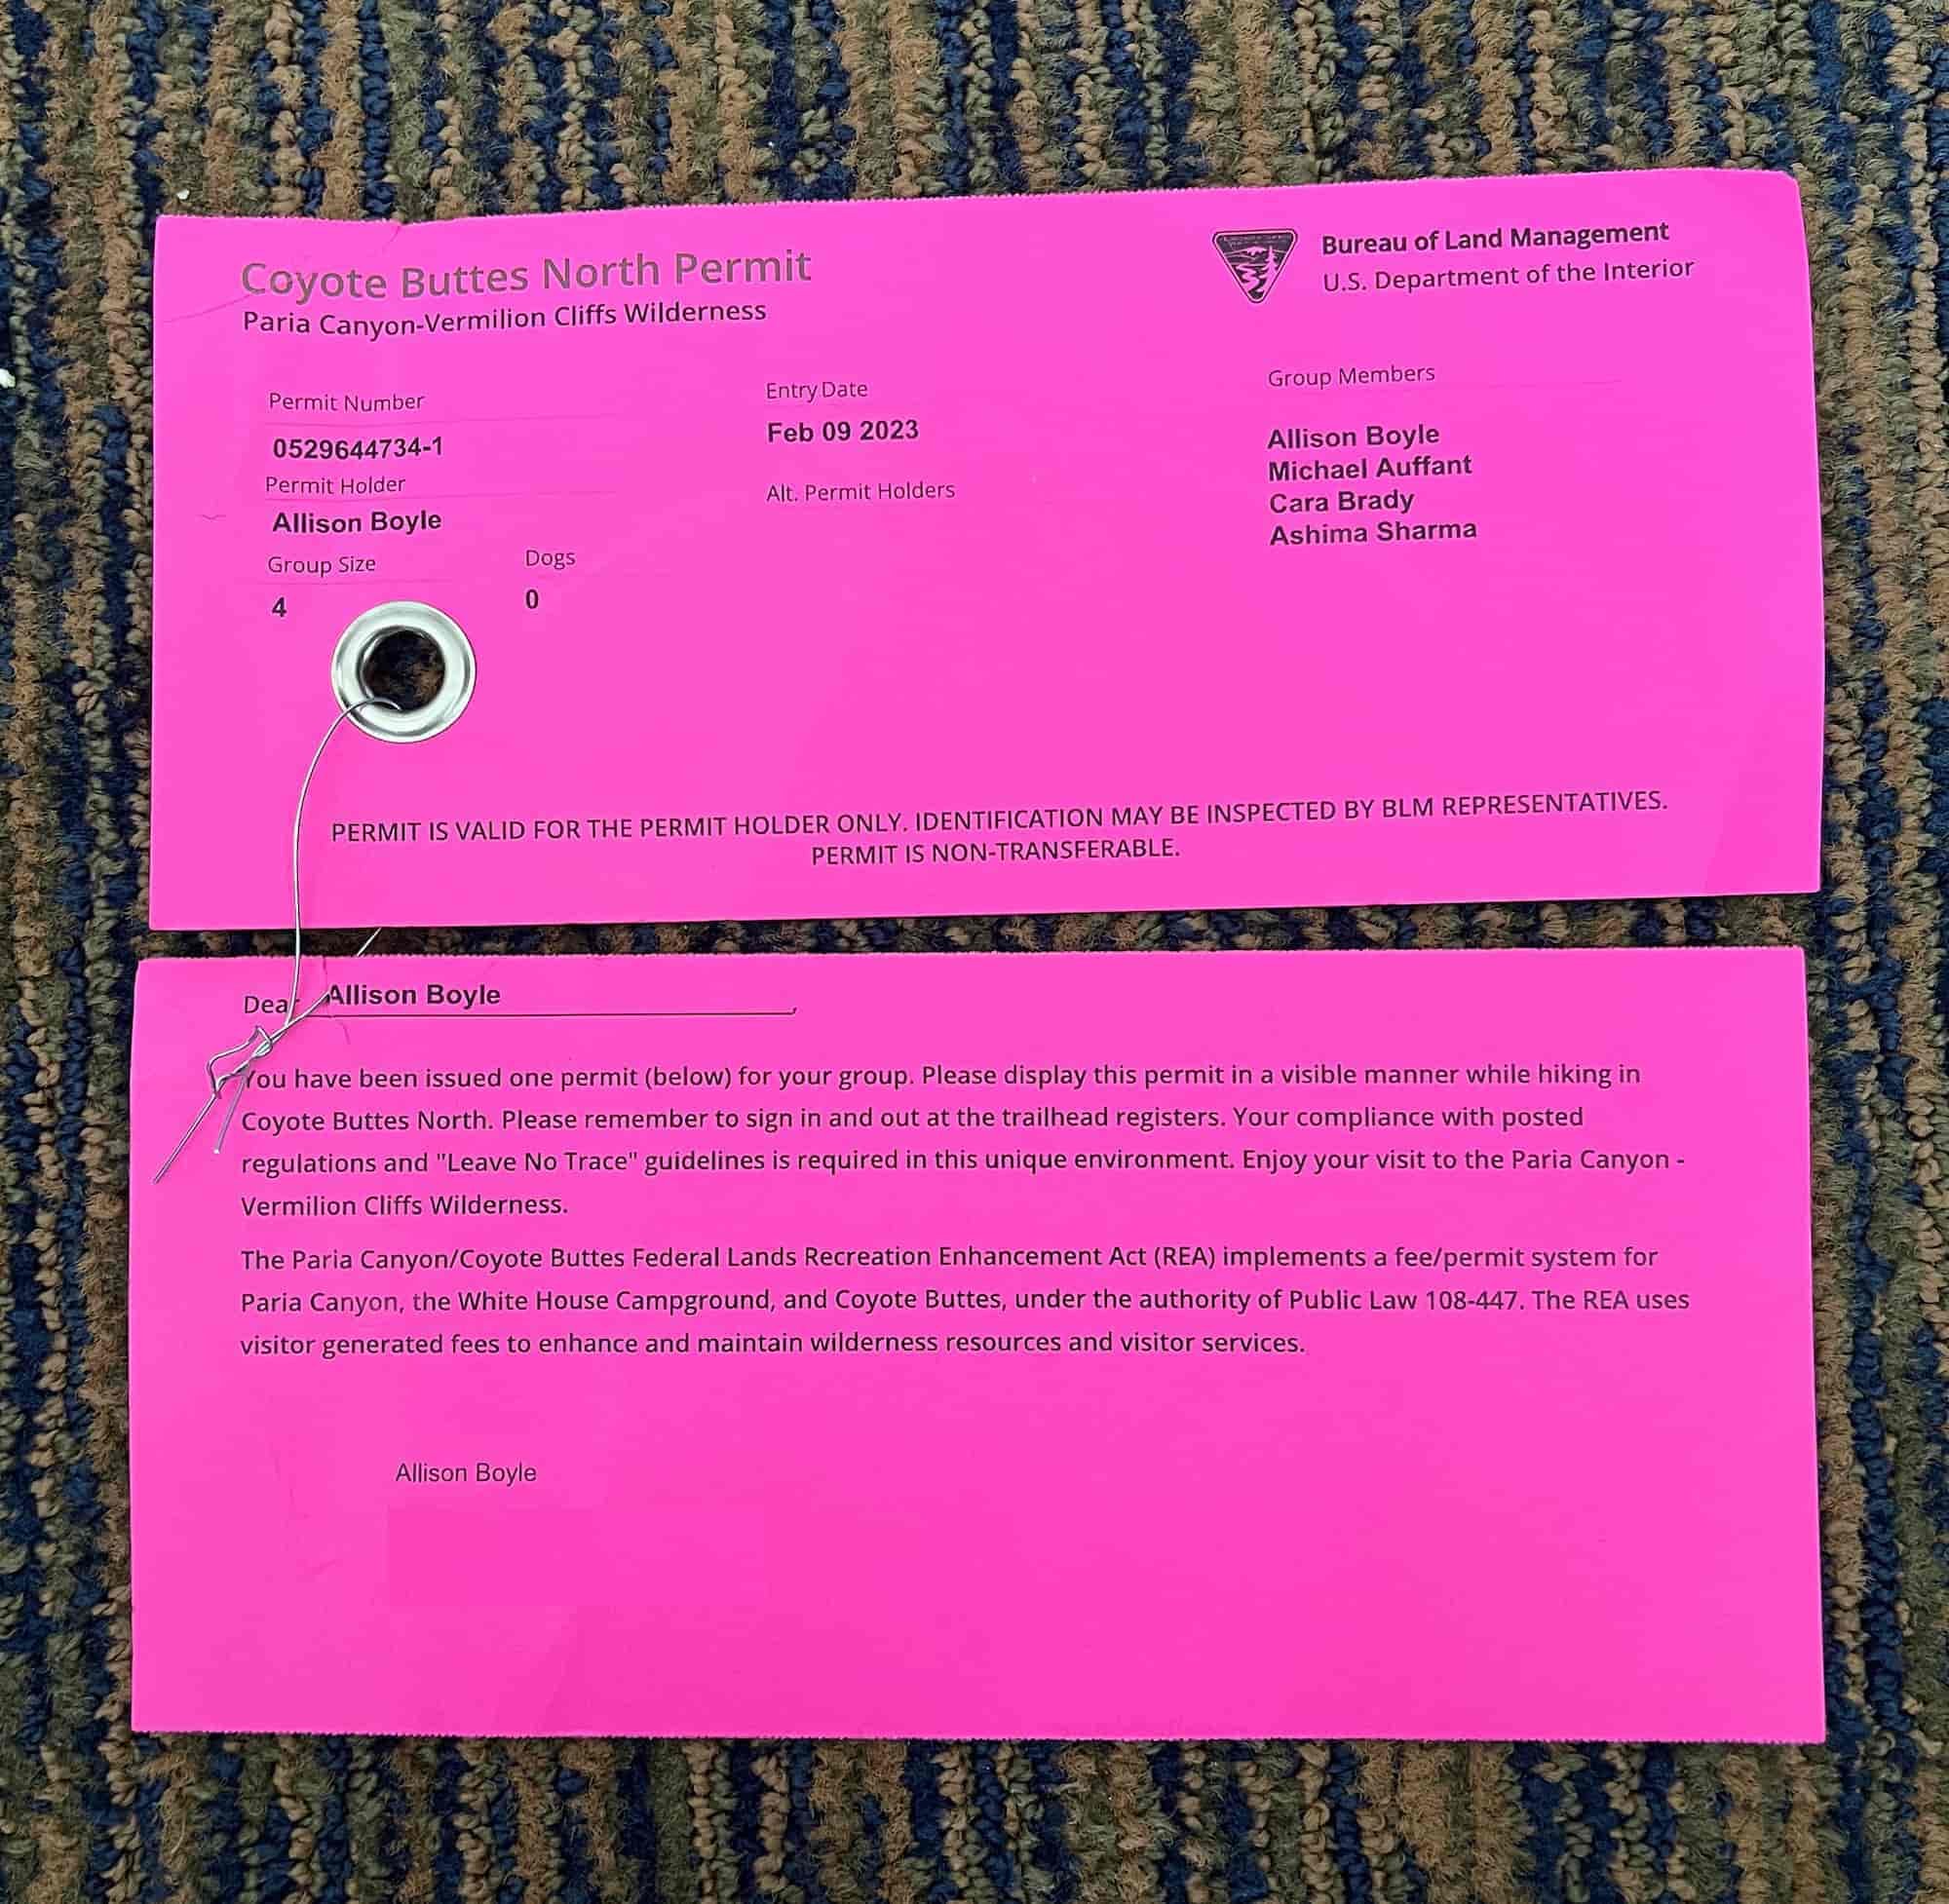
If you DO win The Wave permit lottery, you will be emailed a confirmation that you WON and then physically MAILED your permit.
Make sure to put this permit in a SAFE PLACE where you won’t forget to grab it before your trip. You’ll need to put part of the permit in your car and part of it attached to your bag when you hike The Wave.
GRAB MY [FREE] BACKPACKING STARTER KIT
I created the Ultimate Outdoor Backpacker Starter Kit for you (and it's FREE)! This starter kit is filled with 14 pages of my best hiking and backpacking tips to help you learn what it takes to become a safe, confident, and self-sufficient outdoor backpacker!
3. BEST TIME TO HIKE THE WAVE
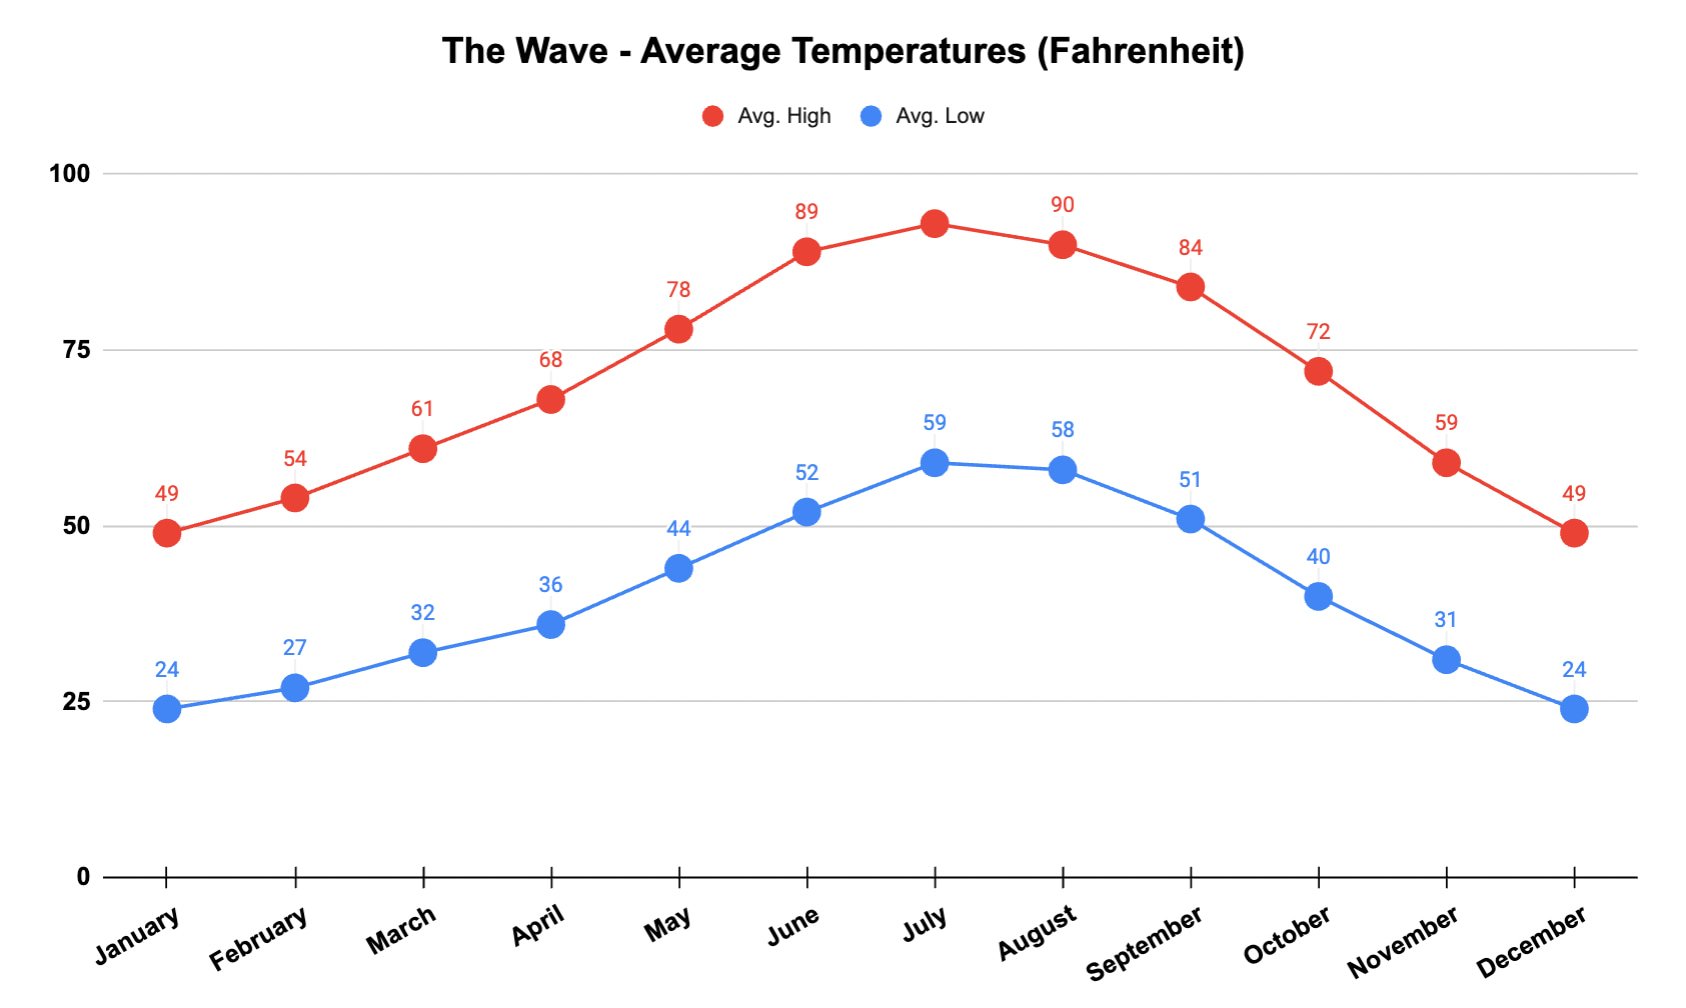
Spring (March, April, May) and fall (September, October, November) will be the best times to visit The Wave for ideal weather. However, these are also going to be the most competitive times to get a permit.
Summer can be exceptionally hot in the desert, and there is very little shade on The Wave hike. If you start very early in the morning to avoid the hottest part of the day, you might be okay, but just keep in mind that the heat can be extremely dangerous. Also, flash floods are a serious concern in the summer.
Winter at The Wave is really a gamble. You might get a chilly but sunny day that is perfect for hiking and pictures, or you might get a snowstorm, making the roads impassable or obscuring the cool lines of The Wave in photos.
Check out the The Wave weather average temperature graph below for reference.
Be prepared before you go. Just like I teach my students in my backpacking program. It’s important that you research your weather conditions before you go, in the weeks and days before your trip. You can check the weather conditions at one of the following resources:
TheWave.info – Up to date local weather for Coyote Buttes North, where The Wave is located, as well as average weather info for throughout the year.
National Weather Service – The NWS forecast for the nearby town of Kanab, UT.
4. THE WAVE HIKE MAP & GPX FILES
If you’re new to hiking, it can be easy to get lost or turned around when trying to hike The Wave. The Wave hike shares a trailhead with other hikes, and the desert landscape often leaves people feeling disoriented.
In fact, on one of the days when my friends and I were hiking in Buckskin Gulch Canyon, we ran into a few hikers who asked us if they were hiking in the right direction to get to The Wave…and they were not (this mistake cost them an extra 3 miles added on to their trip).
The parks will provide you turn-by-turn directions via a printed pamphlet - but honestly, do yourself a favor and also have the GPS map and trail downloaded to your phone ahead of time.
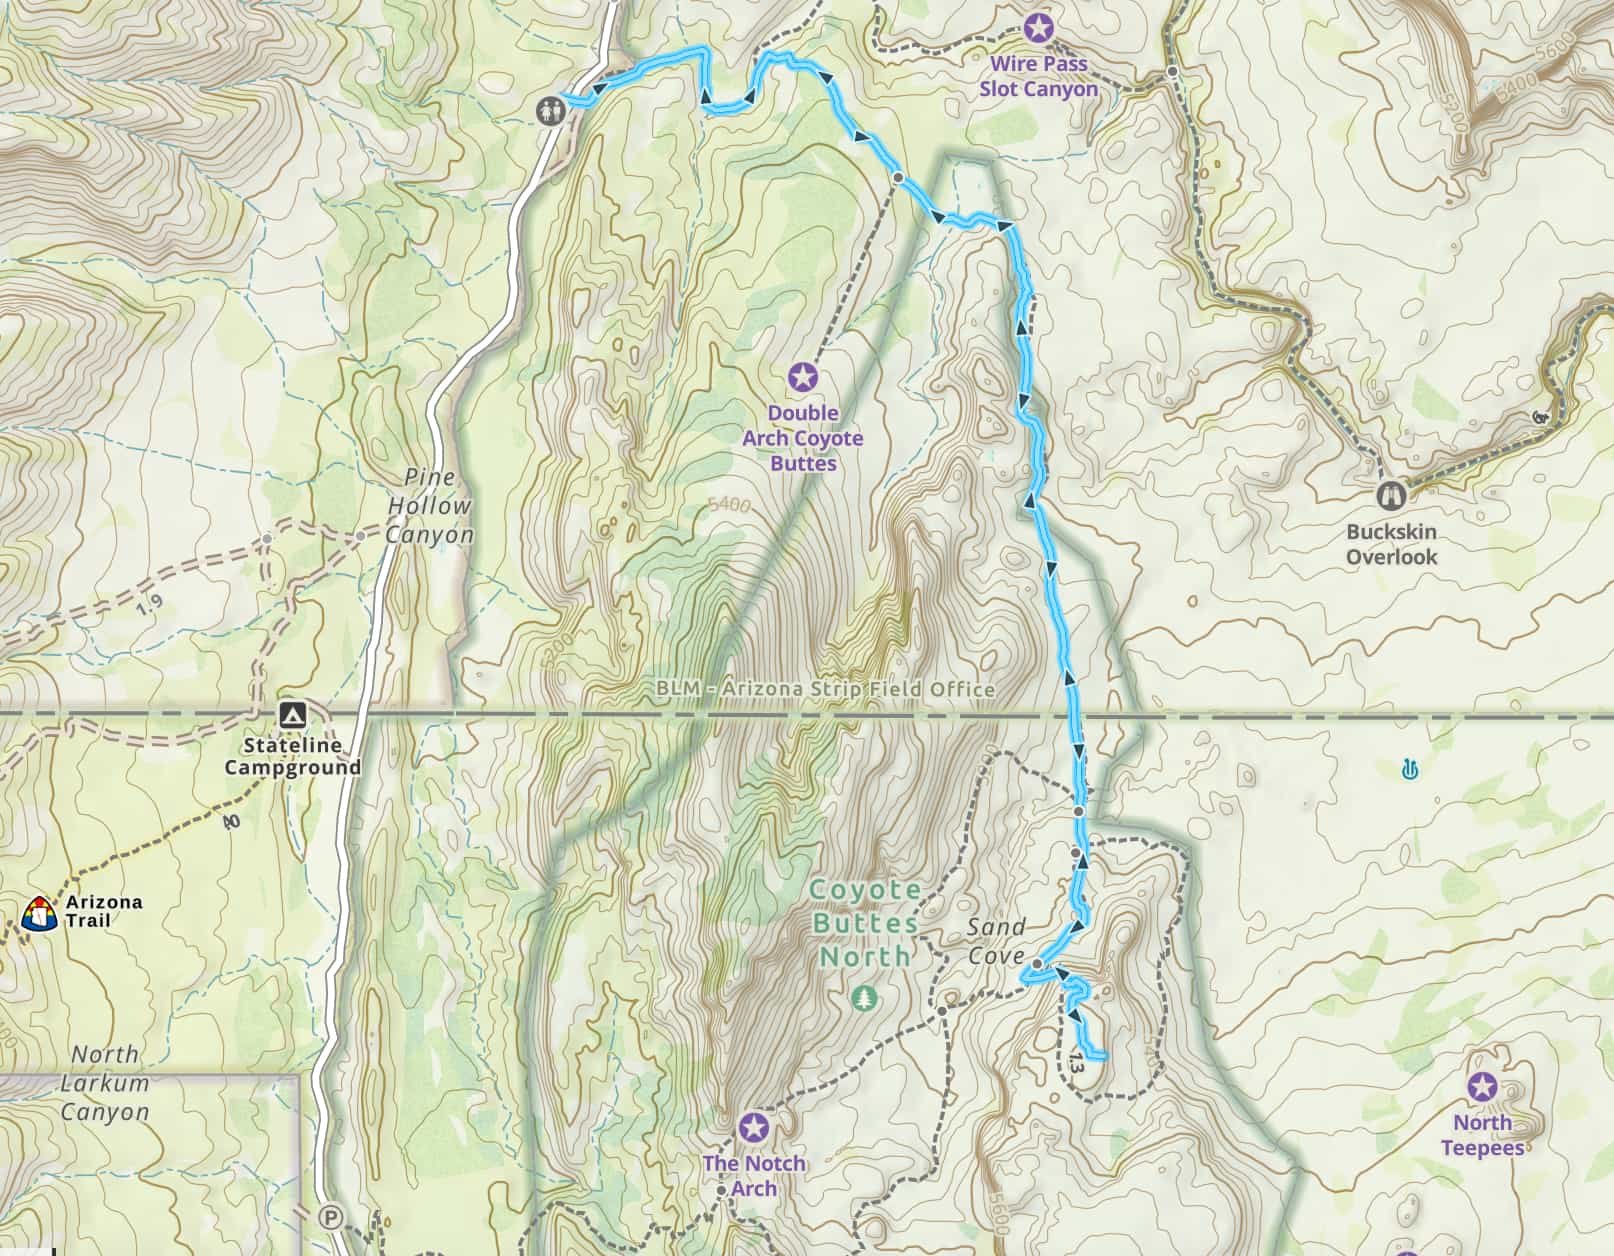
I’ve created a map detailing The Wave hiking trail that you can explore, including a look at the The Wave elevation gain profile of the hike. You can also download this file as a The Wave GPX file to upload into your own personal GPS device to take with you on your hike of The Wave.
**I always recommend downloading a GPX file onto a GPS device, that way you can check in from time to time to be sure you’re on the right trail.
You can download the GPX files from The Wave map below. It details all the key milestones of the hike including the trailhead start, summit, and more.
DOWNLOAD THE WAVE GPX FILES FOR YOUR GPS HERE:
Knowledge is power my friend, and I'm a girl who loves data. Get access to this trails GPX file PLUS my library of GPX files with tracks and waypoints for all the trails loaded onto the She Dreams of Alpine blog.
Load this puppy into your trusted GPS and rest easy knowing you have tracks to follow on your next hike or backpacking trip.
DON’T HAVE A GPS? YOU SHOULD.
I believe every hiker and backpacker should strive to be self-sufficient, and that includes knowing how to practice smart navigational skills in the outdoors.
This is an important safety skill set that I teach in-depth inside of my backpacking program. There’s no reason to risk getting lost in the outdoors.
Here’s what I recommend to get started:
(Note: This list contains affiliate links)
Gaia is offering a special 10% discount on a premium account to those who subscribe online through my link.
Don’t know where to start? If you need help with some Gaia GPS basics, download my quick Gaia GPS navigation 101 guide.
2) Get an SOS Device: Once you are able to, I recommend investing in some sort of SOS communication device like the Garmin inReach Mini or the Garmin inReach Explorer+ . These devices provide not only GPS tracking capabilities, but also an SOS satellite search and rescue communicator and text communication abilities in the backcountry.
My Go-To Trail Setup: The Gaia GPS app (premium subscription) + the Garmin inReach Mini.
Alternative to Garmin: Pair your Gaia GPS App with the Zoleo SOS device . With this set up, the Gaia GPS App serves as your GPS navigation device, and the Zoleo serves as an SOS/communication device.
Learn more about the best GPS devices for hiking here.
THE WAVE HIKE ELEVATION PROFILE
Here’s a look at the The Wave hike elevation gain profile, out and back from the trailhead.
5. HOW TO GET TO THE WAVE ARIZONA
The Wave lies right on the border between Arizona and Utah. The closest towns are Page, Arizona and Kanab, Utah, which are both about an hour away from the trailhead. Kanab does have a small airport, but the closest cities with major airports to fly into are Las Vegas (4.5 hour drive), Flagstaff or Phoenix (3.5 or 5.5 hour drive), and Salt Lake City (6 hour drive).
>>> Check out our guide to other amazing things to do in Page, Arizona as well!
LODGING OPTIONS NEAR THE WAVE
We chose to stay in a hotel in Page, AZ since it was on our way on the drive from Colorado Springs, and it was winter, so temps at night were getting as low as 15°F.
You could also choose to stay in a hotel in Kanab, UT, which would be convenient if you are coming from the west.
THE WAVE CAMPING OPTIONS
Stateline Campground is a fantastic choice for camping near The Wave. Located on BLM land just 5 minutes from the trailhead, the campground has 7 free sites which are first-come/first-served.
Be aware that the road to the campground is super rough, and high-clearance 4WD is usually necessary to get there.
GETTING TO THE WAVE TRAILHEAD
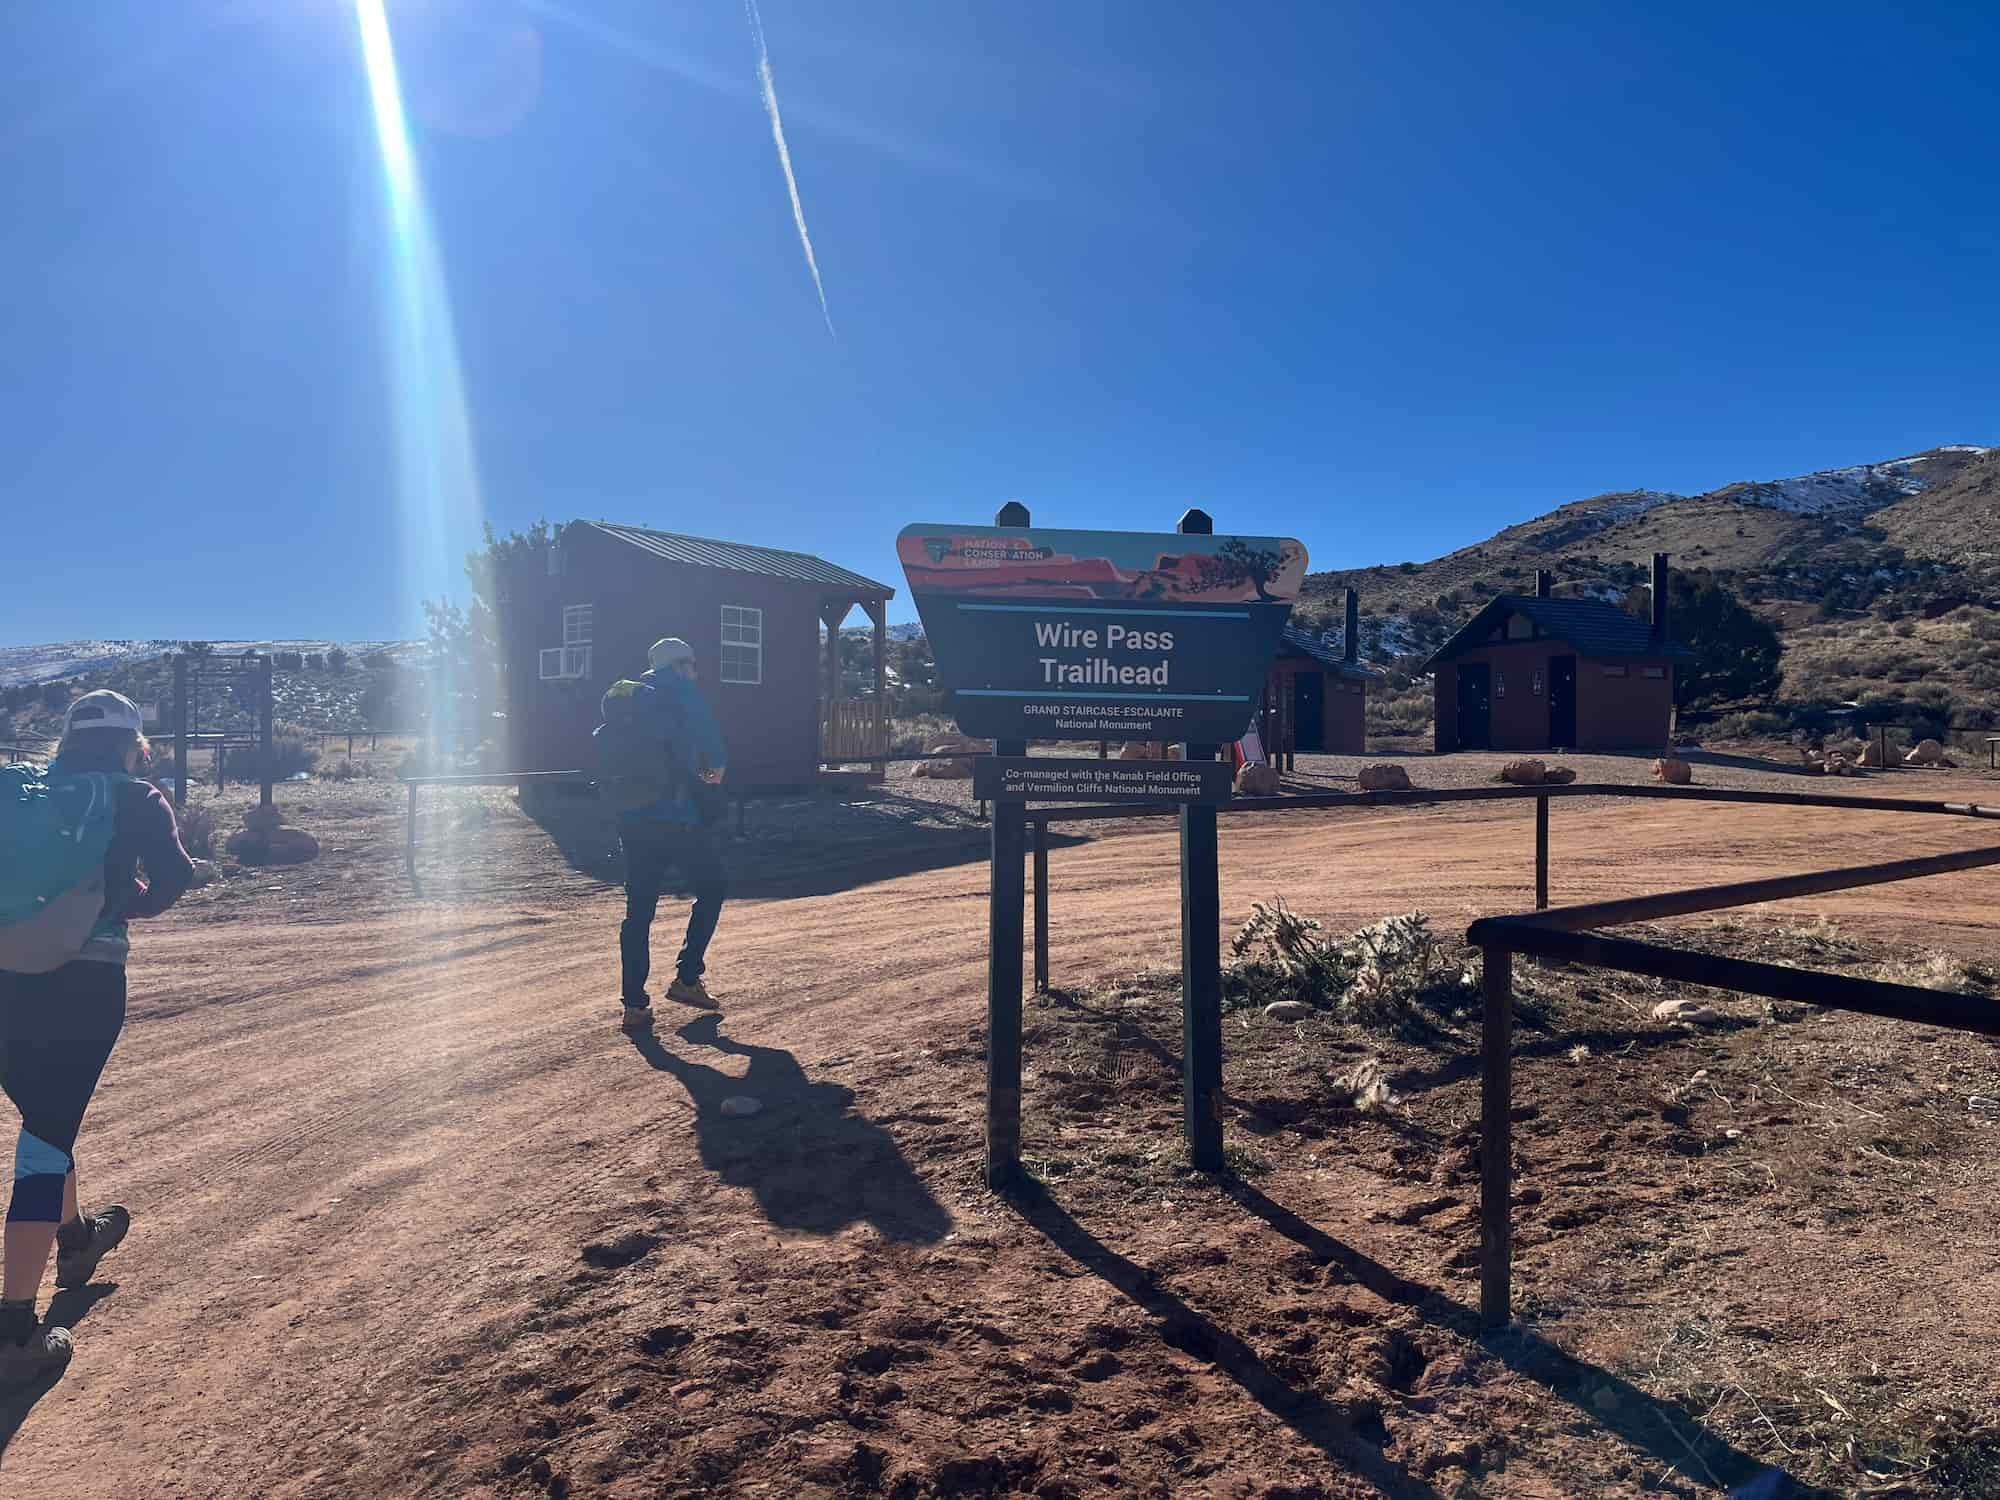
The Wave hike starts at Wire Pass Trailhead in Coyotes Buttes North. To get there from most places nearby, take Highway 89 to House Rock Road.
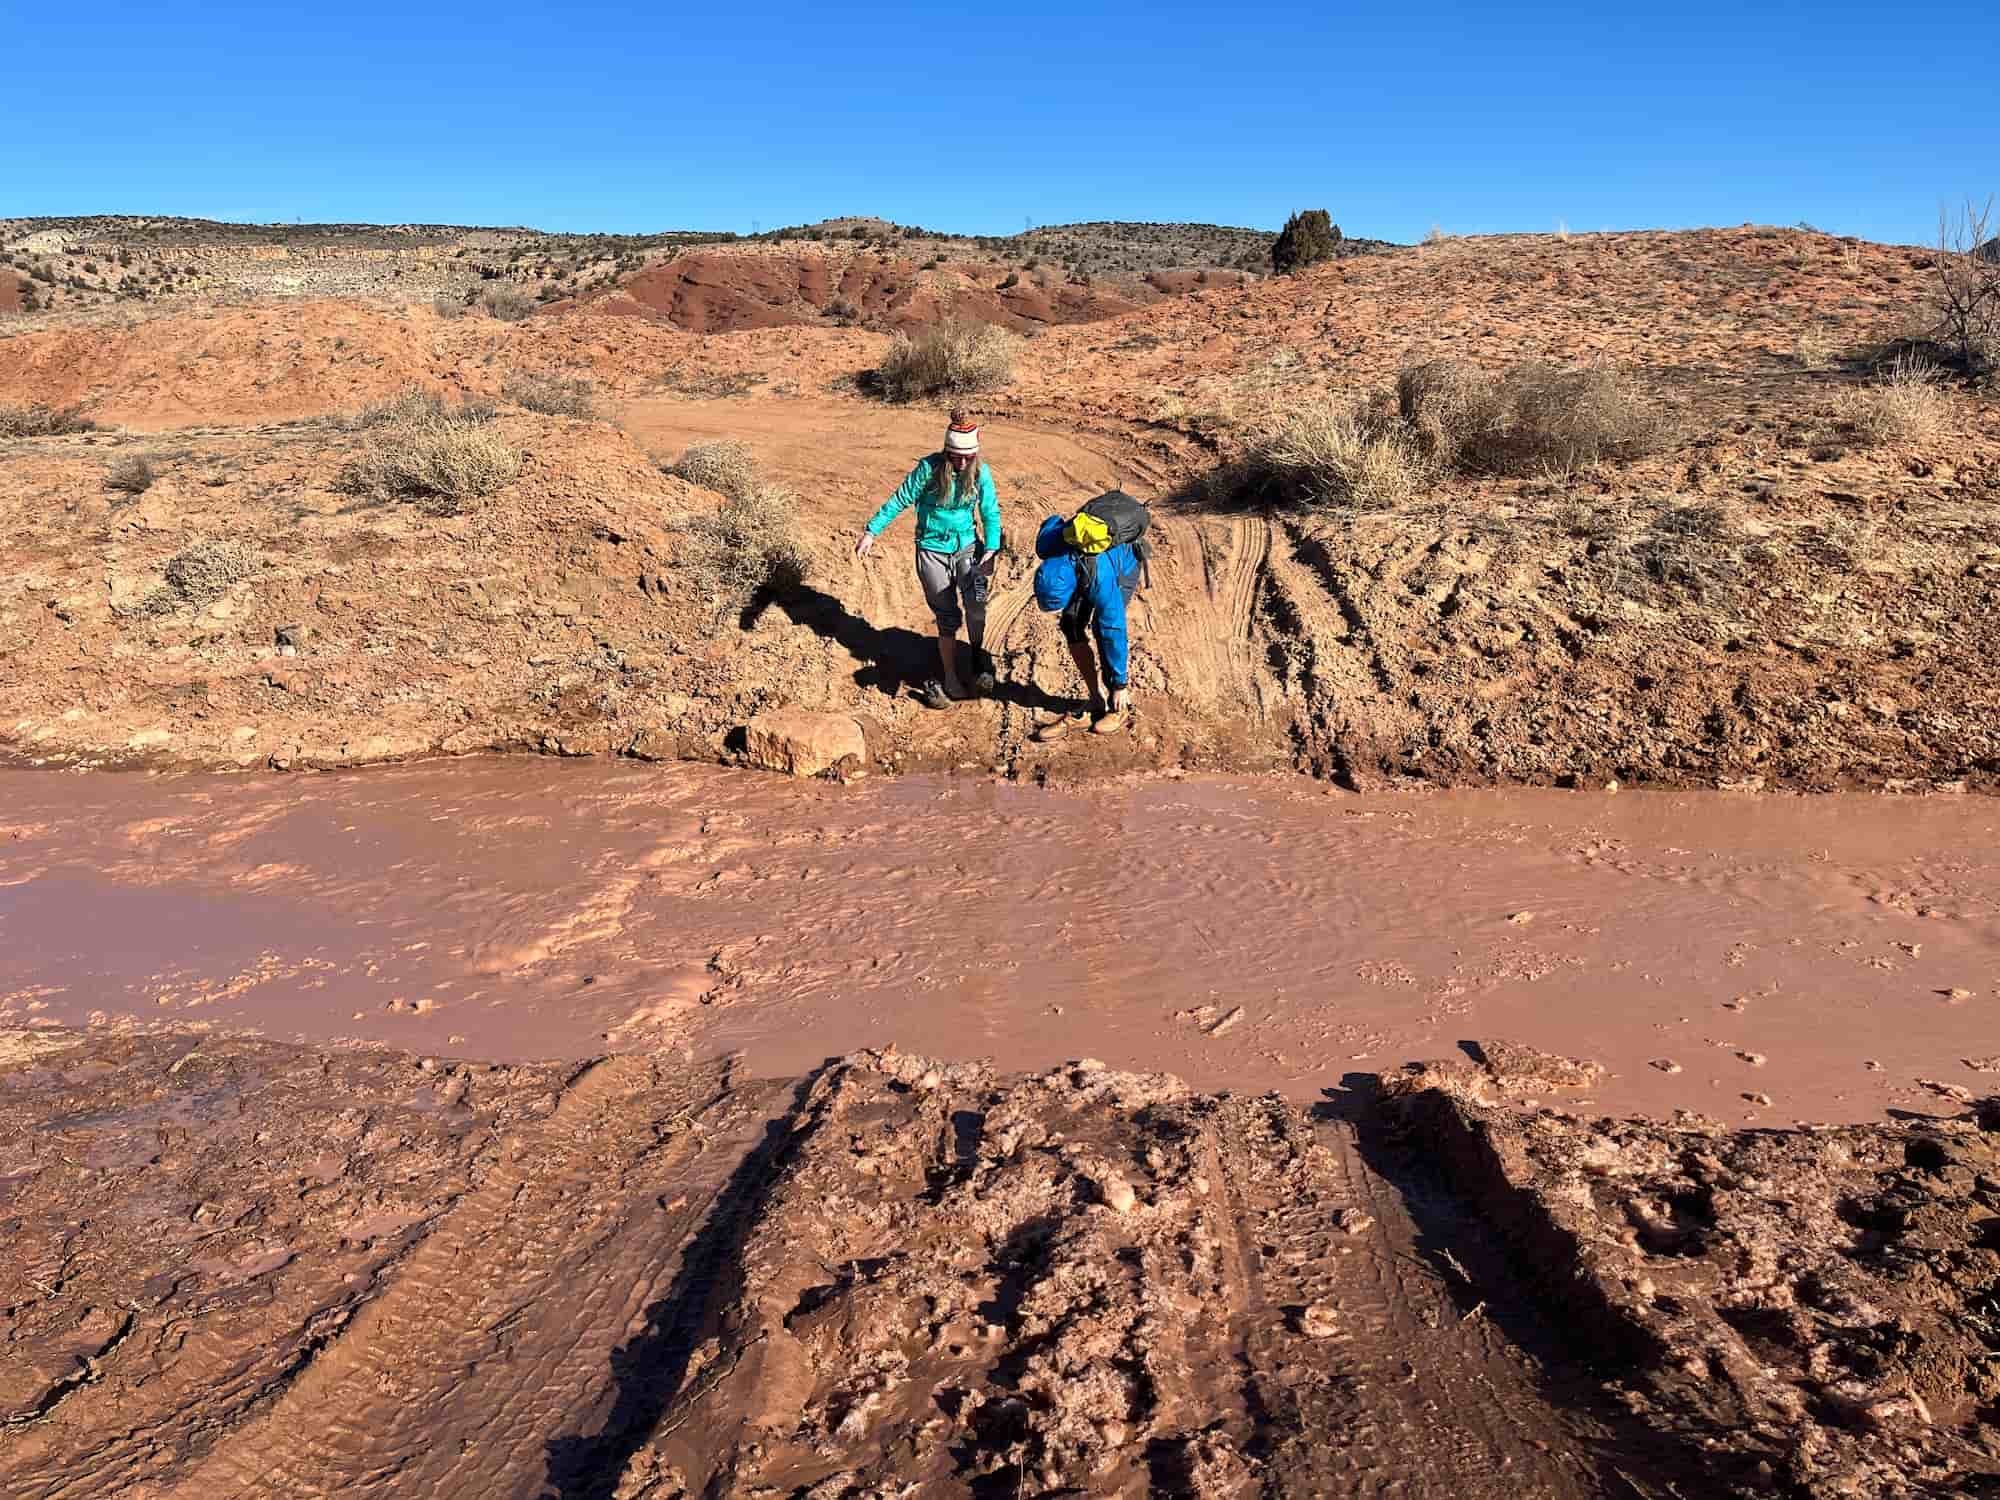
The conditions of House Rock Road can be quite rough, especially after rain or snow, and can be impassable at times. Be sure to check the conditions before attempting to drive this road.
6. ITINERARY FOR HIKING THE WAVE
Here I’ll walk you through a suggested itinerary for day hiking The Wave based on my experience.
A TYPICAL ITINERARY FOR HIKING THE WAVE
There is a safety briefing each morning for daily permit winners, and the rangers recommend attending the one the day before your hike if you won the advance lottery to give you time to prepare. We opted not to attend, but it’s probably a good idea if you want up-to-date info on conditions and if you’re less experienced with desert hiking.
We arrived for our hike around 9am, and a woman was taking registrations. She let us know that road conditions to the trailhead were terrible and that our car probably wouldn’t make it (it was 4WD but not high clearance).
So we parked just before the Buckskin Gulch Trailhead, then crossed the icy river and started walking to the Wire Pass Trailhead where The Wave hike actually starts. Luckily, some people with a high-clearance vehicle picked us up and gave us a ride the rest of the way to the trailhead.
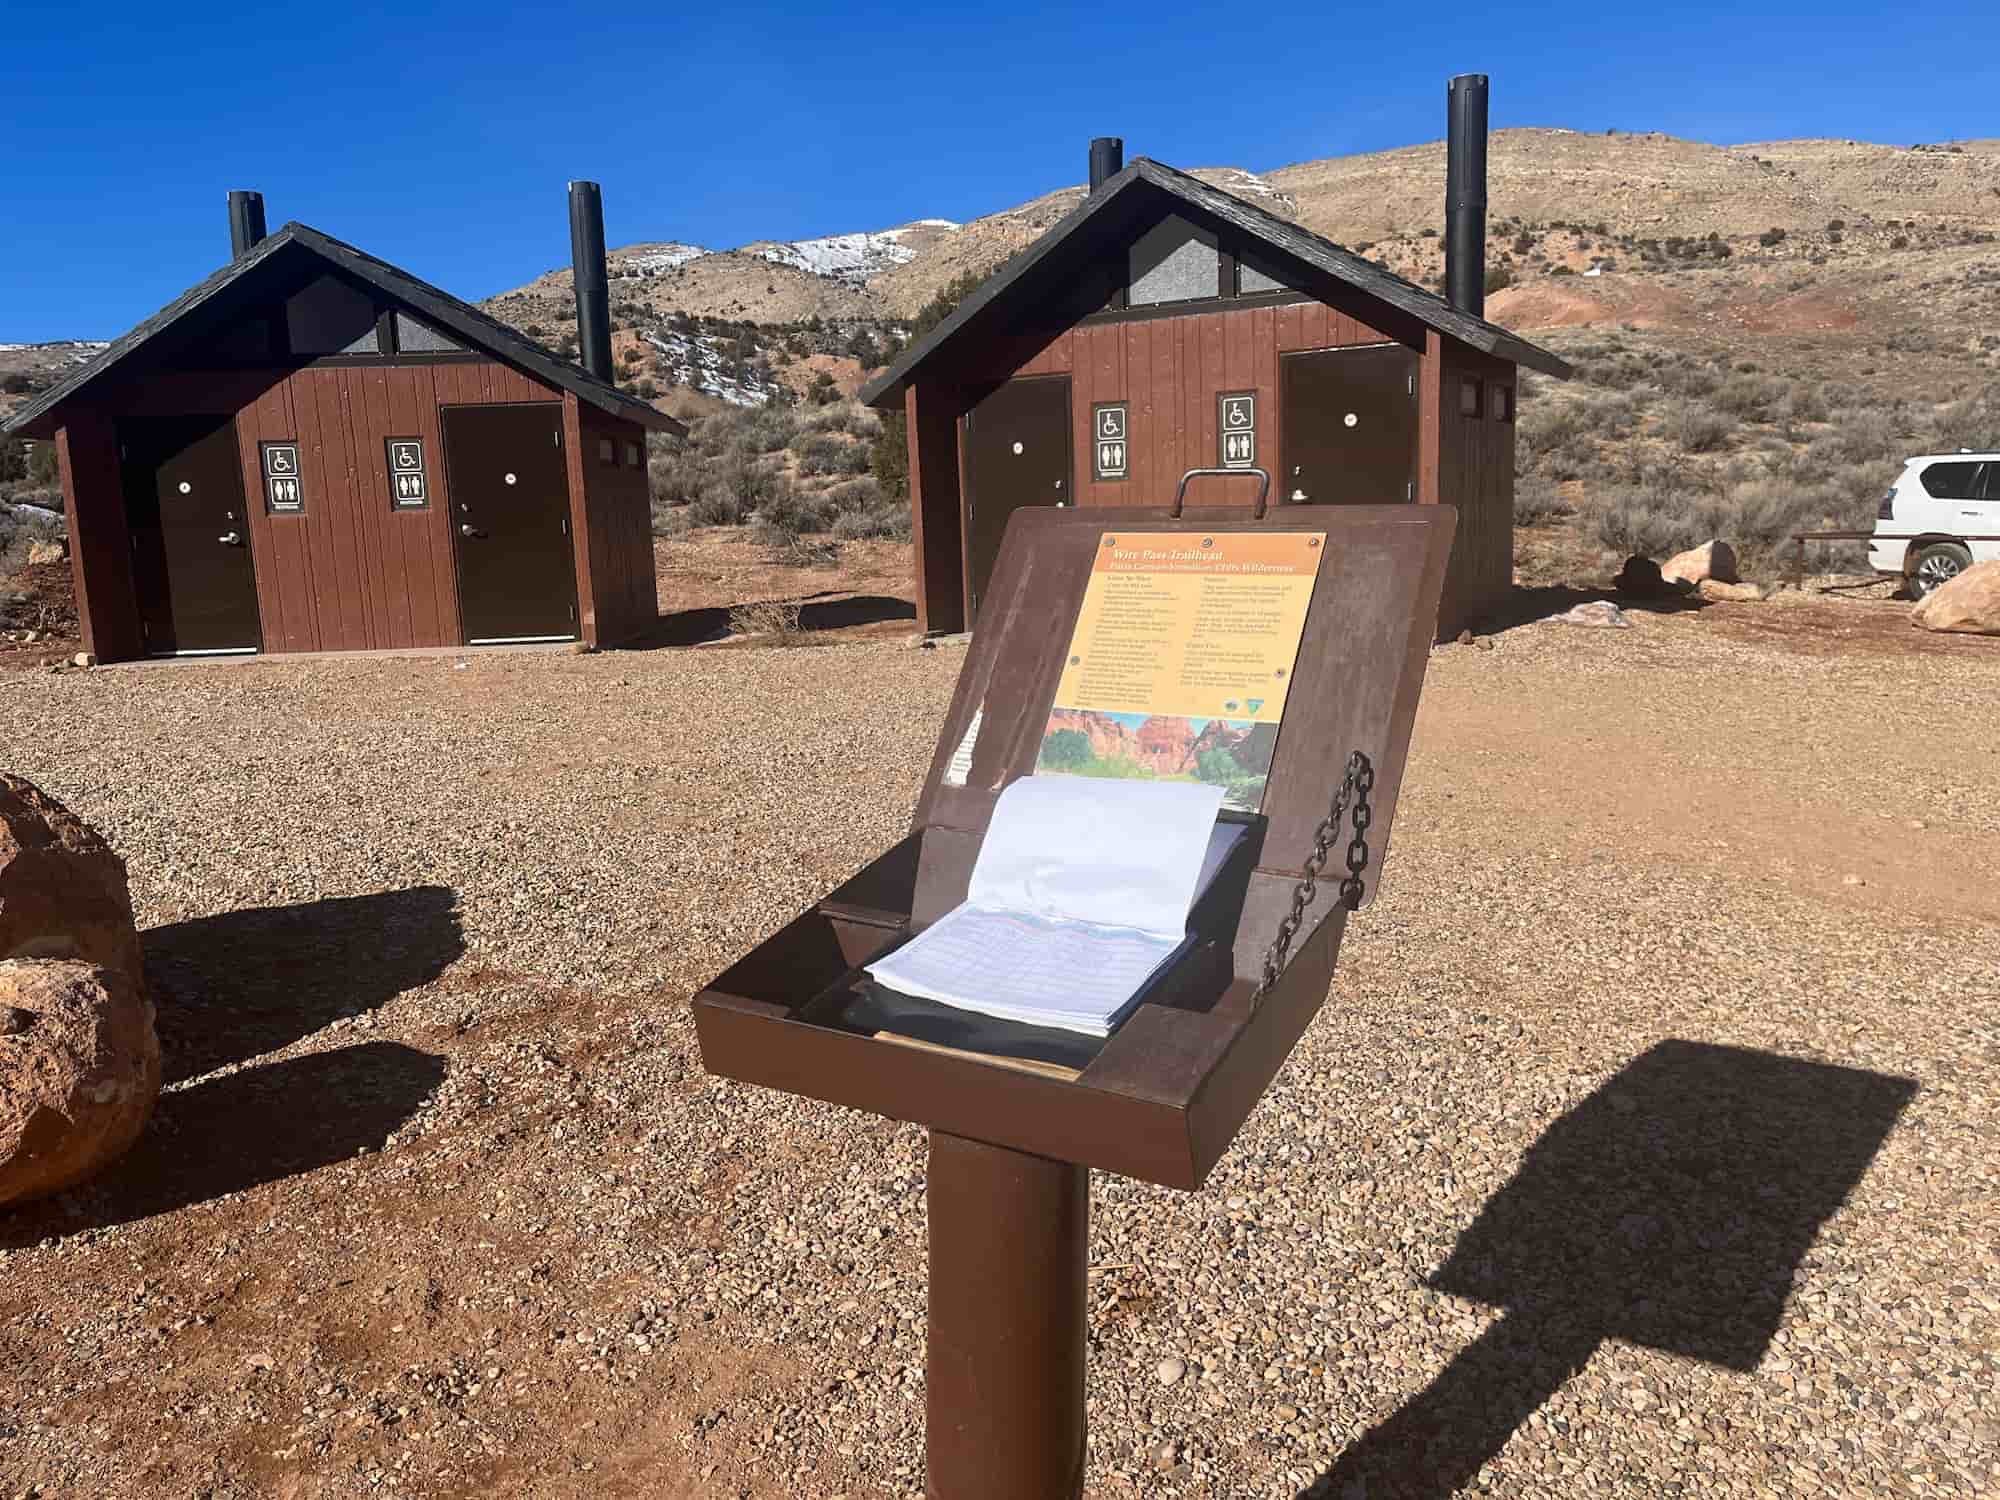
Then we signed into the trailhead (which the permit says to do) and finally started our hike!
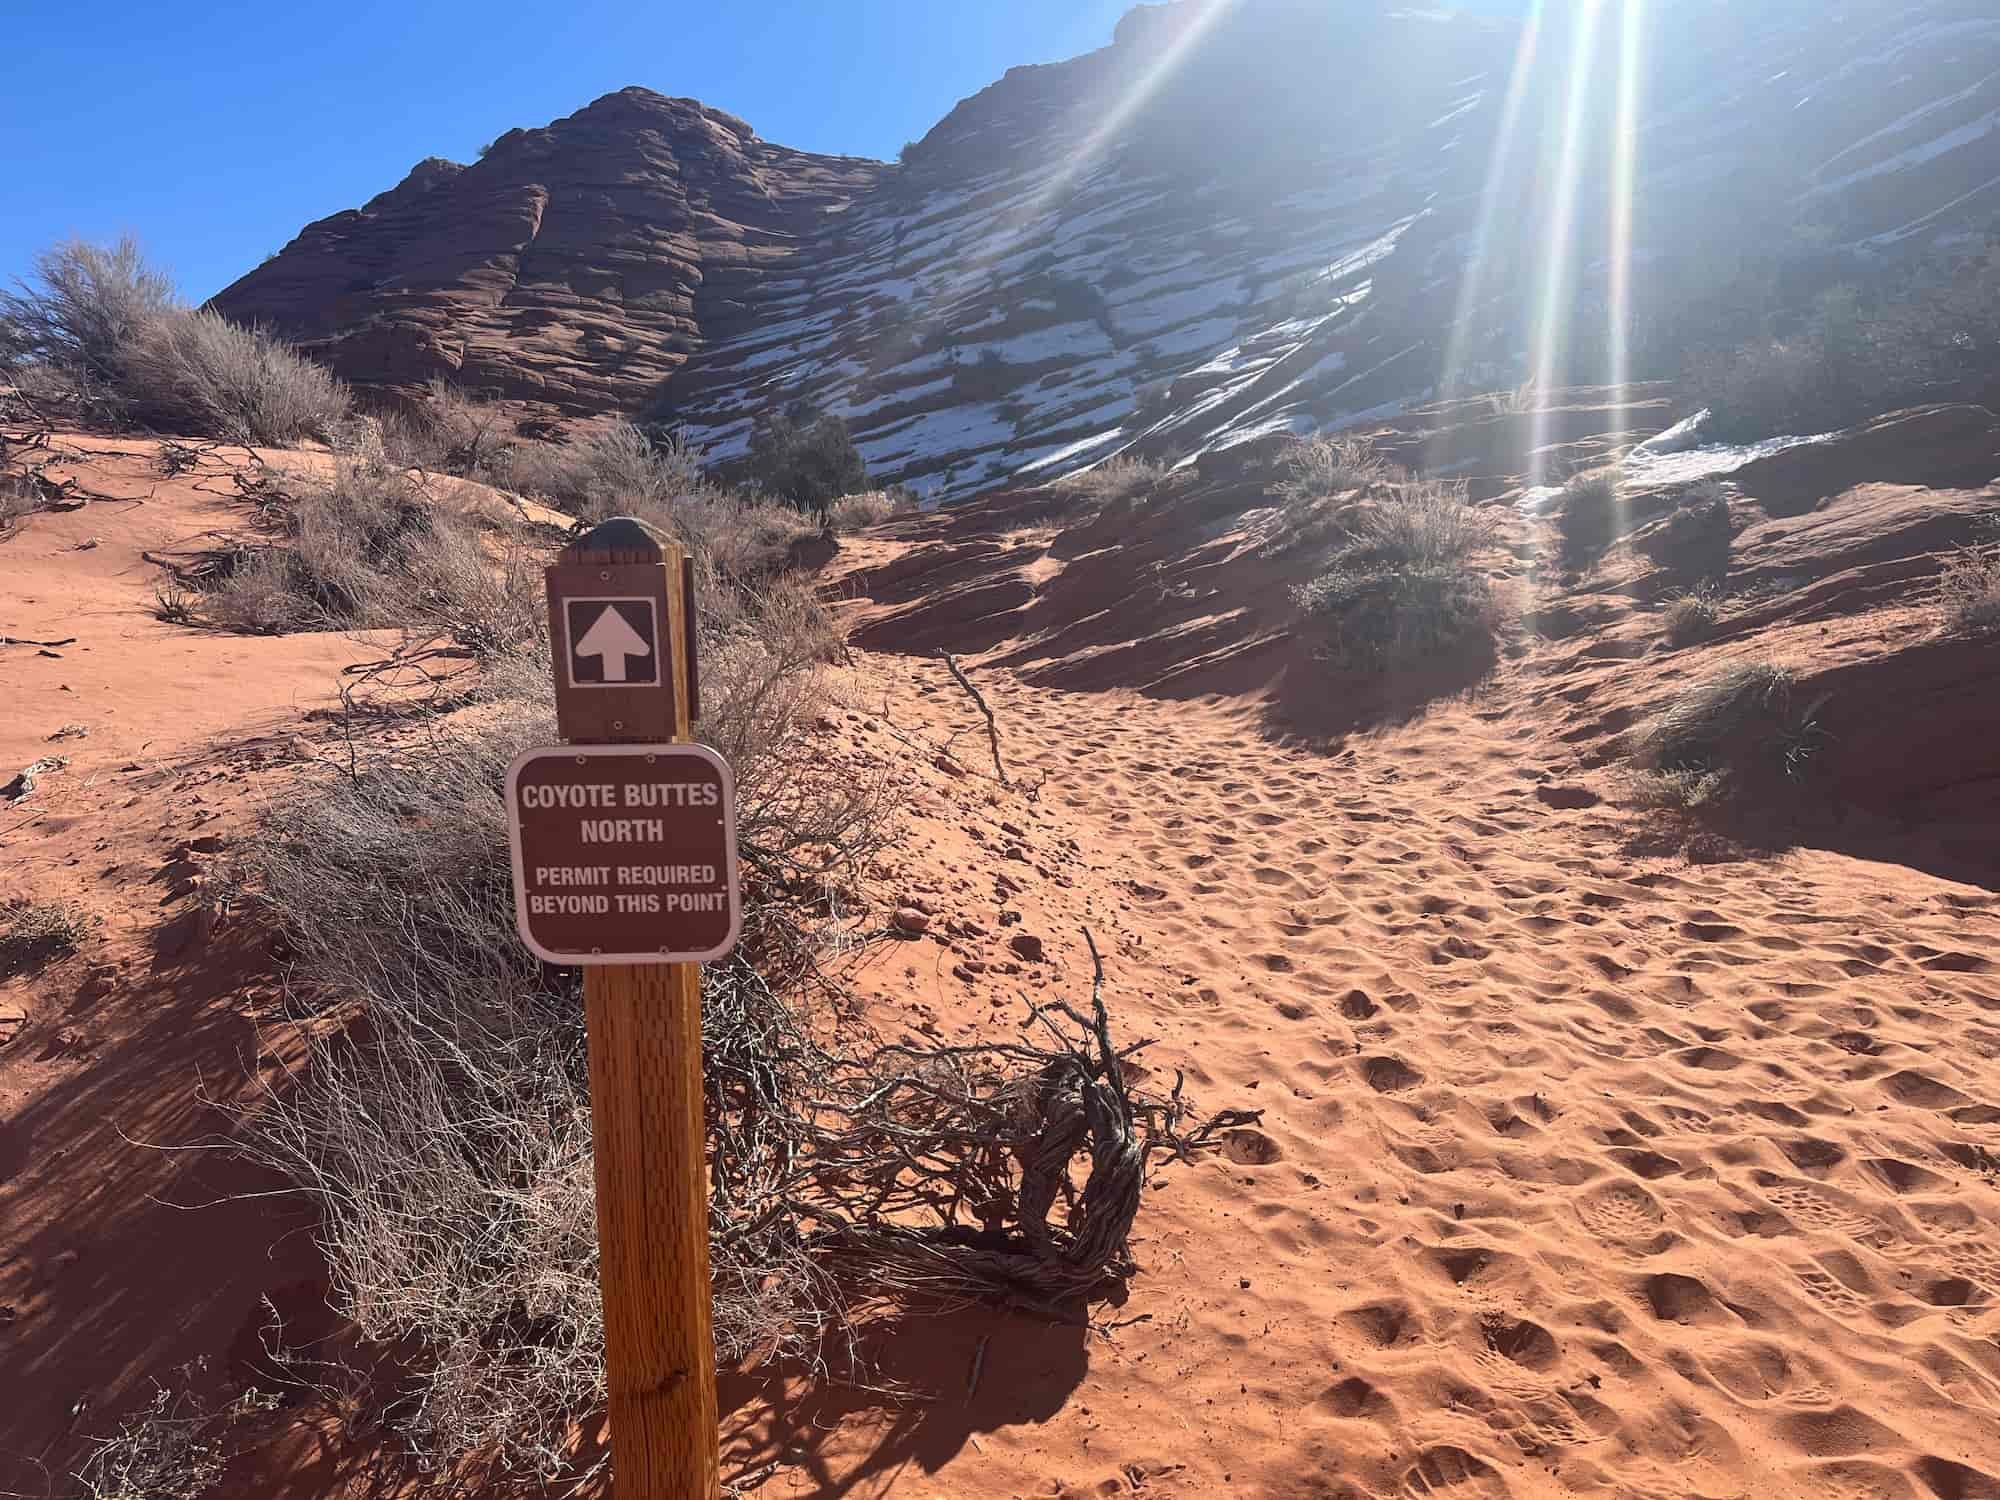
There is a short section of defined trail as you head into a wash and across a field into another wash. Once you reach the slickrock, you might find a cairn but this is the time to break out your GPS to navigate. There are a few BLM signs across the slickrock so be on the lookout for those.
As you keep hiking, you’ll see some cool butte rock formations. Walk around these and take in the great views.
Eventually you’ll see a crack in the cliffs, and that’s what you want to head toward. Walking through this little canyon is a stunning entrance to The Wave itself!
Spend some time exploring the incredible formation of The Wave – and taking those epic pics!
When you’ve had your fill of The Wave, head back the way you came to the trailhead. Use your GPS to retrace your tracks because it’s very easy to miss a turn here.
Once you make it back to the trailhead, celebrate that you finally experienced hiking this iconic trail!
7. IMPORTANT SAFETY TIPS FOR THE WAVE HIKE
Getting a permit is only one of the challenges to hiking The Wave. Once you have your permit, you still have to wait and see what kind of weather you’ll end up with on your hike of The Wave. Depending on the season, you’ll encounter different dangers to be prepared for.
FLASH FLOODS
The summer (generally from mid-July to mid-September) is monsoon season in the desert. Torrential rains can lead to flash floods, which are especially dangerous in narrow canyons. If there is rain in the forecast, be cautious about deciding to hike The Wave.
ROAD CONDITIONS
Heavy rain can also wash out the road that leads to The Wave, making the trailhead impossible to access. The road can also be extremely difficult to drive on during the winter.
In good conditions, a two-wheel drive vehicle with high clearance should be able to make it up the road to the trailhead, but in challenging conditions, you will need 4WD. In the worst conditions, no vehicles will be able to navigate the road, and you will not be able to access The Wave.
SNOW & ICE
The Wave hike has several steep sections up the sandstone, which can be extremely dangerous when covered with snow and ice in the winter. If you don’t have proper gear (like microspikes for your shoes) or winter hiking experience, I would not recommend hiking The Wave in snowy or icy conditions.
Also, if there’s been a lot of snow, it will cover up the color and texture of the rock that make The Wave such a unique and cool formation.
EXTREME HEAT
The summer heat in the desert can be extremely dangerous. There is very little shade on The Wave hike, so it is hard to cool down if you start to overheat.
Make sure to bring PLENTY of water if you’re hiking The Wave in the summer, as well as electrolytes to replace lost minerals when you sweat.
I also recommend a cooling bandana and/or a hiking umbrella, both which were super helpful when I hiked the Grand Canyon Rim-to-Rim in extreme heat.
NAVIGATION
There is no marked trail for The Wave hike, and the landscape makes it very easy to get disoriented. Getting lost in the desert can be very dangerous, so it’s important that you know how to navigate.
You can get a pamphlet from the rangers with turn-by-turn directions, but that won’t help if you get off track. So I would say a GPS is a requirement for hiking The Wave – and make sure to download The Wave map ahead of time (you can find the GPX file in Section 5 of this post) so you’re prepared.
8. WHAT TO BRING WHEN DAY HIKING THE WAVE
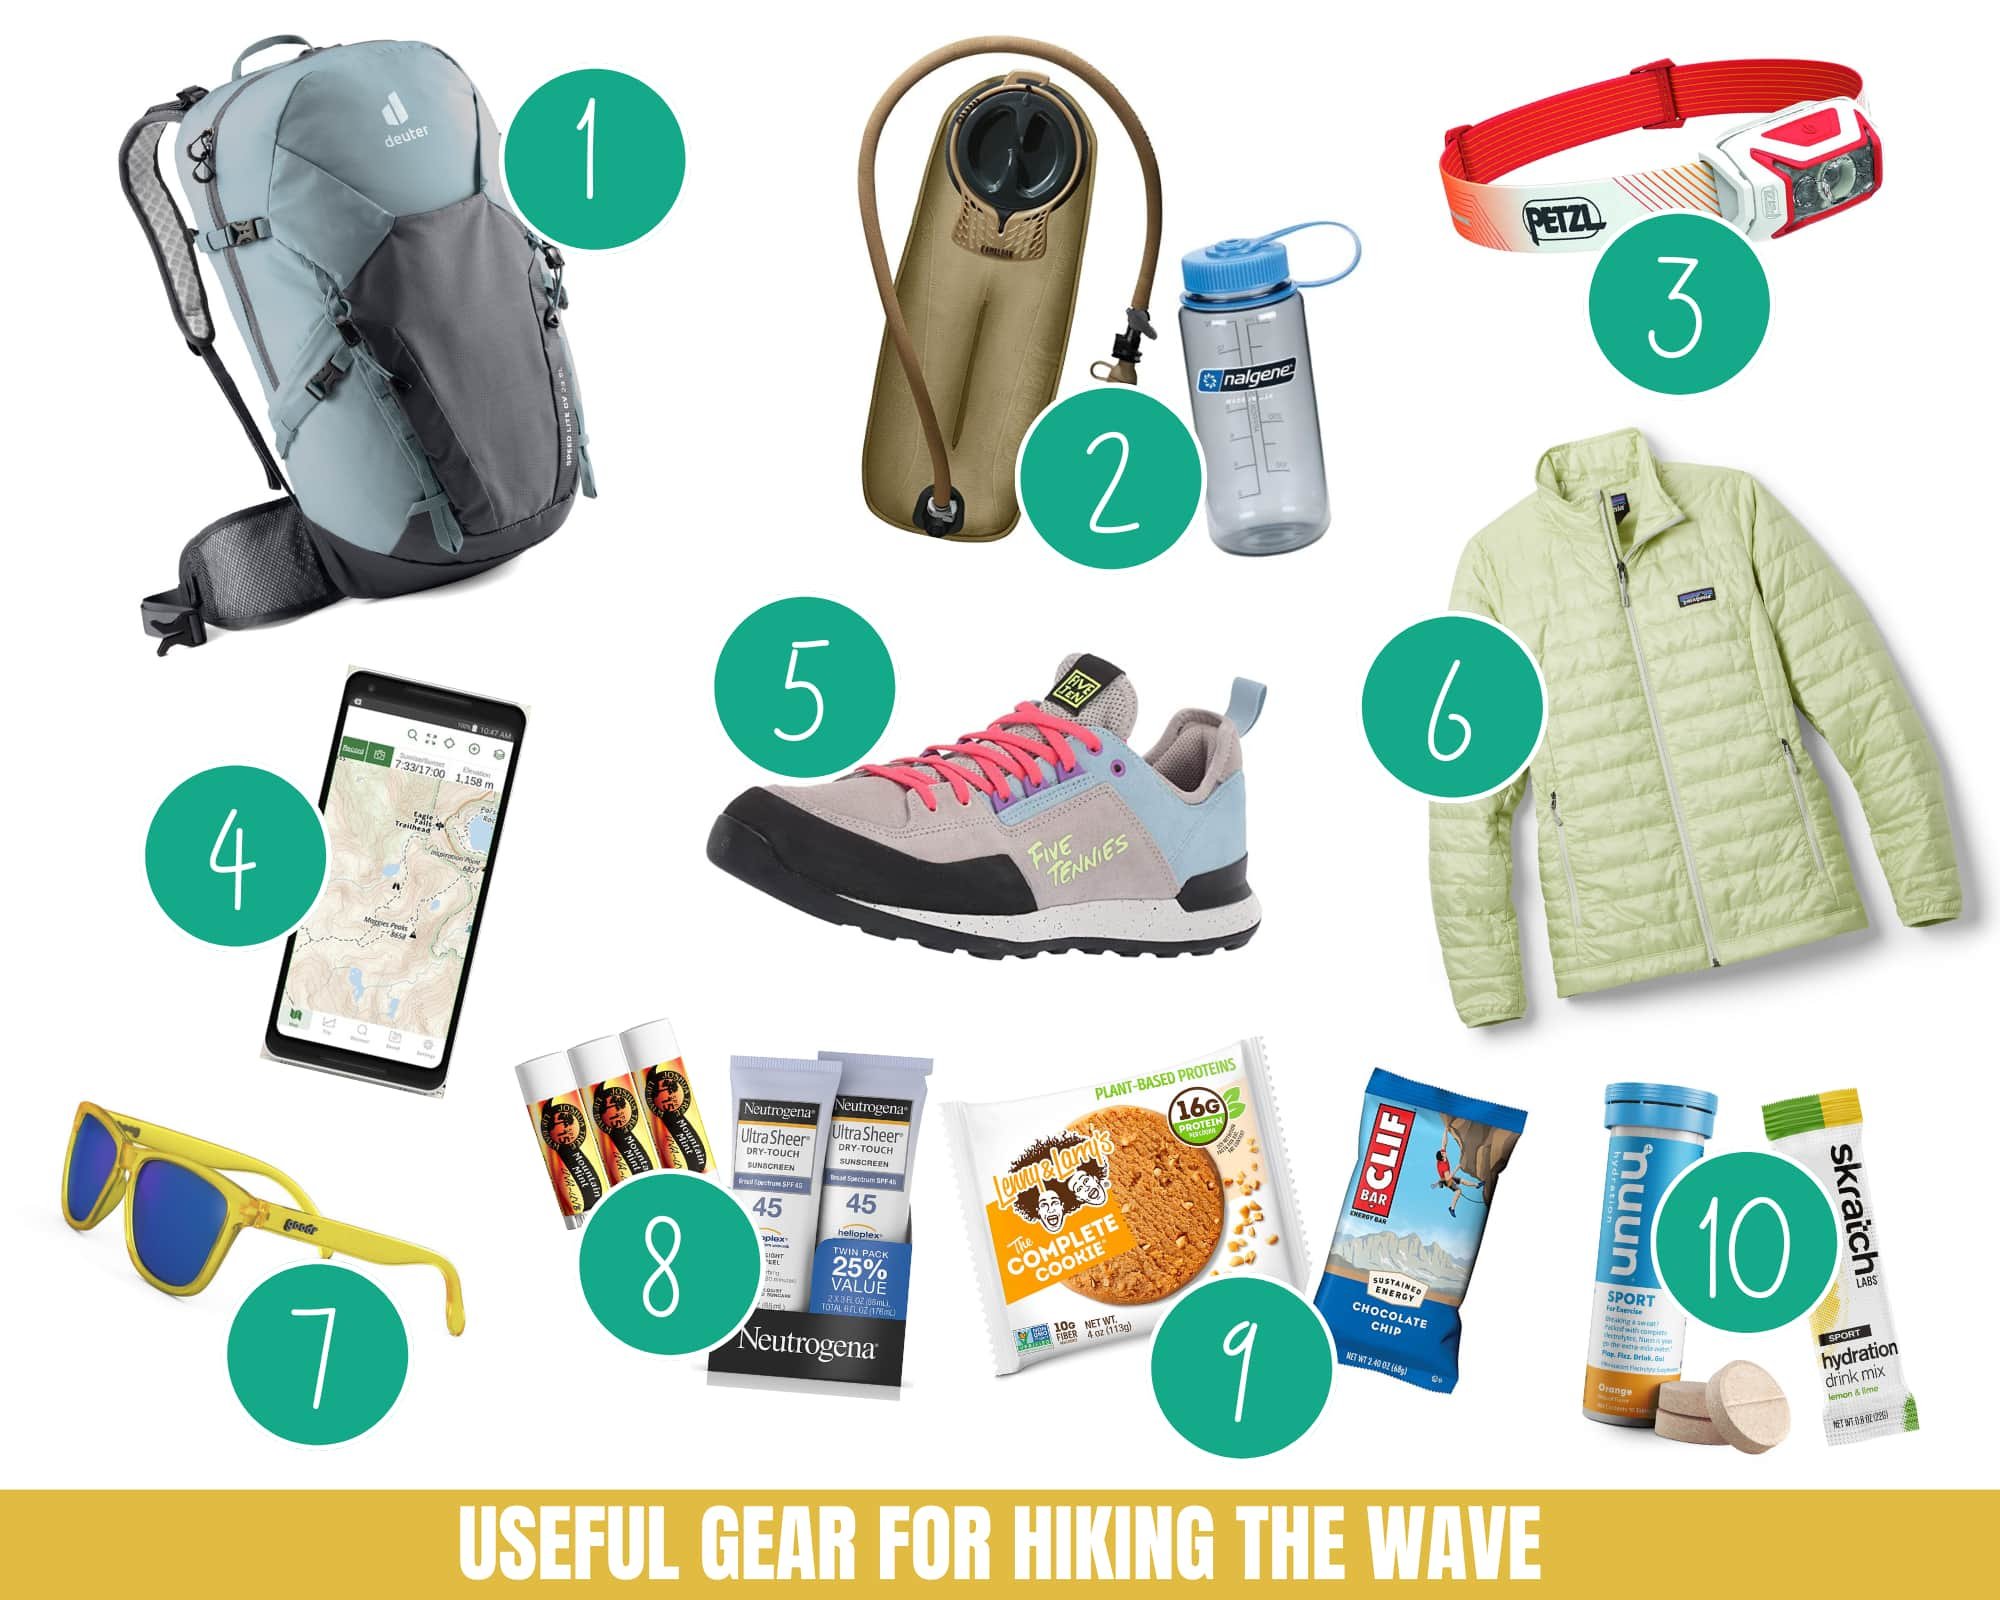
You’ll want to bring a few crucial items when hiking The Wave (and some of them will depend on the season). This isn’t a comprehensive packing list, so check out my day hiking packing list for a full rundown of everything I recommend for a day hike.
But here are a few absolutely essential items to make sure you have when you’re hiking The Wave:
Note: The list below may contain affiliate links.
And don't forget to pack a camera or a phone to capture The Wave hike! Read our post on Outdoor Adventure Photography Gear if you want details on the cameras we recommend for outdoor photography. Of course, you also can't go wrong these days with your phone camera!
Again, the above is NOT your full day hike packing list, just some of the super important items to remember. Check out my day hiking checklist download here for my full gear recommendations for a day hike.
DOWNLOAD OUR HIKING PACKING CHECKLIST:
So that you can hit the trails with peace of mind knowing that you didn’t leave anything essential behind!
Hope this post gave you everything you need to hike The Wave! If you want to experience this incredible hike, just be persistent about trying for a permit – it’s totally worth it!
And if you have any more questions about hiking The Wave, feel free to comment below!
LOOKING FOR MORE DESERT ADVENTURES?
If you’re looking for additional desert hiking adventures, check out our resources below:
How to Get The Wave Permit - Understanding The Wave Lottery Process
Ultimate Guide to the Angels Landing Hike in Zion National Park
ESSENTIAL HIKING (OR BACKPACKING) RESOURCES
Also be sure to check out these essential hiking resources!
13 Awesome Hiking Groups and Hiking Challenges to Encourage You on Your Hiking Adventures
9 Must-Know Backpacking Safety Tips - Particularly if You Want to Go Solo
Cheers,
Allison - She Dreams of Alpine















The 19 Best Hikes in Southern California | Southern California is a hiker’s paradise, and there are loads of great hiking trails in SoCal. To help you narrow it down, here is a list of the 19 very best hikes in Southern California. From easier hikes like the Hollywood Sign to multi-day backpacking excursions like the Trans-Catalina Trail, there’s something for everyone in Southern California! | shedreamsofalpine.com