Adventure Photography Toolkit - Our Tools for Taking Great Photos Outdoors
I honestly believe that a picture is worth a thousand words, and even before we started this blog, photography has been an important way for us to capture our favorite memories in an attempt to freeze them in time to relive again and again.
I often get asked what kind of gear we use when we are taking photos or videos outdoors, so we decided to share our essential outdoor photography and videography gear in this post. This is gear that we love and use all the time on our adventures.
Since Michael takes most of the photos here on the blog, he has helped me out by explaining all the photography gear here. He has nearly a decade of experience in photography and videography as you can see on his website michaelauffant.com. So, unless noted specifically, assume all the advice below is from him :)
Note: This post contains some affiliate links, but these are all products we use on a regular basis and personally recommend. Feel free to reach out if you have any follow up questions on any of the gear – we'd be happy to help you out!
Outdoor Photography Cameras & Lenses
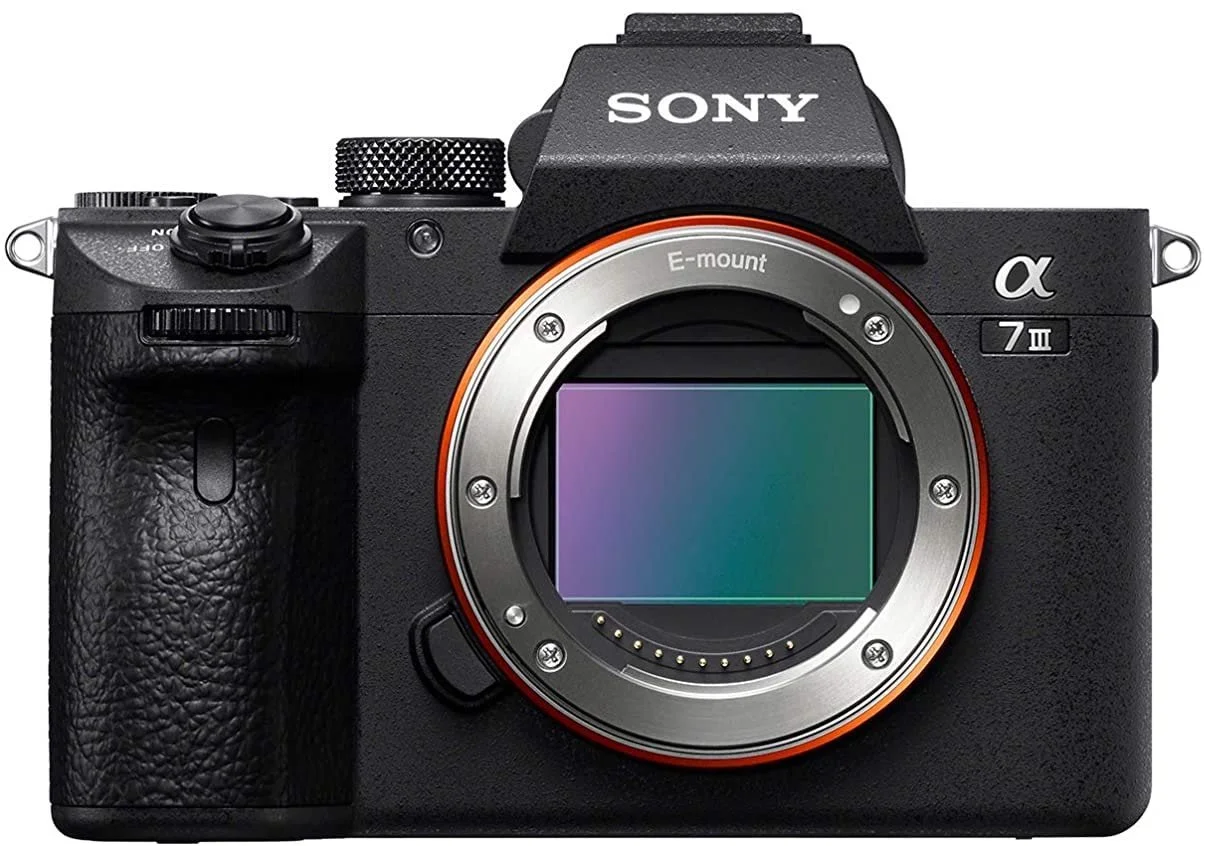
Our Current Camera - Sony a7 III
Since we first published this post, lots of adventure photographers, myself included, have switched away from DSLRs in favor of mirrorless cameras. Mirrorless cameras are now lighter, smaller and pack more advanced sensors.
DSLRs have a mirror that reflects in the viewfinder what the lens sees, but it is only a reflection of the real world outside, and does not show the exposure or current settings of the camera. Removing this mirror made cameras smaller and lighter as well as added the capability of giving instant feedback. Mirrorless cameras have a digital viewfinder that can show you exactly what the image will look like when you click the shutter (exposure and all).
Having had my start with Canon cameras which are also incredible tools, I switched over to Sony as they spearheaded the mirrorless revolution first and had quite the selection when I was ready to upgrade. Plus, you would be hard pressed to find something of this caliber for the price, so I went with a Sony Alpha full-frame camera with the Sony a7 III.
I am a professional videographer and photographer who likes to climb mountains and get my gear dirty, and I wanted a camera that could allow me the best quality for both video and stills without taking up too much room or breaking my back on long trips. Some of the key features I looked for when shopping for this camera were 4k video, 120fps at 1920x1080 minimum, great sensor with great resolution for photographs, small size body, light to carry, great lens choices, and the Sony a7 III ticked all those boxes.
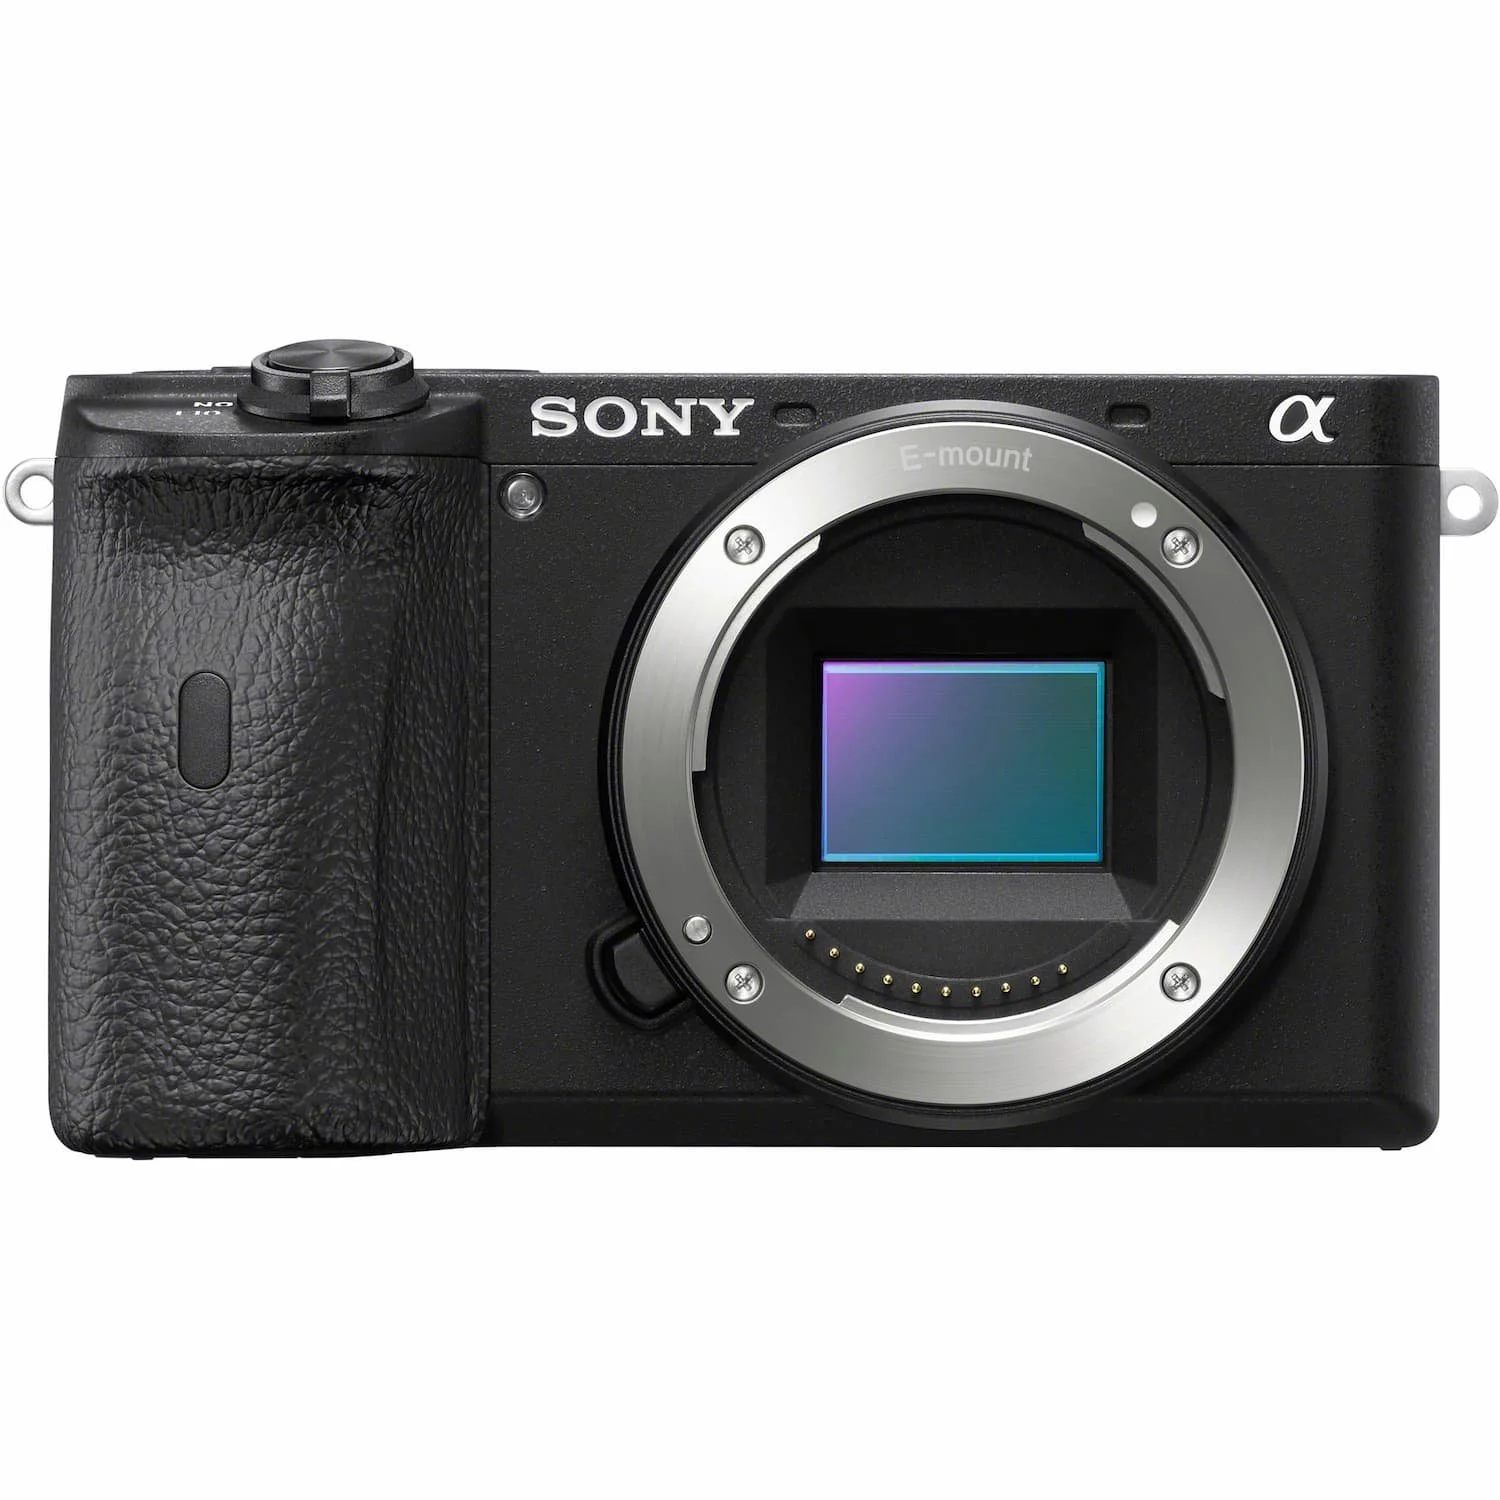
More Affordable Cameras - Sony a6400 & Sony RX 100 V1
If you don’t need all the features of a full frame camera like the Sony a7III, there are a couple other Sony options that will get you on the road to becoming an outdoor photographer.
The Sony RX series is a great budget camera that doesn’t skip on features. It is a small compact camera with a fixed lens that covers a decent focal length range and has incredible frame rate shooting capabilities (very useful for sports photography or anything with fast moving objects). The video quality is also awesome for this price point.
Another great option is the Sony a6400 which gives you the same great features as the RX 100 but with interchangeable lenses and a more comfortable ergonomic body. Keep in mind that when buying lenses, you will have to consider it an investment. As I was told once when I first started in photography, lenses are what you want to invest in. You can upgrade your camera body every few years when they release newer models, but the lenses you will have for a long time.
GRAB MY [FREE] OUTDOOR BACKPACKER STARTER KIT:
I created the Ultimate Outdoor Backpacker Starter Kit for you (and it's FREE)! This starter kit is filled with 14 pages of my best hiking and backpacking tips to help you learn what it takes to become a safe, confident, and self-sufficient outdoor backpacker!
All-Around Lens - Sony 24-105mm F4 G
Spare No Expense: Sony FE 24-105mm F4 G
Save Some Cash: Tamron 28-75 f2.8
In my opinion, there is no one do-it-all, magical lens that will work for every occasion, but if I had to pick one lens that is as close as it gets, it would be the Sony 24-105mm F4 G. This lens certainly sees more action than a lot of my other lenses (even if I prefer to have them all on me at all times, haha). The 24-105 gives you a variety of looks ranging from mid wide-angle to mid-telephoto.
The G series of Sony lenses (their high-end line of lenses) offers glass quality that is sure to blow you away with its crisp and sharp focus. This quality does come with a price tag, but the 24-105 has a much smaller price tag than any of the other G Series lenses. The fact that the 24-105 is the cheapest of the G series lenses not only makes it a great buy, but also a great bang-around lens to take on your multi-day backpacking trips or multipitch climbs.
Just keep in mind that this lens and any with “FE” in the name will only work on your Sony full frame cameras. That means this lens will not work with the a6400 camera, but you can find a similar equivalent with the Sony E 18-105 mm. Any lens with “E” in the name will work with the a6400.
A popular all-around alternative for full-frame Sony’s is the Sony 24-70 f2.8, but you’ll pay a hefty fee for that lens. Luckily, Tamron and Sigma (3rd party lens manufacturers) have really stepped up their game in the last few years, and the quality of their lenses just about match those of the much more expensive Sony G lenses. For instance, the Tamron 28-75 f2.8 is the equivalent of the Sony 24-70 f2.8, but will still blow your socks off and save you some serious cash.
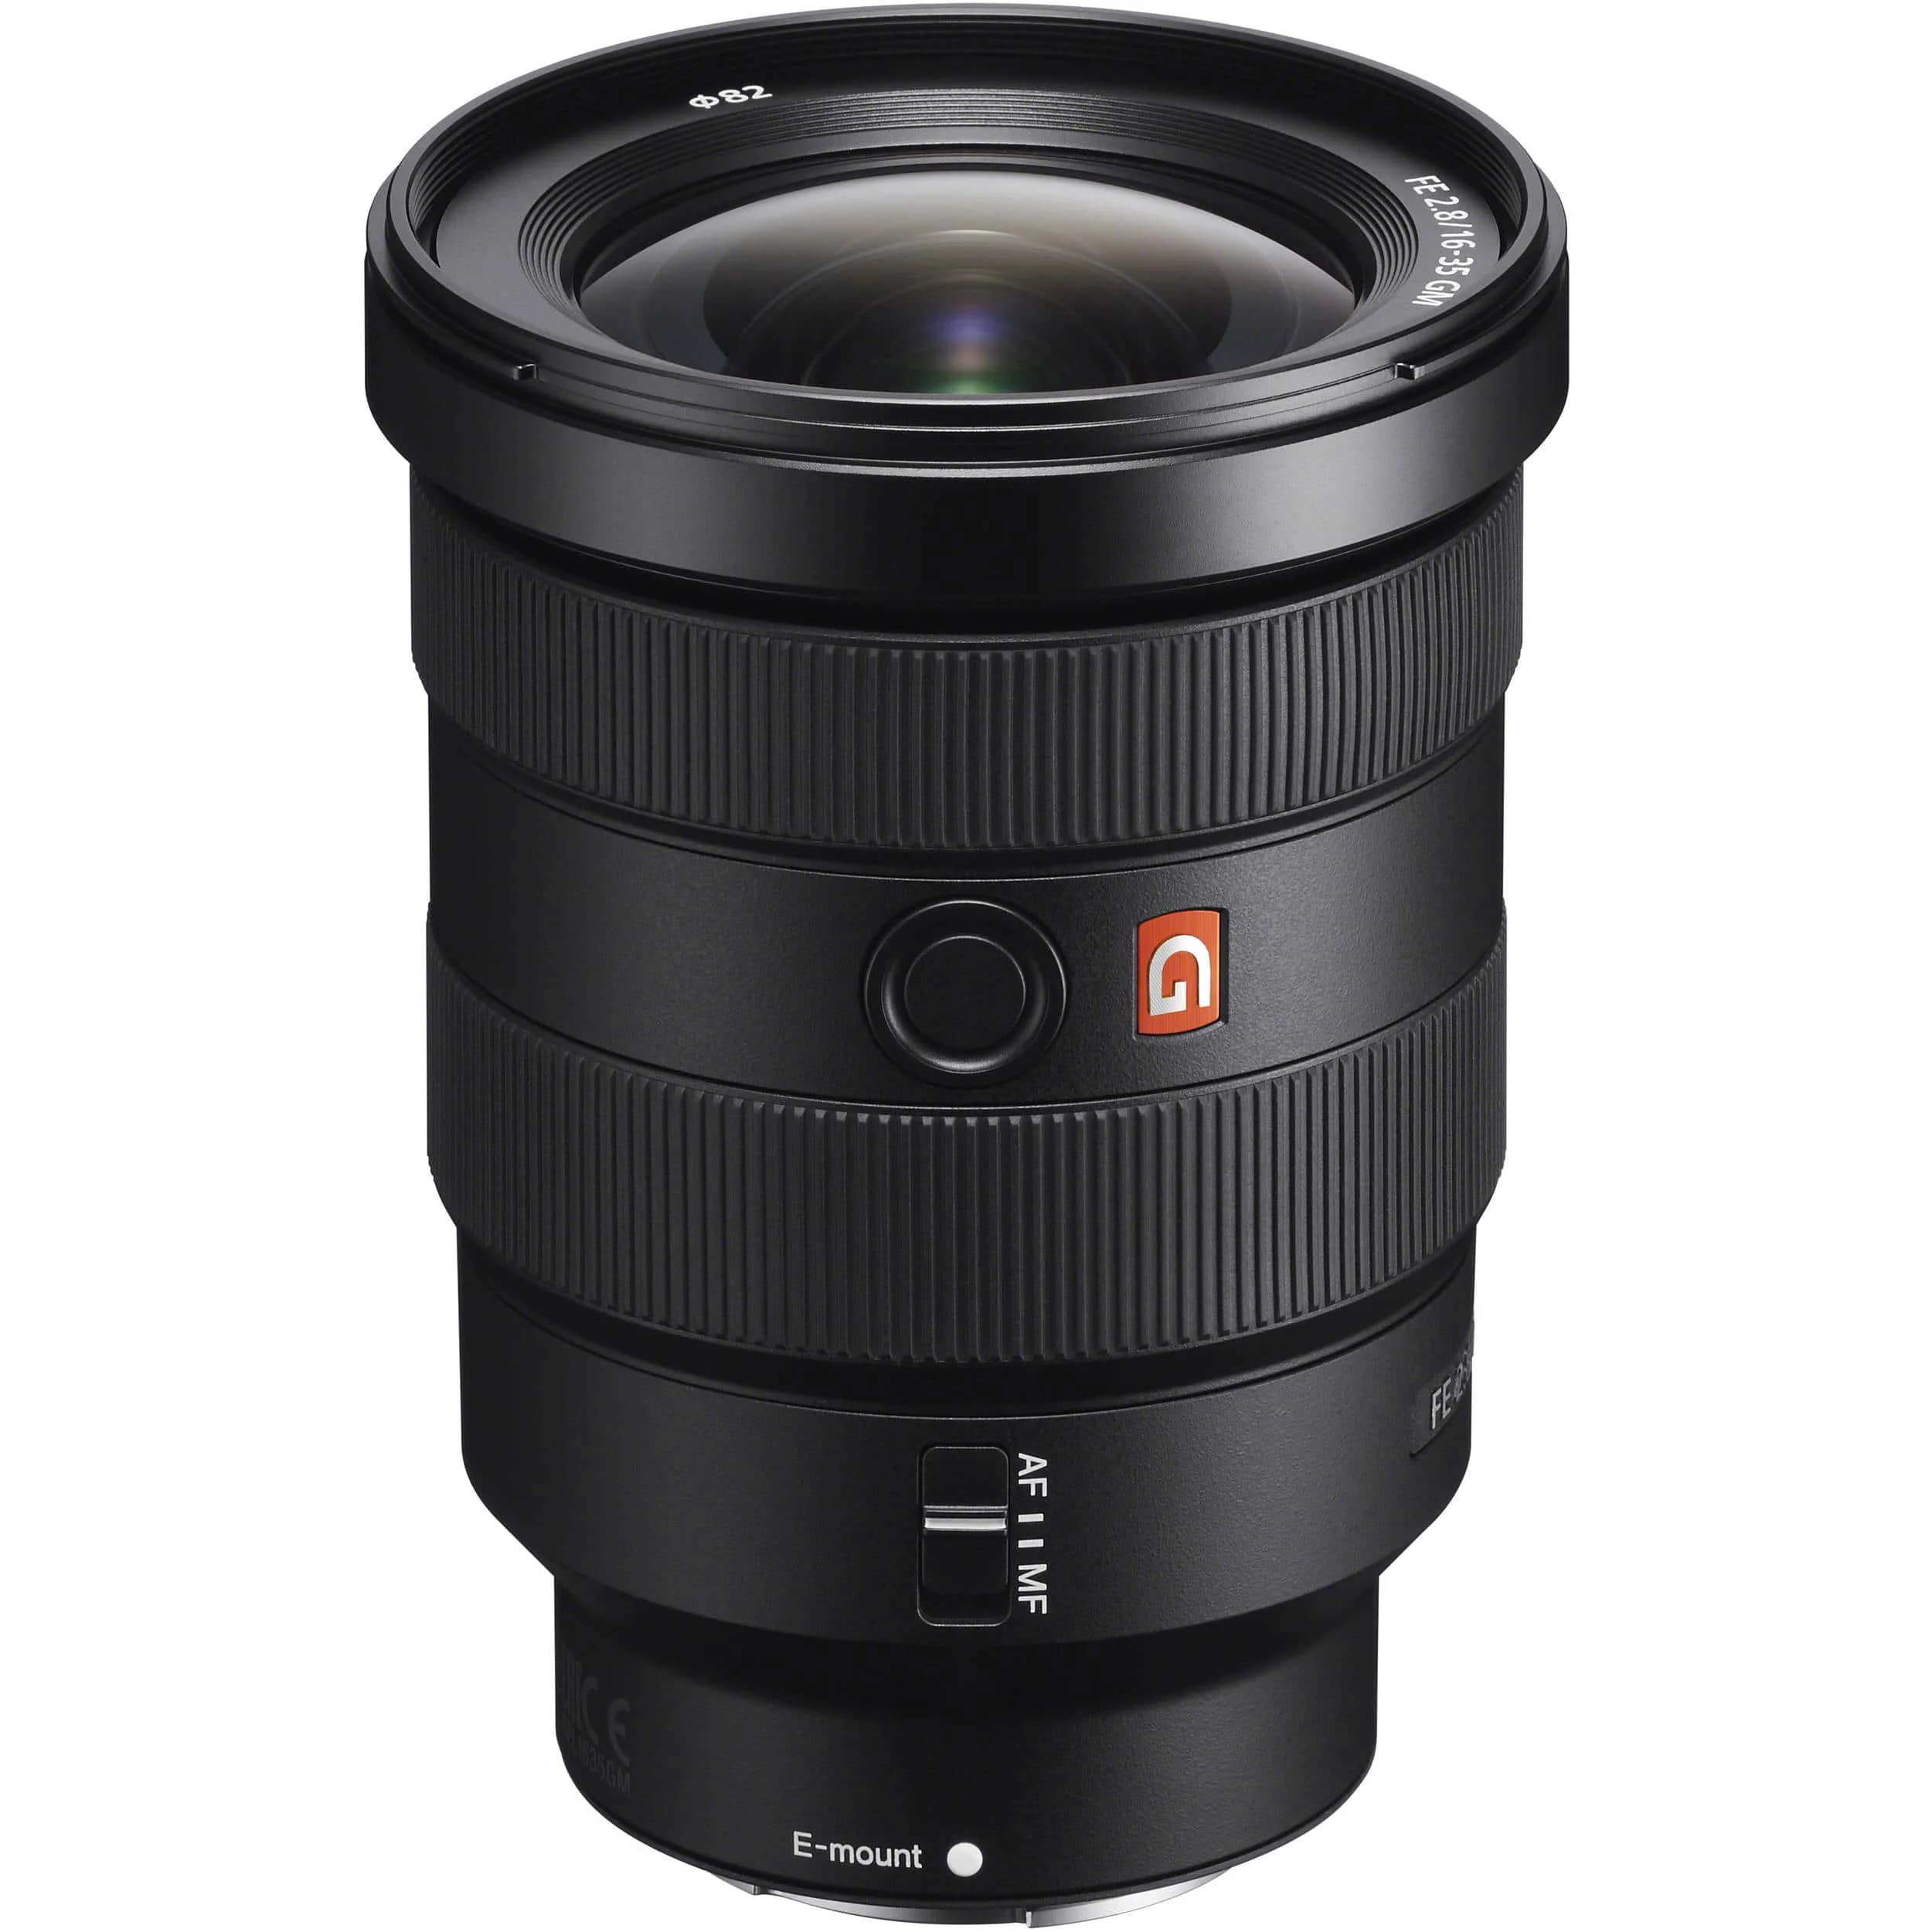
Wide Angle Lens - Sony FE 16-35mm f/2.8 GM
Spare No Expense: Sony FE 16-35mm f/2.8 GM
Save Some Cash: Sigma 14-24mm f/2.8 DG DN
Sometimes an all-around lens isn’t enough, and you need a super cool wide angle lens to do proper landscape photography and perhaps even try your hand at astrophotography, capturing the night sky. The Sony 24-105 f4 isn’t the best option for these things, because its simply not wide enough.
So my go-to wide angle lens for landscapes is the Sony FE 16-35mm f/2.8 GM. With this lens, you can also take advantage of the f2.8 aperture which is much better for taking photos in lower light situations like sunset/sunrise and beautiful starry skies at night.
Also, as I mentioned before, Tamron and Sigma are killing it with cheaper lenses that still provide great performance. Sigma makes the perfect budget wide angle lens, the Sigma 14-24mm f/2.8 DG DN, which rivals the Sony FE 16-35mm f/2.8 GM.
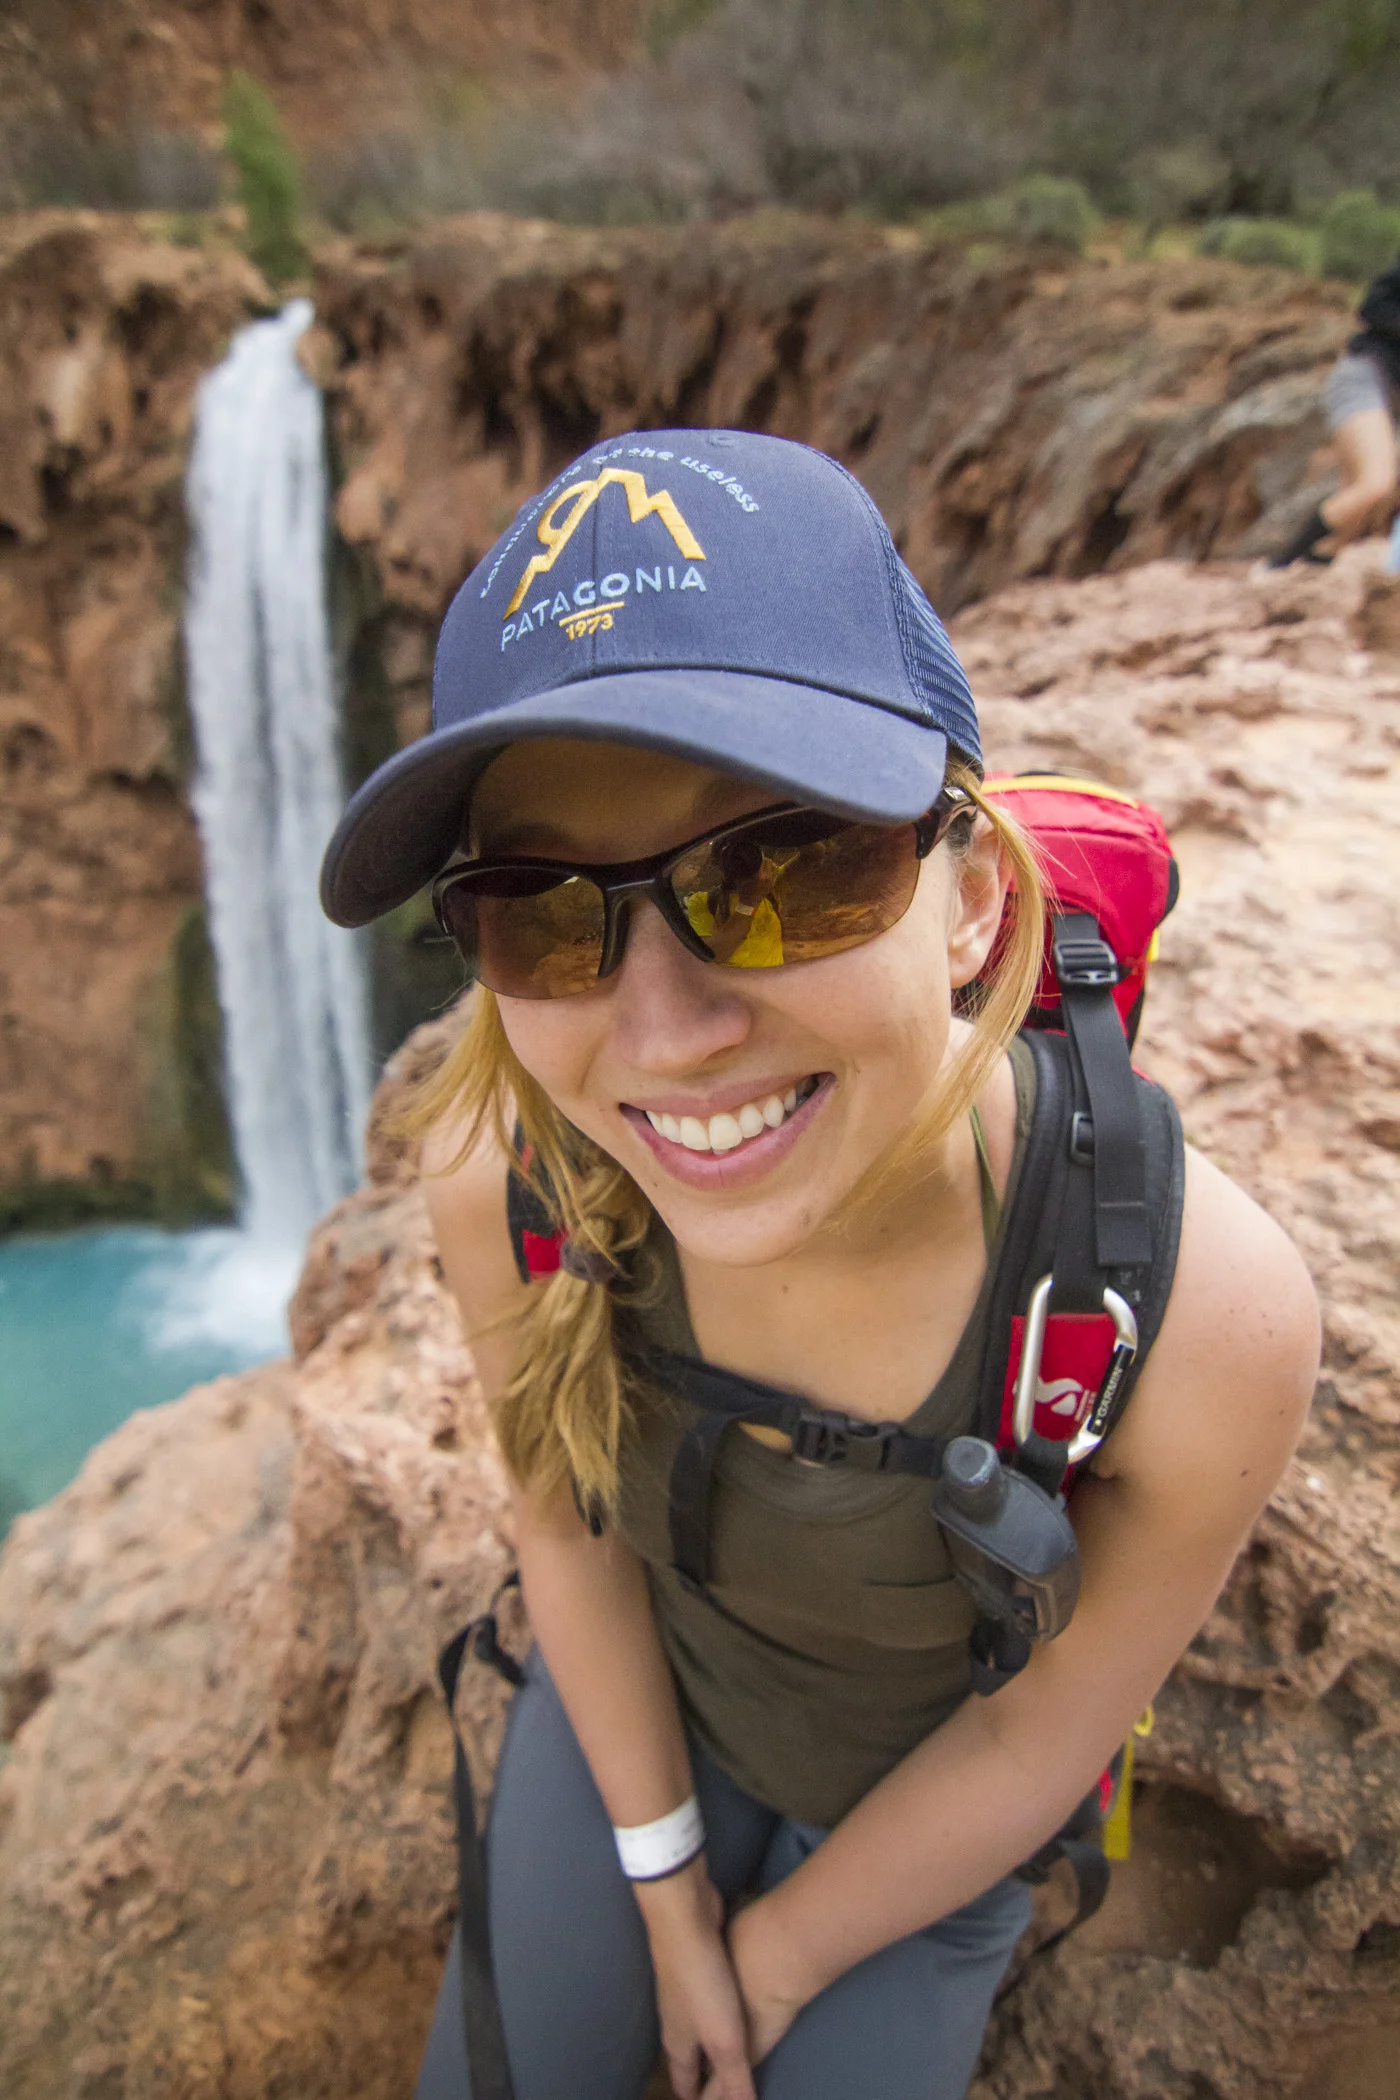
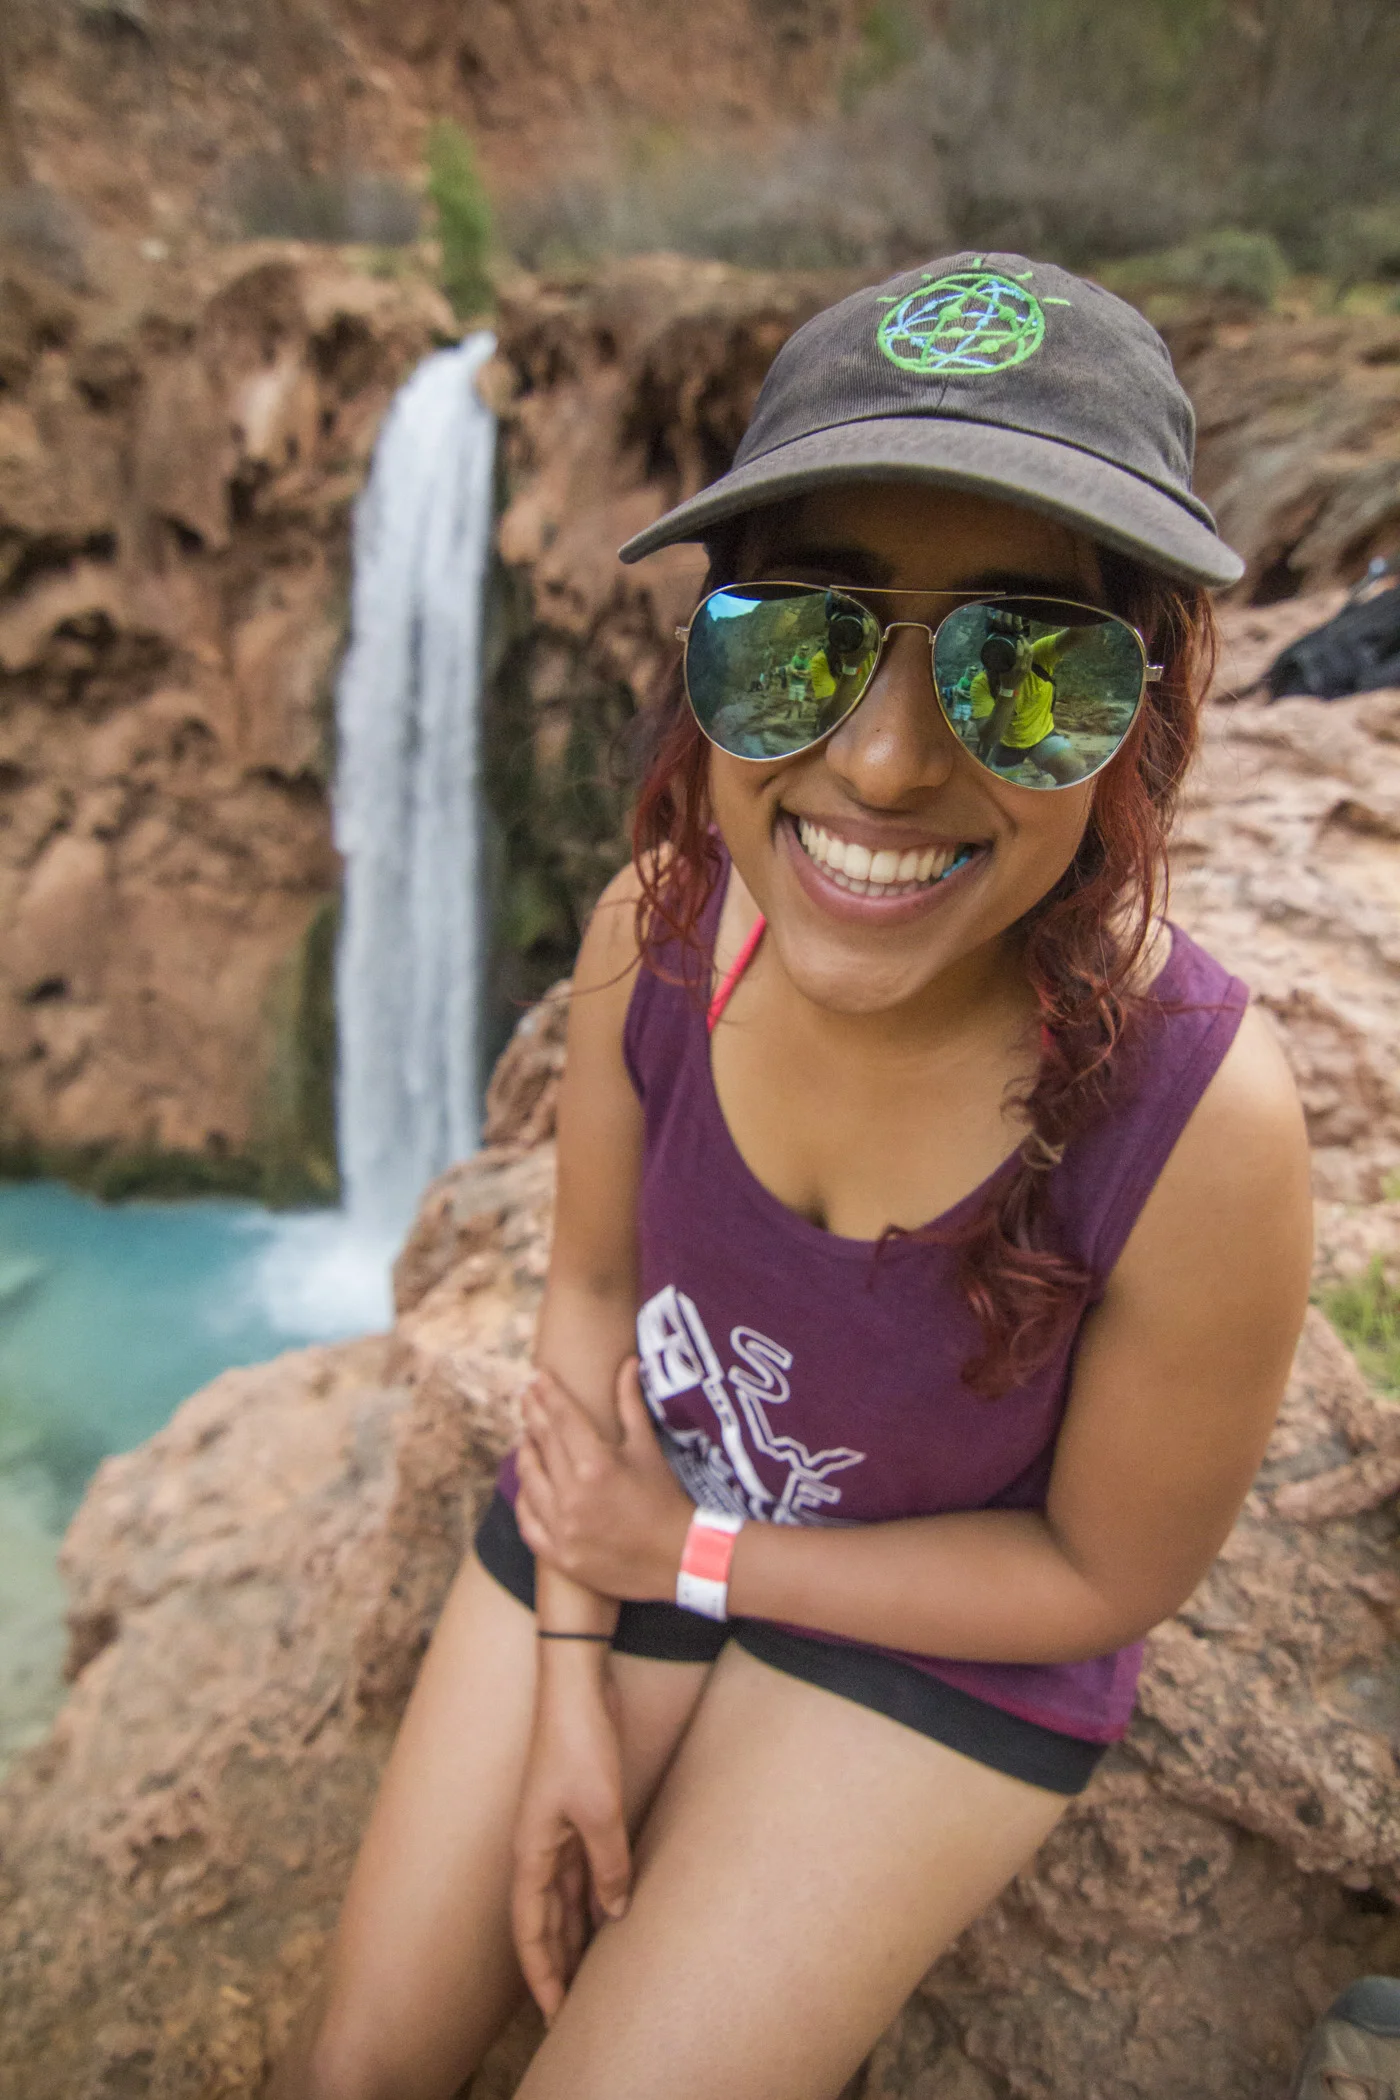
Below are a couple fun photos I took of Allison and her friend Ashima with a wide-angle lens when we went backpacking in Havasupai Falls.
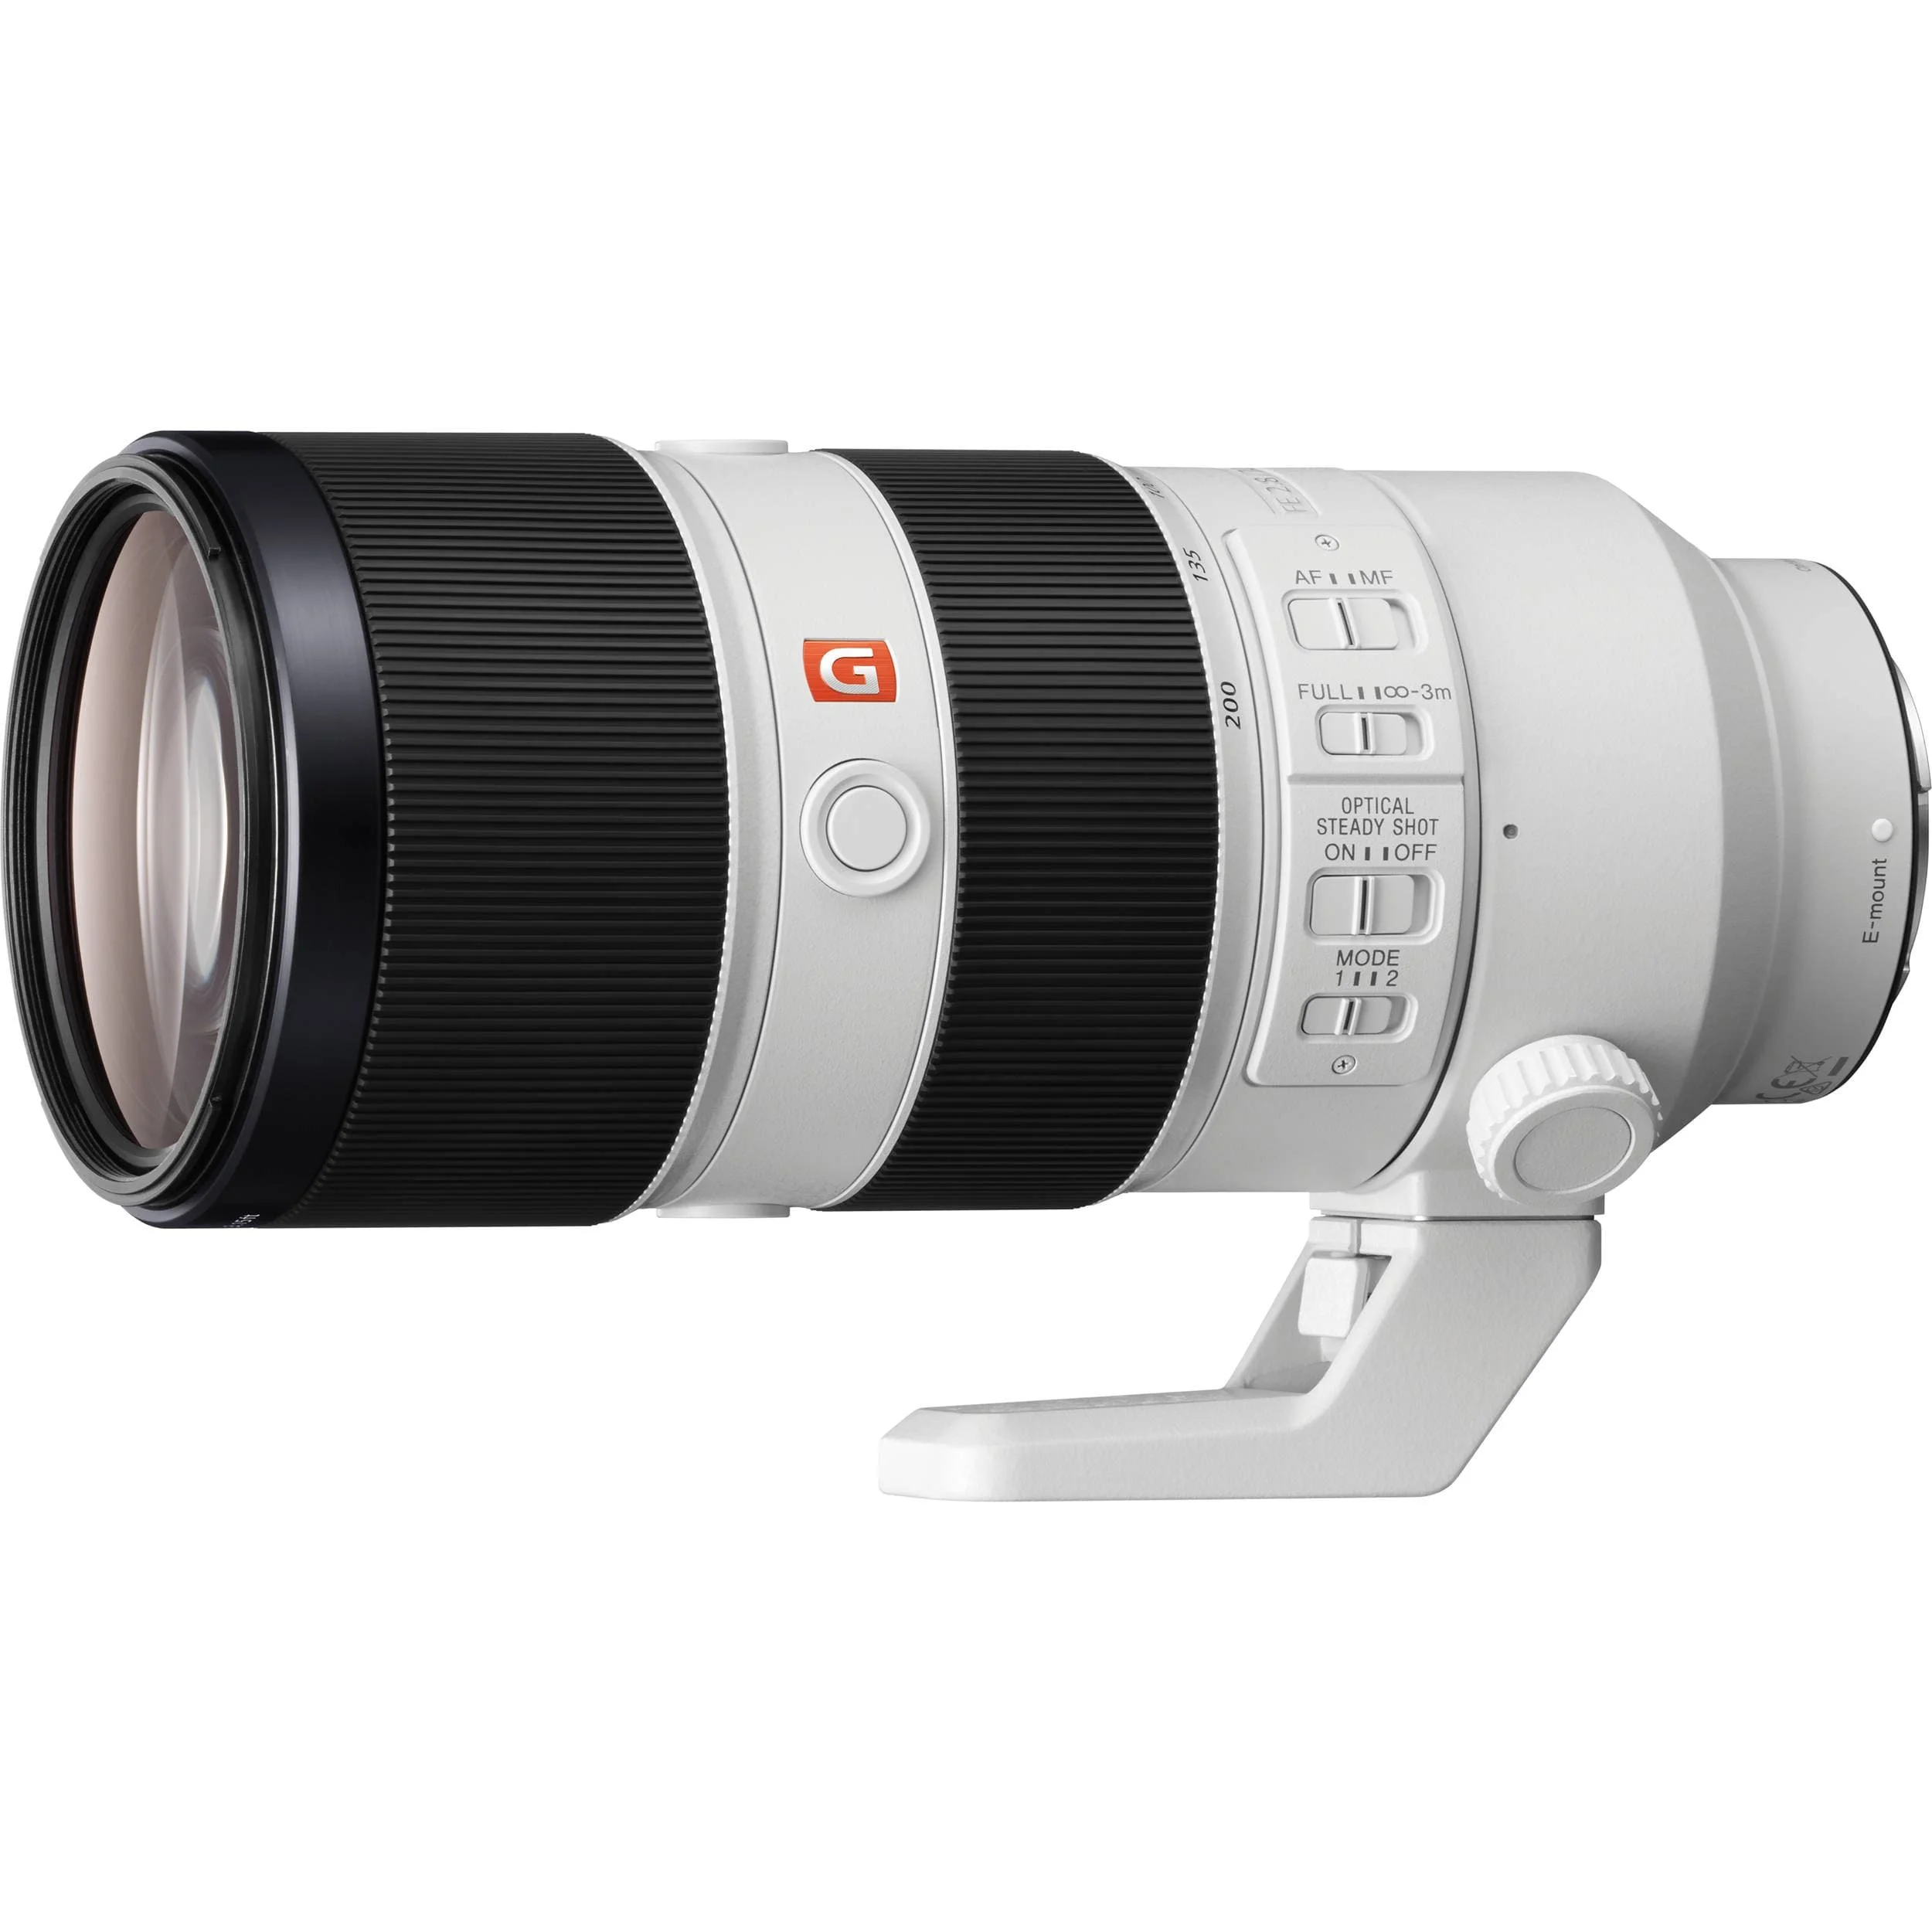
Telephoto Lens - Sony FE 70-200 mm f/2.8 GM
Spare No Expense: Sony FE 70-200 mm f/2.8 GM
Save Some Cash: Tamron 70-180mm f/2.8 Di III VXD
Maybe capturing landscapes or close-up action shots of climbers (which I like doing with my wide angle lens) isn’t your forte or maybe you come across some neat animals on a hike and decide you want to try your hand at wildlife photography. In that case, the Sony FE 70-200 mm f/2.8 GM telephoto lens should be your next investment.
Now I am not a wildlife photographer, so I don’t own a crazy long telephoto lens, like a 200-600 mm, but I do have a 70-200mm lens, and that is the bare minimum you will want for a telephoto. This lens has great versatility, and I like to use mine to get different perspectives on shoots, whether climbing, traveling, or mountain biking. I especially like to try photographing subjects that aren’t usually photographed with this type of lens to compress the background or challenge me to take more vertical shots.
The 70-200 mm f/2.8 also serves as a fantastic portrait lens (often used by professionals) because of its big wide open aperture. A focal length of 50-100 mm is what is usually considered to be the most flattering to shoot people, so these options set you up for that sweet spot. With this lens, you can capture your next family gathering or lifestyle photo shoot… or that sweet looking bird on your next trip!
A more affordable alternative lens is the Tamron 70-180mm f/2.8 Di III VXD which stacks up well against its more expensive Sony counterpart.
Other Specialized Cameras to Consider
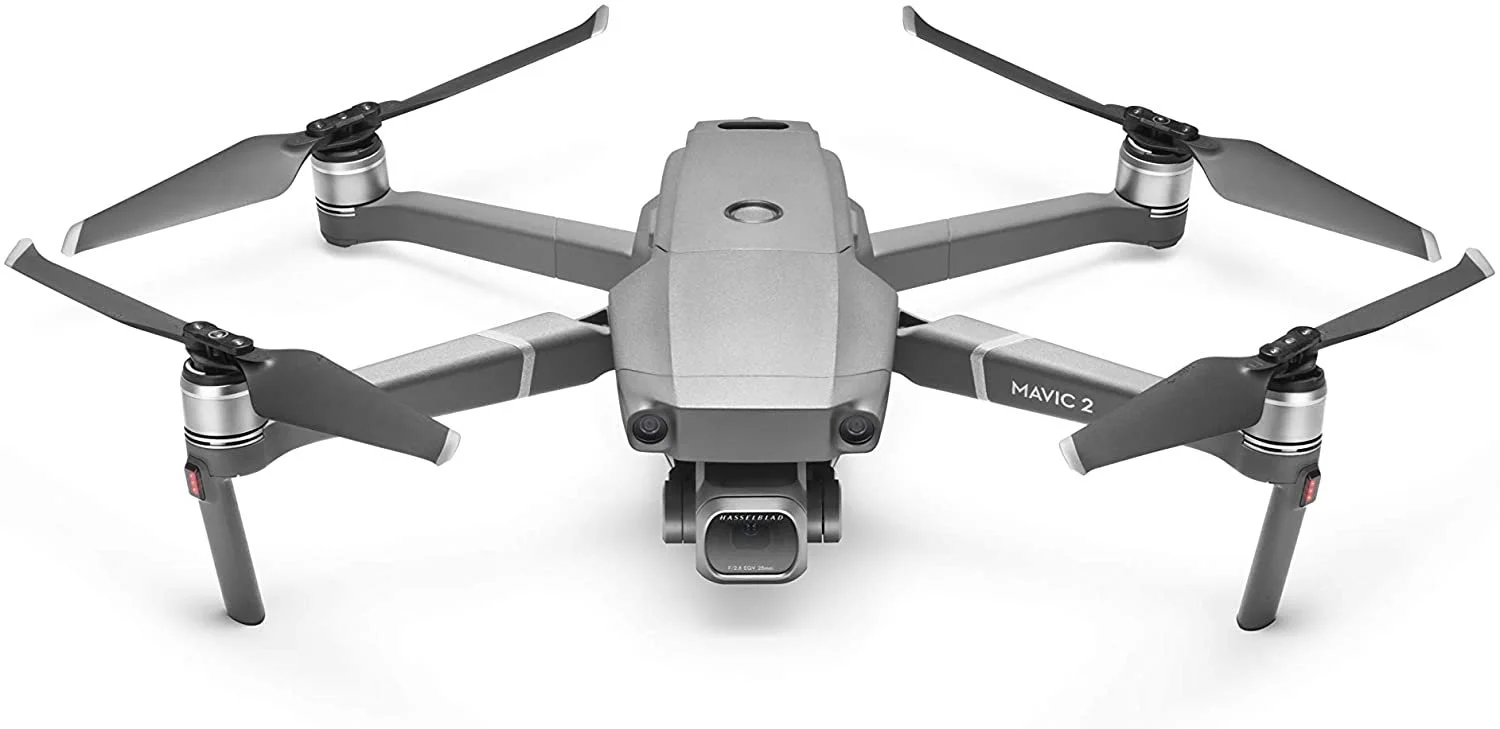
Drone - DJI Mavic 2 Pro
My favorite secondary camera has to be my Mavic Pro – but the Mavic Pro is the old model, and now Mavic 2 is better than ever! I am talking video and photo quality, not to mention all the cool new features. As a videographer, his camera has become a crucial part of my workflow.
Since we like to have fun in such beautiful, remote places this low-profile drone is a no-brainer. It carries the video/photo quality of its bigger brother (Phantom series) while coming in at a much lighter and packable profile for the long days of hiking or on those long approaches climbing.
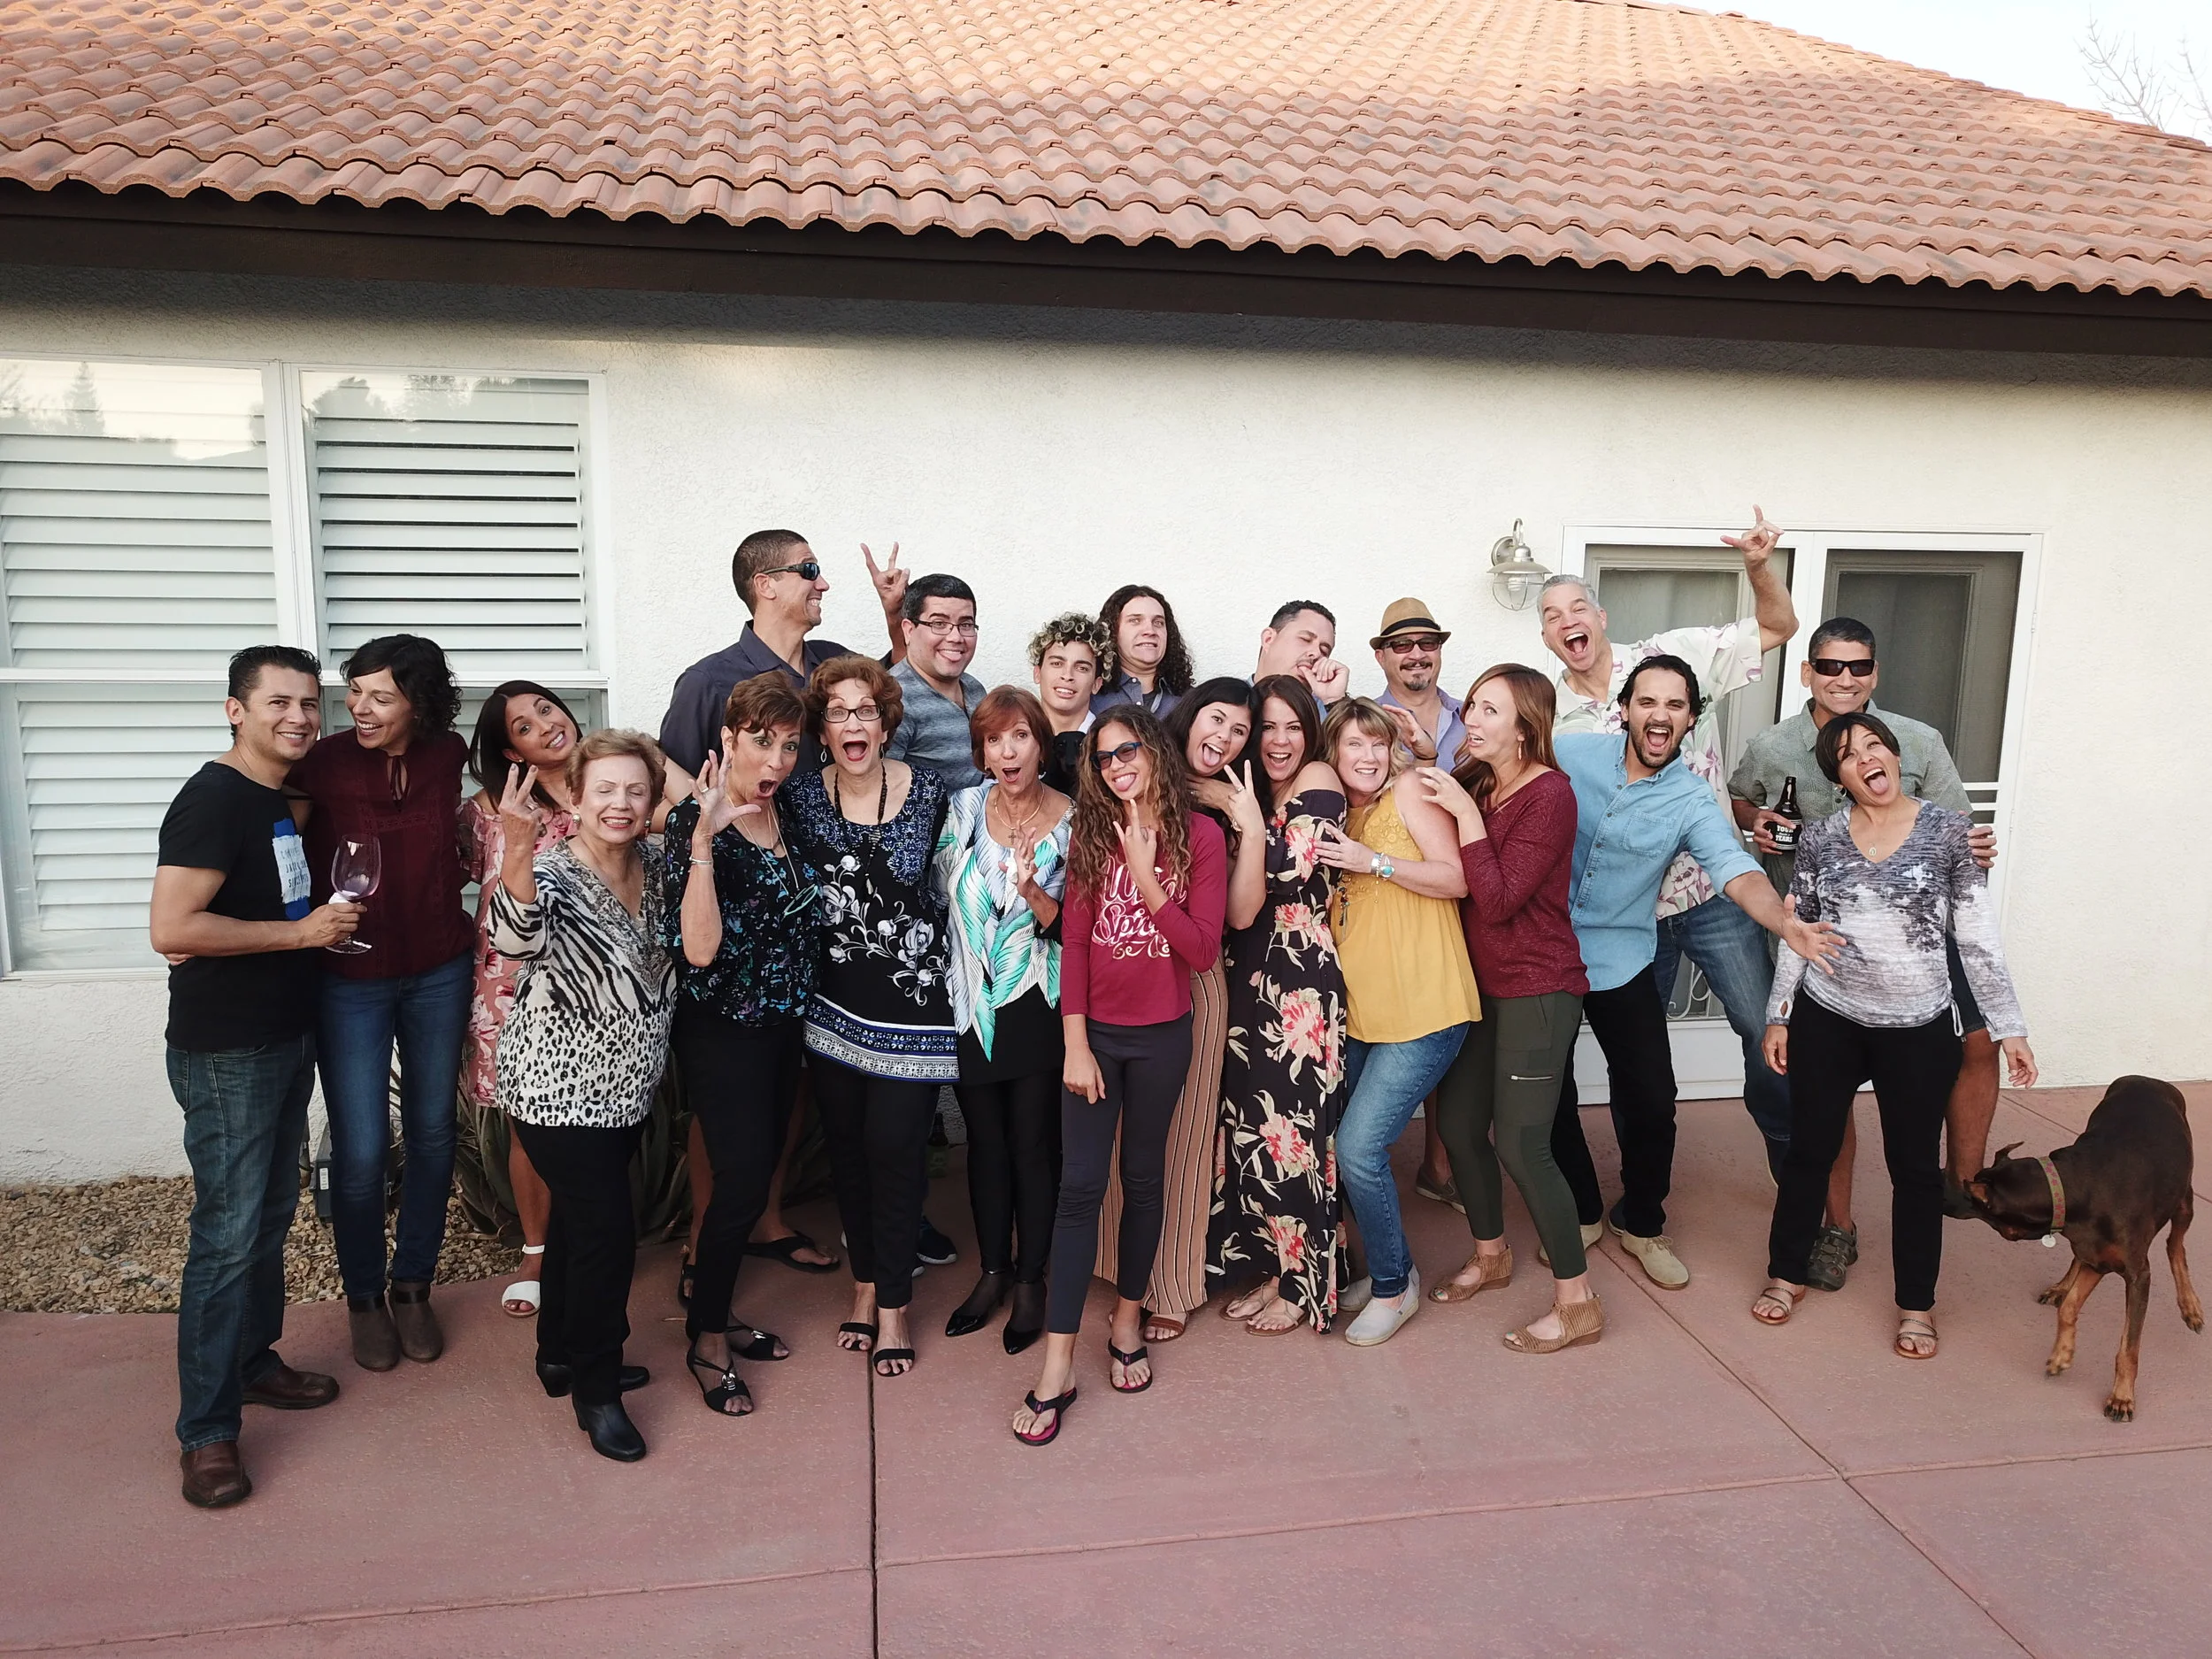
Not only is the video great, but I use the photos out of this incredible piece of technology more than I thought I would. Talk about getting a different perspective, this has opened up a can of worms for me but the good kind! I used it to take the below family photo this past Thanksgiving, worked like a charm!
If you’re looking for a cheaper option, I know for a fact that DJIs ever growing list of drones has one for you, like the Mavic Mini starting at $399.
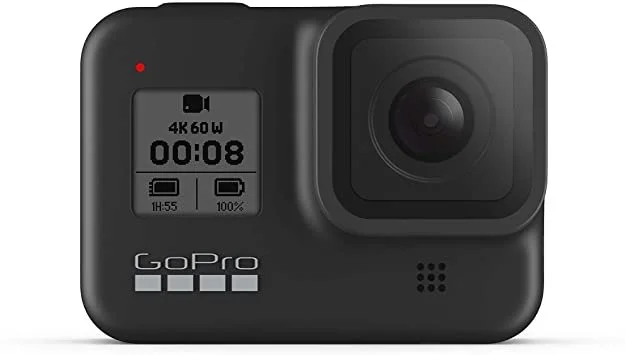
Adventure Camera - GoPro HERO8
The GoPro is great for taking on-the-go wide-angle self-portraits, first person shots, group photos, or capturing your adventures on video without having to worry about damaging your camera with water, dirt or even a ground fall. I like to attach one of these babies to my mountain bike for some awesome, close-to-the-handlebar footage or attach it to a helmet when we are out climbing.
Another cool thing about the HERO8 is that they have done away with the clunky waterproof housing – now the naked GoPro is fully waterproof on its own! Definitely something to consider having in your photography arsenal to get those one-of-a-kind perspective shots.
Outdoor Photography Accessories
Camera Accessories - Peak Design Capture Camera Clip
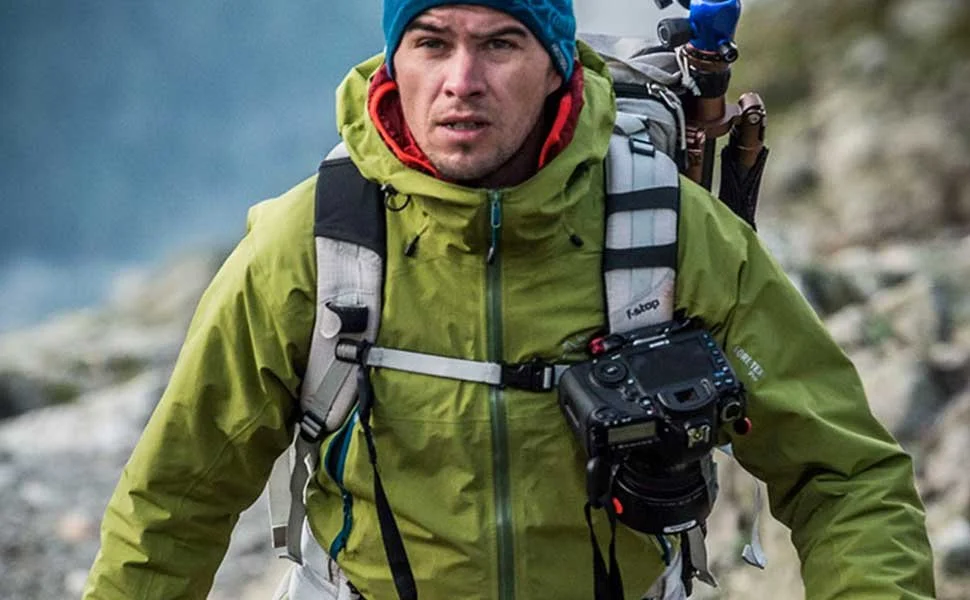
If you are an outdoorsy person and a photographer, you need to buy this gadget! This is by far one of my most prized camera accessories. It takes the pain and hassle out of carrying a DSLR on a 15-plus mile mountaineering trip or a 4-day long backpacking trip across rough terrain by holstering your camera on your backpack strap, so it’s always ready when you are to take a shot!
Camera Accessories - Peak Design Leash Camera Strap
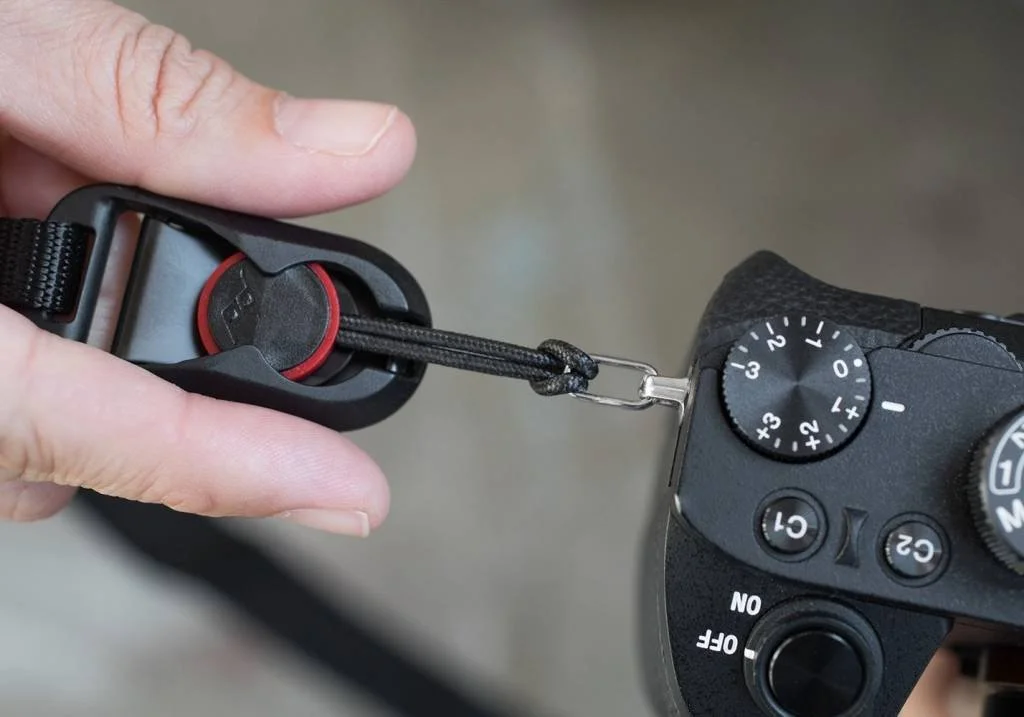
A strap is a strap, but since I’m always switching from video to photo, I have to hold my camera at all sorts of angles, which could make the camera strap a nuisance. If you have the same problem, the Peak Design Leash Camera Strap is super easy to take on and off when you need to get it out of the way.
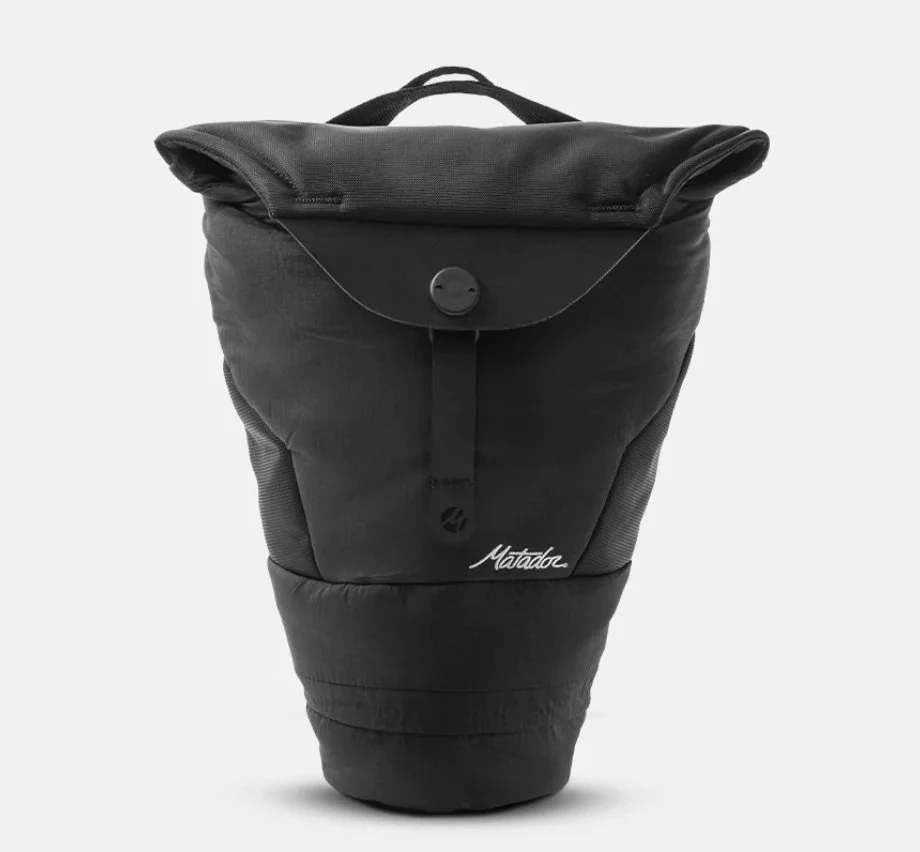
Camera Accessories - Matador Camera Base Layer
A new favorite of our Content & Community Manager Kate, the Matador Camera Base Layer is an awesome way to protect your camera while carrying it through rugged outdoor environments, yet still have the camera easily accessible when you need to quickly get that shot. Plus, you can just throw it in your pack and keep your camera protected, and the base layer has a small zippered pocket perfect for batteries and memory cards.
Tripod - Carbon Fiber Travel Tripod
Spare No Expense: Peak Design Travel Tripod
Save Some Cash: Carbon Fiber Travel Tripod
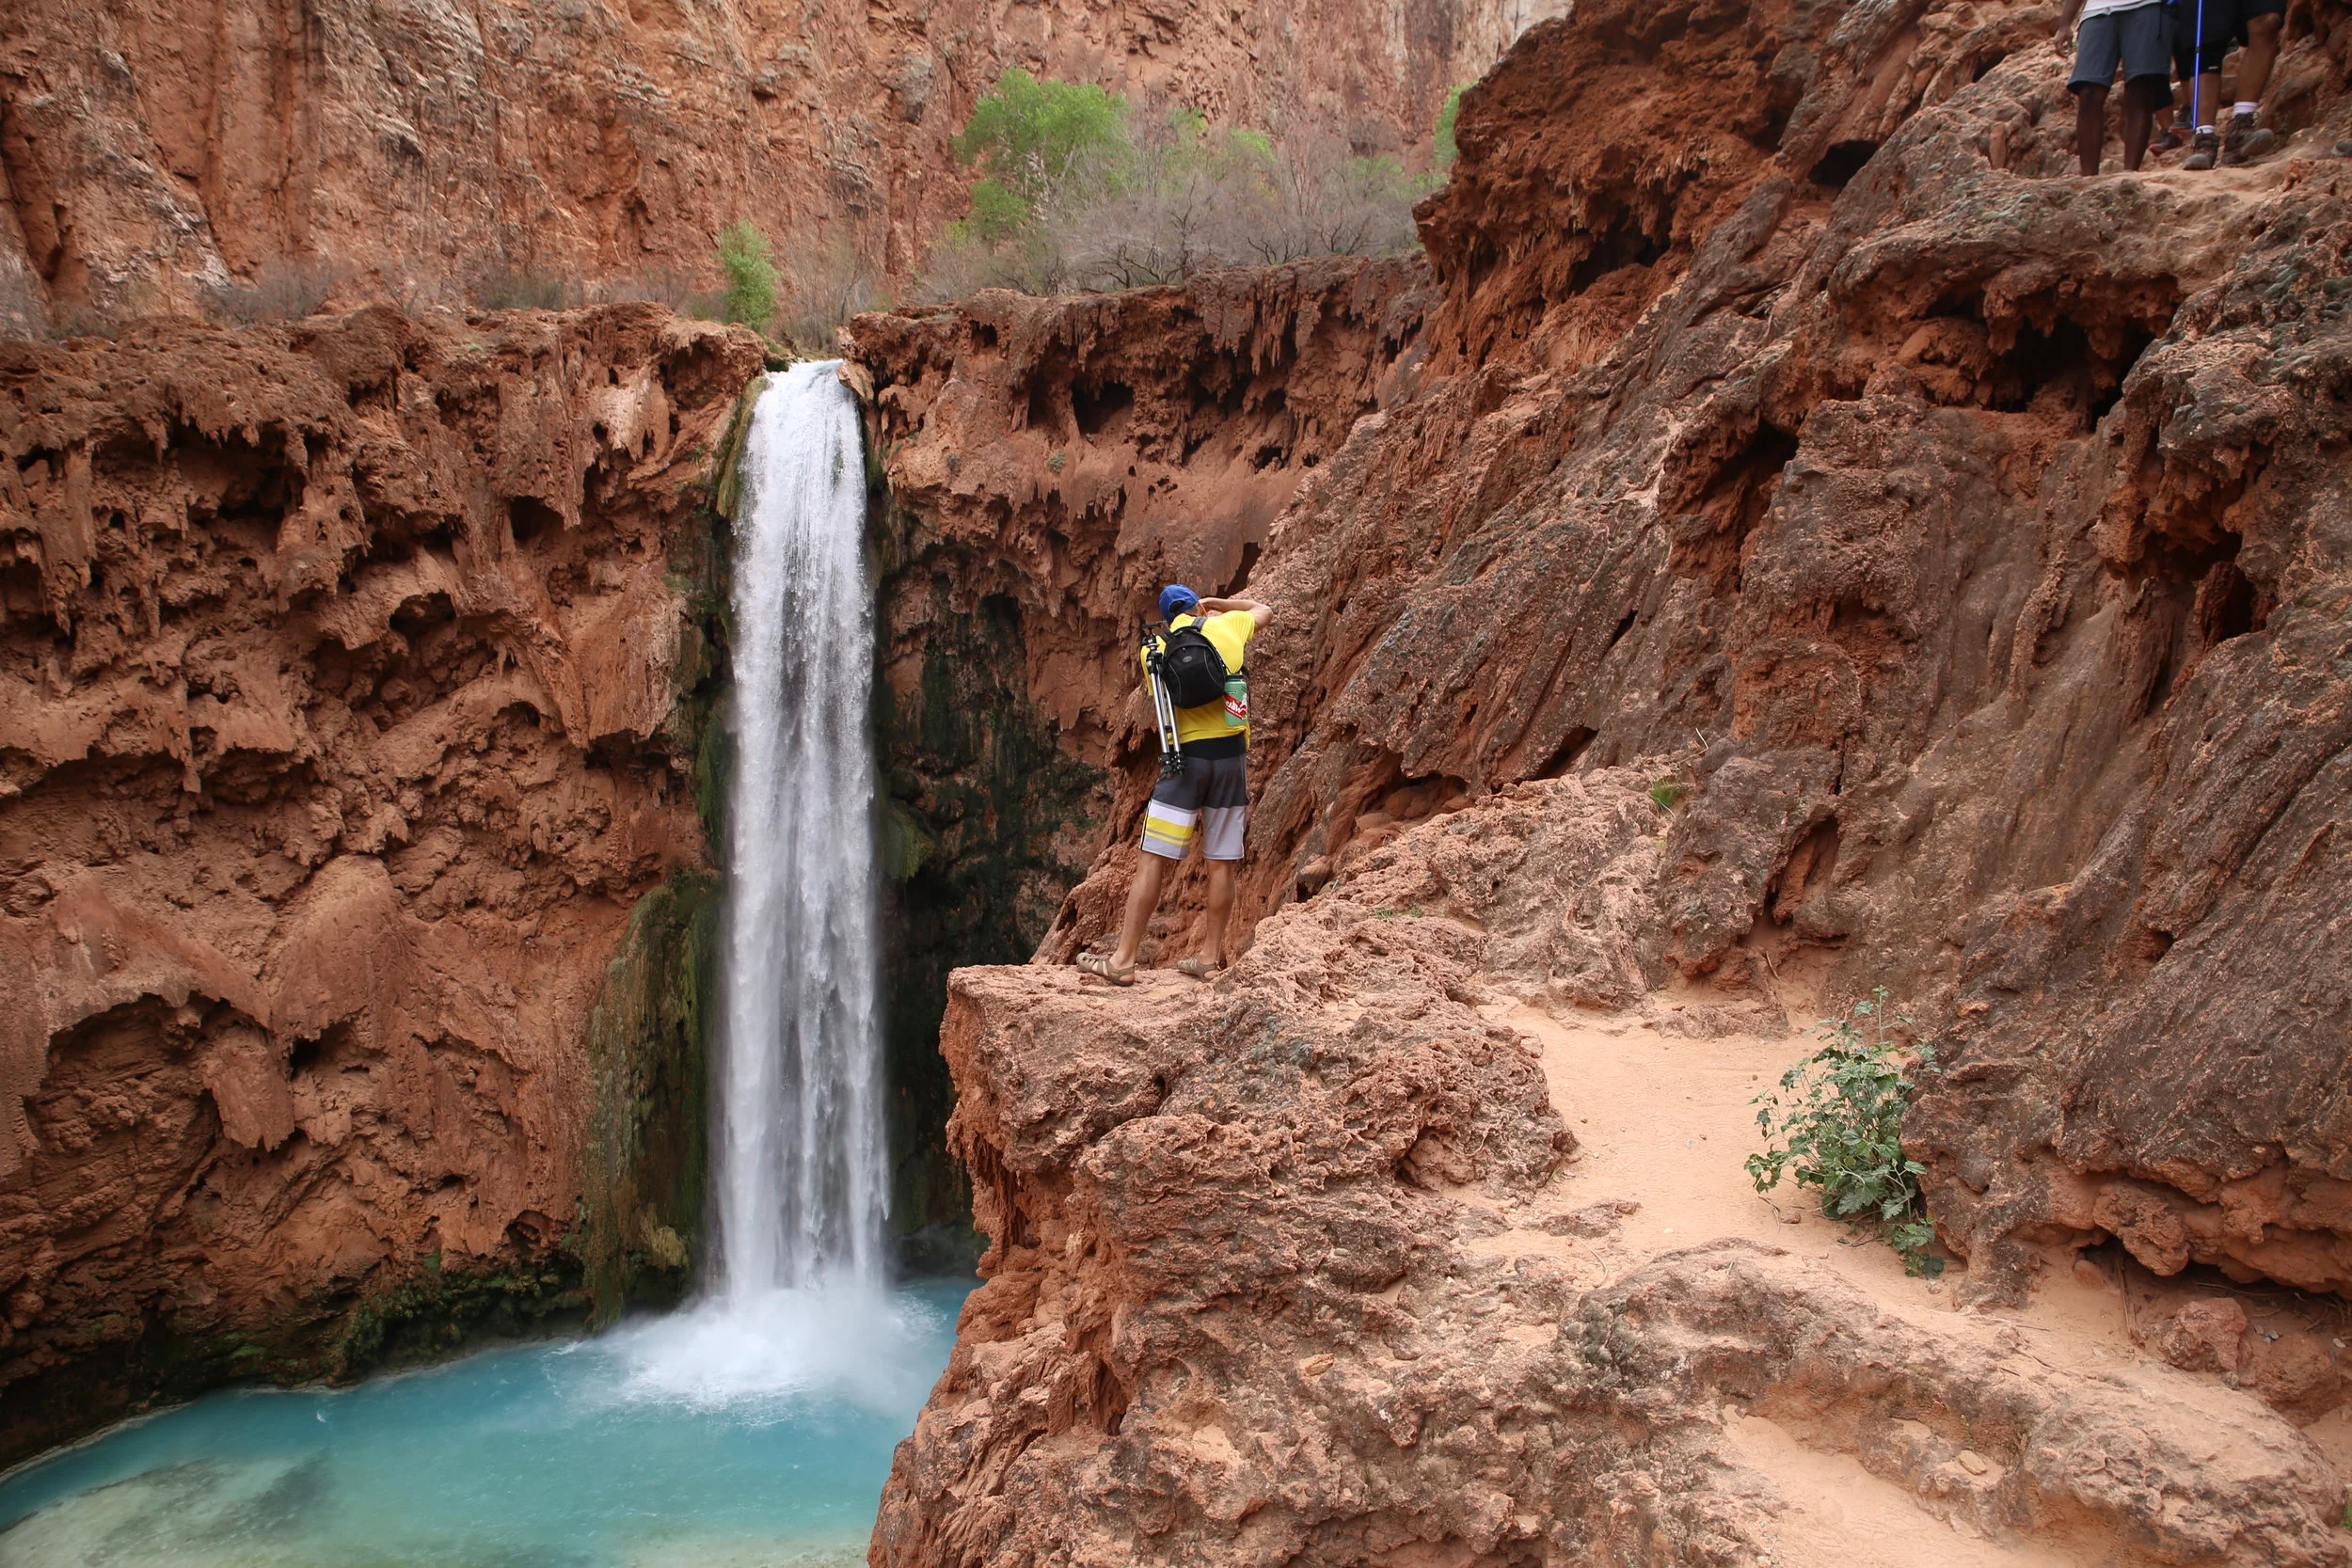
An affordable carbon tripod is a great option! It’s lightweight and packs down nicely into its own little bag, but at the same time it feels sturdy enough for a DSLR. You can see the tripod hanging off of my small camera bag in the photo below.
You can also get a REALLY nice one that’s intelligently designed by Peak Design, but you will pay a premium, I do not currently own the Peak Design Travel Tripod, but I am impressed by all their products I have tried.
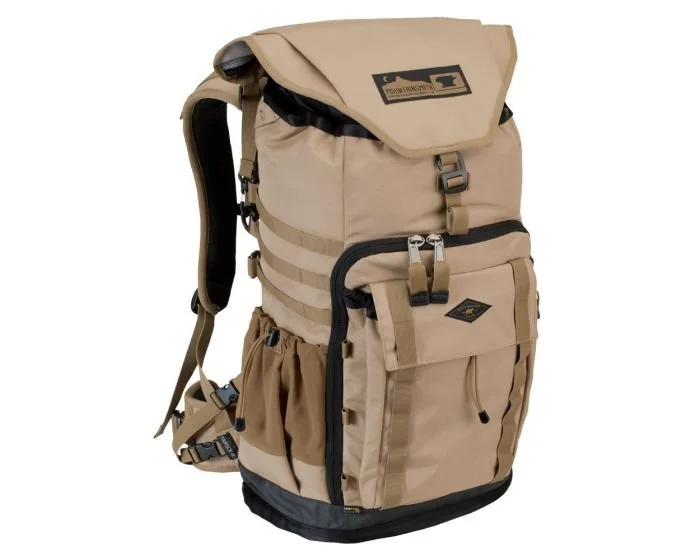
Camera Bag - Lowepro or Mountainsmith Backpack
What can I say about camera bags? Well, you should get one that fits your needs and will be durable in harsh environments. I have had mine for close to 10 years now, and they don’t even make it anymore,. These are some of the bags I would consider getting if mine were to fall apart suddenly.
Lowepro makes well-designed bags with great, easy-access storage compartments. Mountainsmith makes rugged yet lightweight bags with an awesome customizable cube compartment system.
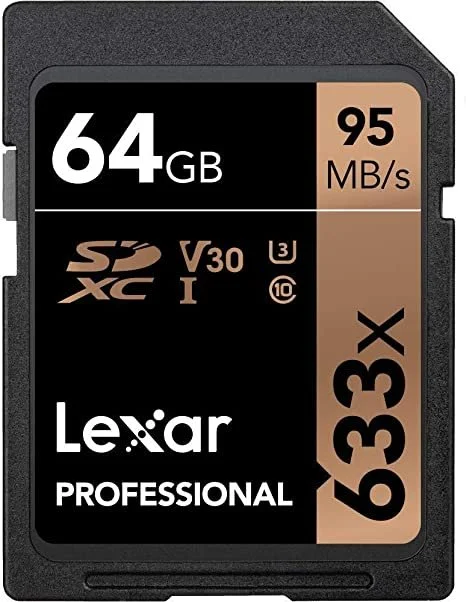
Memory Card - Lexar Professional SDXC
This memory card is super-fast (hence the SDXC) and has a ton of space which is crucial, especially if you are shooting in RAW mode or are taking video (even 4k video!). Go ahead and invest in a nice memory card (and probably a couple for backup) because they wont set you back very much nowadays!
Outdoor Photography Books & Resources
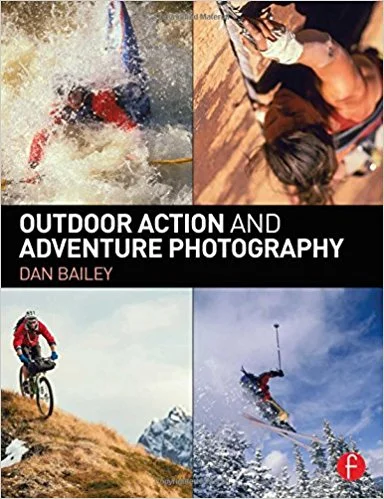
Outdoor Action and Adventure Photography
If you're just getting started in outdoor photography, it’s definitely worthwhile to invest in learning a bit more on how to capture the perfect action shot. This book has a ton of great tips on many aspects of adventure photography including lighting, focusing, and grabbing the perfect motion shot. The author, Dan Bailey, has been published in many outlets including National Geographic and Backpacker Magazine.
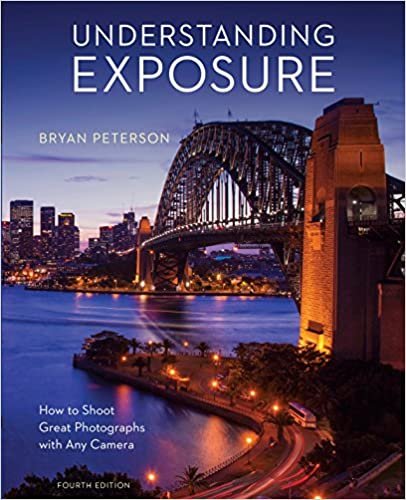
Understanding Exposure
Another great book is Understanding Exposure by Bryan Peterson, which delves into all the details of light, aperture, and shutter speed, and how they influence exposure. This book is especially useful for learning how to set exposure in tricky situations like you’ll often encounter in outdoor adventure photography.
About the Photographer: Michael Auffant
Besides being my number one human, Michael has been pursuing his passion in photography and videography for nearly a decade now. Michael attended college at the Art Institute of California in San Francisco and received his Bachelor of Science Degree with a specialization in Media Arts and Animation.
He started rock climbing shortly after he graduated college and has been in love with the outdoors since. We actually met at our local rock climbing gym, and the rest is history. We became life, climbing, and adventure partners ever since. :)
Michael led an in house video production studio for many years and now works for Wayfarer Vans. He also enjoys working on his own side projects when time allows.
If you'd like to follow Michael and his work, you can find him here:
Instagram: @michael.auffant
Website: https://www.michaelauffant.com/
Cheers,
Allison - She Dreams of Alpine
Did you enjoy our Outdoor Adventure Photography Gear List? Please take a moment to share it on Pinterest or other social media!










27 of the Absolute Best Hikes in Yosemite National Park to Put on Your Hiking Bucket List | Yosemite National Park is one of the most beautiful national parks in the entire United States, and one of the best ways to explore the park is via one the many amazing hiking trails. In this post, I’ve detailed 27 of Yosemite’s top hiking trails, ranging from difficult to easy, that give you epic views of Yosemite’s grand backcountry and some of Yosemite’s most famous landmarks. You’ll only fall more in love with Yosemite after going on one of these hikes! | shedreamsofalpine.com