9 Must-Know Backpacking Safety Tips - Particularly if You Want to Go Solo
A key component to being a self-sufficient and confident outdoor backpacker and hiker is being aware of the most essential hiking safety and backpacking safety rules and best practices. Safety is probably the number one concern I get from my students and peers when I talk to them about going backpacking and hiking - particularly if they are going backpacking alone or if they are the most experienced person in their group.
Many people are drawn to the allure of backpacking outdoors, but wonder to themselves, “Is backpacking safe?” – even more so if they want to go backpacking or hiking alone. It’s important to address some of the top ways we can increase our safety on the trails when backpacking, so here you go, my friend…
(ALSO, be sure to check out tip number 8! I include a special video with some extra tips on safer solo backpacking as a woman!)
9 Must-Know Backpacking Safety Tips
Solo hiking and backpacking is a hotly contested activity in the outdoor world; you either love it or hate it. However, I believe there is an allure to spending a night out in the wilderness alone. The quiet moments become meditative, and you escape the distractions of everyday life.
But before you head out on your backpacking or solo backpacking trip, it’s a good idea to take a little extra care to double check your safety. Here are several backpacking safety tips to help you stay safe on the trails.
1. Carry the Ten Essentials
It doesn’t matter if you’re solo or in a big group, always pack the Ten Essentials when you’re backpacking. It seems like a no-brainer, but when you’re used to splitting up gear with a partner, it’s easy to forget a lighter or an extra layer. Here’s a look at the Ten Essentials you’ll want in your pack:
Headlamp - Always with extra batteries, of course!
Extra food - And don’t forget the camp stove if you need it to make your food!
Fire starting kit - I like to bring a lighter and a Light My Fire fire starter (this is like a flint, for emergencies).
Water filter - Backup filtration, such as a few iodine or chlorine tablets, is also a good idea.
Tent or other shelter - Take the pieces of the tent out of the bag to save a few ounces.
First aid kit - Preferably one specific to backpacking.
Extra layers - It gets cold at night and if you’re stuck in an unexpected bout of bad weather, you’ll be thankful to include items such as a hat and gloves.
Navigation - Always bring your GPS loaded with the maps you need as well as a paper map with a compass. Learn how to use a both your GPS and your compass before heading out solo.
Sun protection - Such as sunscreen, sunglasses and a hat.
Small knife - Infinitely handy in the backcountry. A sturdy switchblade will do.
One more thing! - Though it’s not listed in the ten essentials, I always bring a satellite messenger with SOS capabilities. For solo backpackers, this can be the difference between life and death. Be sure to check the batteries and test the signal before heading out!
Aside from the ten essentials, you’ll want to make sure you’ve got everything you need for the specific trail you’ll be on. Are you traveling over snowy terrain? Is it muddy and do you need waterproof boots and gaiters? What about bug spray? Oh, and you never want to forget a coveted pair of cozy shoes to drive home in (your feet will thank me later).
If you want to make sure you never leave any crucial items behind before you head out on a backpacking trip, I highly recommend that you download my backpacking packing checklist. I seriously look at this list every time I pack for any backpacking trip, and I’ve written down all the essentials here for you so you can do that, too.
PLUS, I’ve included a list of 20+ of my favorite backpacking food snacks and meals inside of this list for inspiration.
2. Do Your Research
Far too many people head out into the wilderness without doing their homework. Before you head out on any backpacking trip (ESPECIALLY if you are going solo backpacking), be sure to understand what your particular trail entails. It helps to put all of this info in backpacking trip plan that you can then leave with someone you trust.
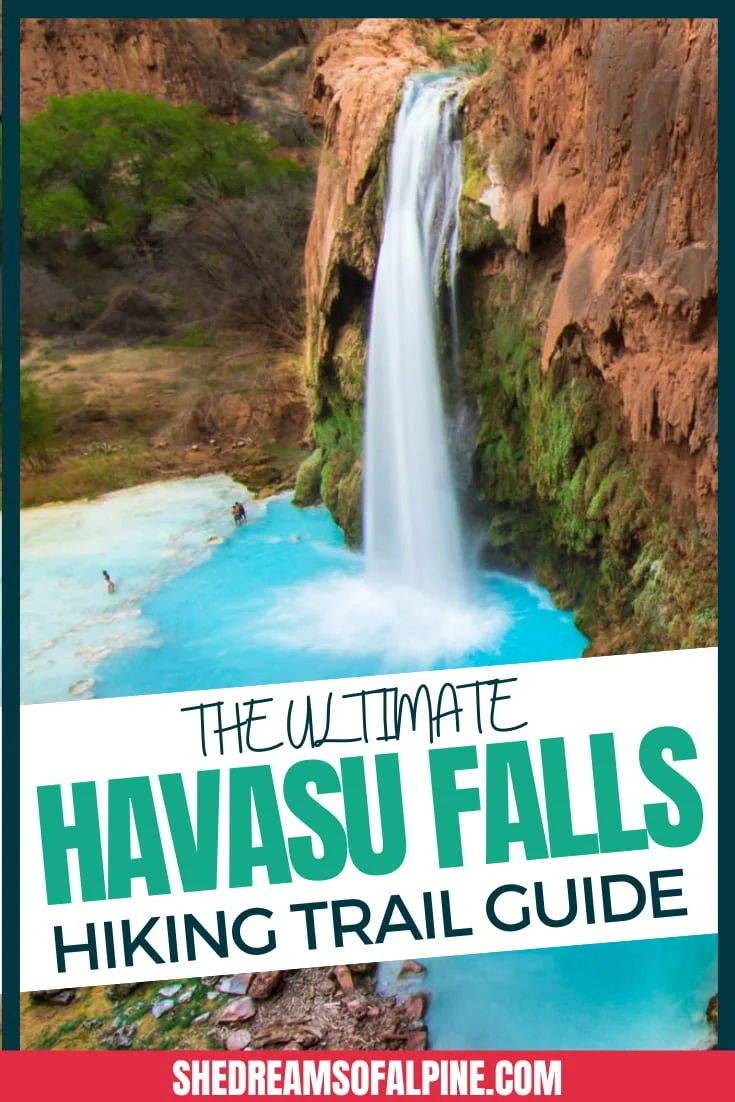
Planning and going deep into the details is my superpower. That’s why I love writing ultimate backpacking trail guides like I have for the Havasu Falls Hike and the Lost Coast Trail.
But really, this is an essential skill every backpacker should learn, and I teach you everything you need to know about creating an in-depth trip plan in my backpacking program, with templates, details about mapping out your entire hike in advance, and the whole enchilada.
Let me give you a brief taste to get you started! First, research the mileage of your particular trail. How many miles do you plan to go each day? Keep in mind that your pack will likely be heavier than normal if you’re going solo, since you aren’t splitting up group gear like food, shelter, and a stove.
Double check your daily mileage on a map and check for suitable places to camp. You don’t want to hike 10 miles only to find out you’ve got to climb a never-ending sea of switchbacks to reach flat ground!
Always be sure to check your water sources. Make a rough plan on when you will fill up water. Is there water near your intended camping spot? If not, bring an extra water bottle so you can hydrate at camp throughout the night.
Are there any long water carries? This is especially important to know for desert travel where water sources can be very limited. If so, are you prepared to haul all of that extra weight?
Trust me, pre-planning goes a long way to ensure a safe & successful trip!
>>>For more guidance, check out my full post on how to plan a backpacking trip!
3. Navigation Know-How
If you are the group leader of a backpacking trip or if you embark on a solo backpacking trip, you have the reins. This means that you’re in charge of getting from point A to point B, and you can’t rely on anyone else. What happens if your GPS fails? Do you know how to read a map and find your position with a compass? Are you traveling off-trail in the backcountry?
Even if you plan on traveling along a popular trail, it’s important to know how to navigate. Social trails, or trails that people create by going off route, pop up all the time in popular wilderness areas. Animals also create faint trails that can cause confusion. And if you’re traveling during a snowy season (or before the snow melts) the trail can often be completely covered.
A lot of backpackers rely too heavily on their phones or the wisdom of their partner. But before you head out alone, you should get comfortable with navigating using an old-school map and compass. Practice on easier trails at home before you go into the backcountry.
I also highly recommend that you invest in a GPS. I literally never go anywhere (hiking or backpacking) without a GPS of some sort with me – you can use an app like Gaia GPS if you’re not ready to invest in a standalone GPS device yet. GPS and map navigation is an essential skill that every backpacker should invest time in learning how to do themselves.
Also, know that navigation goes beyond just reading map and compass. You need to know how to identify hazards on the trail – and how to navigate around them.
Avalanche safety is a serious endeavor in any alpine terrain. Just because it isn’t winter doesn’t mean avalanche conditions don’t exist. In alpine areas, snow can last well into late spring and early summer. Follow the latest reports, read recent trail reviews, and study up on avalanche terrain if you’re traveling in the mountains while there’s snow on the ground.
Lastly, don’t forget to hone your rock navigation skills if you are traveling over mountain passes with rocky trails. Often, you’ll end up scrambling to summits on trails that aren’t well-defined, so you need to be able to navigate safely up and down without straying off into sketchy ground. It’s all too common to get off track on an easy scrambling route and end up in serious technical rock climbing terrain, and it’s often very difficult to reverse your steps if that happens.
4. Have a Plan & Tell Someone You Trust
We already discussed the importance of creating a solid trip plan before you hit the trail. This document is like a solo backpacking bible, and you’ll want to leave it with someone you trust.
No one ever anticipates having a problem in the outdoors, but it’s important to be prepared for the worst. Use the plan you devised to prepare for your trip as well as give valuable safety information to the person you trust. Include your tentative outdoor safety trip plan with your proposed areas where you will camp and when you plan on getting back to the trailhead.
Be sure to set a check-in time. If your trusted friend hasn’t heard from you, have them attempt to contact you directly, then the authorities if you haven’t responded within the hour.
I recommend including the following in your trip plan (note - these items have been recommended to me by actual search and rescue personnel):
Description of your vehicle, including your license plate number
Description of your tent or pack
Description of you - note any unique characteristics such as a tattoo, facial hair or hair color.
Any known allergies or medical conditions
The number for the local sheriff’s office (this is typically who you call in a search and rescue scenario)
Your packing list - search and rescue will want to know how prepared you are for an emergency
A GPX file of your intended route (strongly recommended!)
If you’re carrying a satellite messenger
Include directions for your emergency contact to help them prepare for the worst case scenario. Give a time at which they should call the authorities and note who to call. Also make a note to send along the trip plan to search and rescue.
Also be sure to always carry your ID. I once asked a friend who works with search and rescue to tell me one thing that all hikers should carry. His response was identification.
It sounds grim, but if you have your ID on you and things go horribly wrong, the authorities will be able to identify your body without asking your family. I don’t like to think about these things, but if a negligible amount of weight saves your family some trauma, I’d say keep it with you.
GRAB MY [FREE] OUTDOOR BACKPACKER STARTER KIT
I created the Ultimate Outdoor Backpacker Starter Kit for you (and it's FREE)! This starter kit is filled with 14 pages of my best hiking and backpacking tips to help you learn what it takes to become a safe, confident, and self-sufficient outdoor backpacker!
5. Make Noise ON THE TRAIl
If wildlife is a concern (particularly if you are backpacking in bear country), stay noisy on the trail. Often times, unwanted animal encounters occur because the animal is just as surprised to see you as you are to see them. Talk loudly to yourself, sing, or bang on rocks to make noise as you travel down the trail. This doesn’t need to be a constant orchestra, but it helps to get loud a few times an hour.
If I’m backpacking in a group, it’s easy enough to just chat with my backpacking partners and be loud enough on the trails as we hike, however, if I’m backpacking solo, I usually like to turn on some music. But I know many people think having music on can ruin the experience of backpacking or potentially bother others on the trails, so I always maintain a few rules.
First, music never ruins things for me, music puts me a dreamy state, and really just enhances my overall good feelings on the trail, especially if I’m by myself. So I personally love hiking solo with some tunes on speaker over my phone.
I like having the peace of mind that animals could hear me thanks to my music, even when I’m out solo. However, I never keep the volume too loud, and if I see hikers ahead of me, I always turn my music off so I don’t impose my playlist on others’ outdoor experience.
Also keep in mind that most wildlife travels around dusk and dawn, so if you’re on the trail or even at camp during these times, keep it loud to let the wild creatures know you’re out there and don’t want any unexpected visitors.
6. Keep the Earbuds Out
For many solo backpackers, backpacking safety isn’t just about avoiding wildlife encounters or getting lost. Unfortunately, it’s sometimes about staying safe from other humans. Personal hiking safety from others is an extremely individual thing, and all people have a different level of comfort. As a woman, I feel I would be remiss not to touch on a few key things you can do to keep safe on a solo backpacking trip.
First, don’t hike with headphones. It may be tempting to jam your favorite tunes while trekking along solo, but using headphones tunes you out from your surroundings. That makes it easy for someone to come up behind you and you don’t even realize it.
So forgo the music and hike like it’s the pre-iPod era. As mentioned above, it’s equally important not to wear headphones when hiking so you can be aware of any animals that may be traveling near or around you on the trail.
7. Don’t Tell Strangers Where You are Going
It may seem obvious, but you have no obligation to tell anyone what your plans are (other than your trusted emergency contact). I find that, especially as women, we often feel pressure to be kind and friendly. Don’t let politeness cloud your judgement on a solo backpacking trip.
Keep your plans vague, even if it’s obvious that everyone is hiking the same trail. Don’t let someone pressure you into telling them your life story.
8. Go with Your Gut
When it comes down to it, your gut gives you the intuition you need. If you meet someone that rubs you the wrong way, don’t be afraid to turn around and head home. If something doesn’t feel right, check in with yourself and ask if it’s worth it to carry on. Remember, there is no shame in heading home if you just aren’t feeling it.
I’ve camped in areas where I just didn’t feel cozy. No particular reason, but my spidey-senses told me something just wasn’t right. I packed up my stuff and moved on, even though it took a bit of effort.
Who knows? Maybe an angry bear would have visited me that night, or nearby treefall could have crushed me in my sleep. The point is, don’t hesitate to listen to your gut and follow it.
Want some extra tips on solo backpacking safety for women? Watch this video with my top 3 tips for safer solo backpacking as a woman!
9. Don’t Let backpacking Safety Advice Scare You OFF the trails
Okay, so now that you’re sufficiently freaked out and worried about going backpacking, I want to circle back and reassure you that backpacking is fun! You’re out in the wilderness on a backpacking adventure to learn more about yourself in a beautiful setting. Don’t let all of this safety advice put you off from having this experience!
We always want to go into any situation with a good dose of awareness and knowledge, but then we need balance that by facing our fears and becoming the badass we were meant to be!
And if you decide to go backpacking alone, solo backpacking offers an adventure that is uniquely yours. Yes, you need to take care of yourself, be aware of your surroundings, and keep your guard up. However, you don’t need to go solo backpacking in a state of constant fear.
Some of my most triumphant and brave moments have come from times I’ve had to overcome my fears and solve problems on the trails on my own. So get out there and enjoy your solo backpacking trip – just be sure to keep safety in mind while you do it!
Stoked on Backpacking, but want some extra support?
Join me (and your peers) on a transformational adventure, where you will learn how to confidently go on your first ever (or perhaps your first solo) outdoor backpacking trip without the constant fear of getting lost, the debilitating worry of being unprepared, and the lurking feeling that you lack the "know-how" and skills required to stay safe on the trails. Click below to be the first to know when my one-of-a-kind backpacking program re-opens again for enrollment!
I hope you guys loved this one. Stay safe out there, my friends, and have fun!
Looking for even more backpacking tips?
Check out these backpacking and hiking articles:
The Ultimate 3-5 Day Backpacking Packing List for 2019 (PLUS Backpacking Checklist PDF)
How to Plan a Backpacking Trip: What You Need to Think About Before Hitting the Trail
7 Reasons Why Women Make Great Backpacking Leaders on the Trail
Essential Backpacking Hygiene Tips & Feminine Care in the Outdoors
7 Tips to Hiking and Summiting Your First Fourteener Mountain
13 Awesome Hiking Groups and Challenges to Encourage You on Your Hiking Adventures
Cheers,
Allison - She Dreams of Alpine








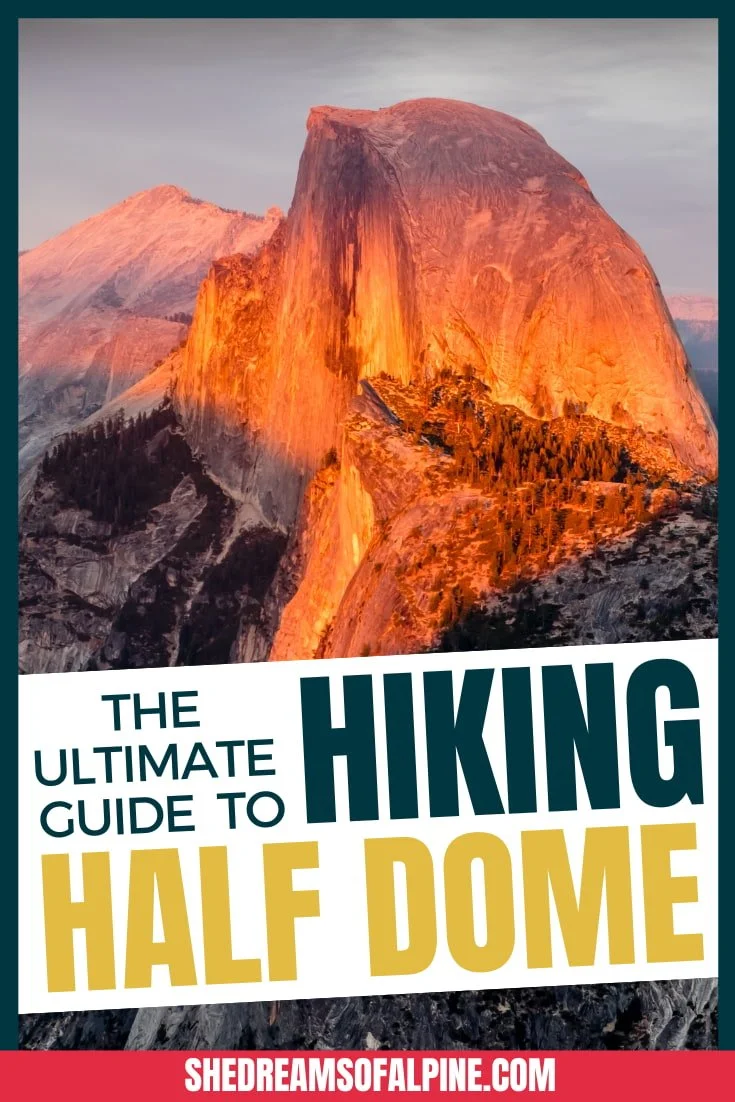
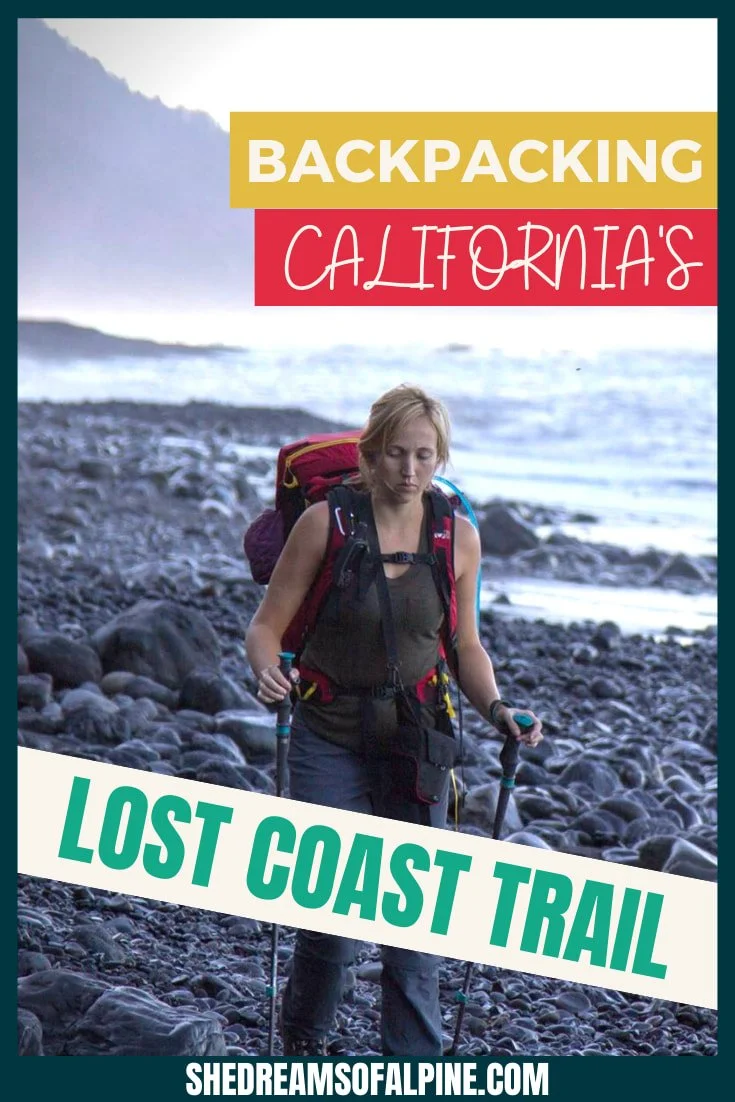
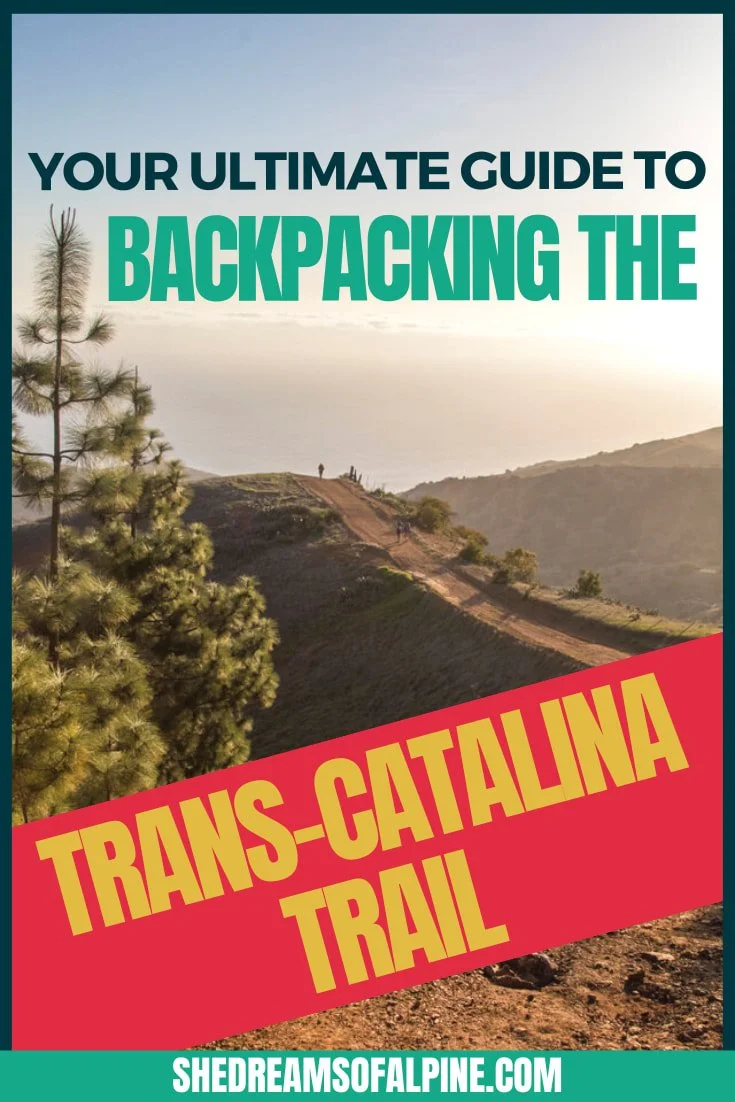
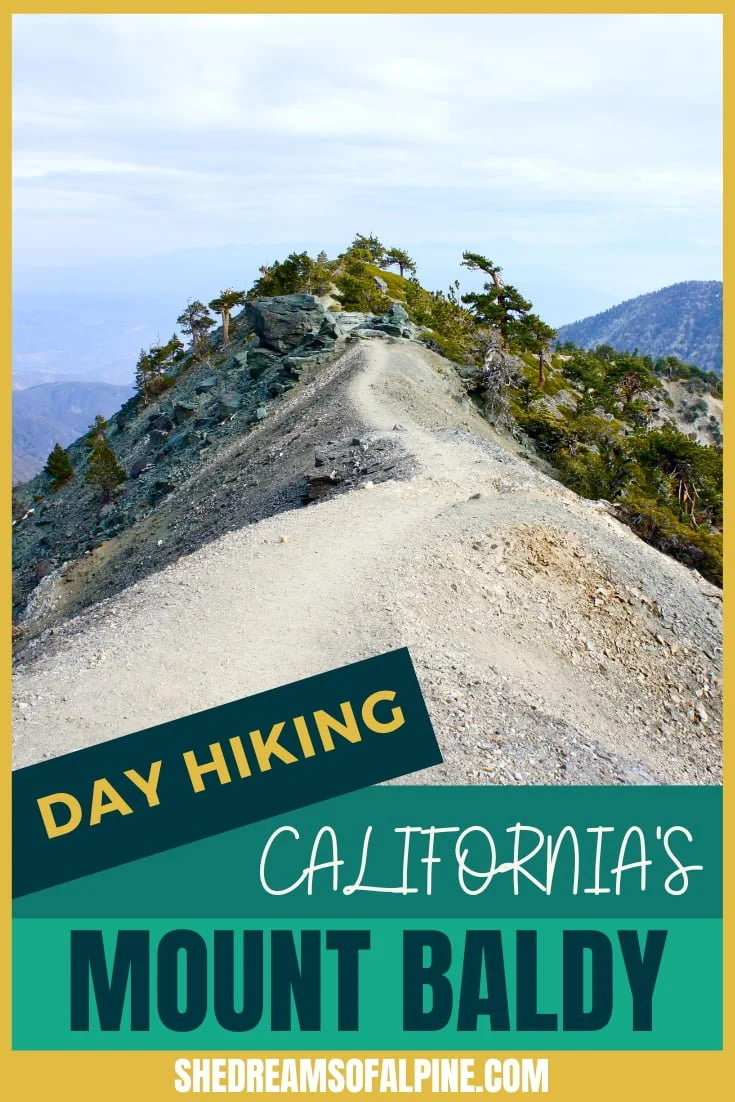

17 Awesome Palm Springs Hikes in Southern California | Palms Springs is an outdoor oasis where the mountains collide with the desert. From beautiful trails through oases of fan palms to epic mountain summits – and a unique aerial tram ride to a trailhead – the best Palm Springs hikes provide unique adventures in the Coachella Valley. | shedreamsofalpine.com